Reclaimed Pine Workbench Guide: Stability & Control
By Elena Kovács • 6th May
Introduction
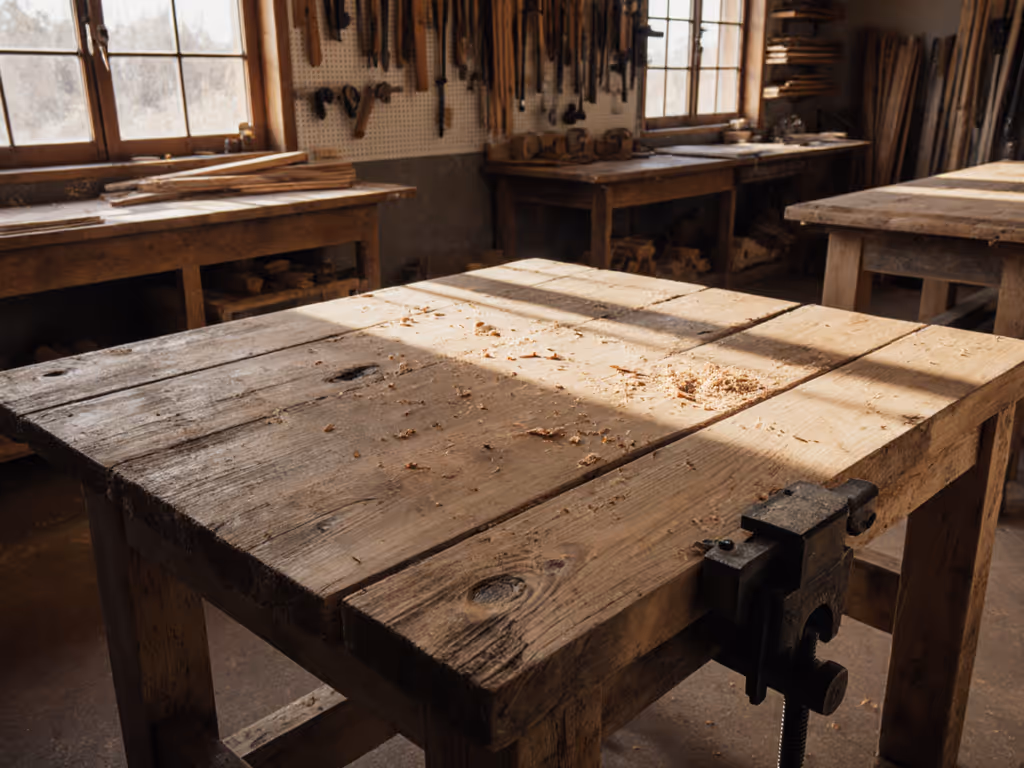
A reclaimed pine workbench represents both practical appeal and honest material. It's affordable, often carries history, and can be remarkably stiff, but only if you understand how to evaluate, set up, and maintain one. This FAQ explores the core questions woodworkers ask when considering woodworking workbench design using reclaimed pine: How stable will it be? Will flatness stay true? Can you trust it for precision work?
The answers hinge on measurement, human-first setup, and understanding that your posture is a spec; design the bench around it.
What Makes Reclaimed Pine Suitable for a Workbench?
The Material Case for Reclaimed Pine
Reclaimed pine (salvaged from buildings, barns, or old industrial flooring) often outperforms kiln-dried lumber sold today. Here's why:
- Stability. Old-growth reclaimed pine is typically denser and more stable than modern plantation pine. Slower ring growth means tighter grain and less wood movement across seasons.
- Thickness. Reclaimed boards often exceed 1.5 inches actual thickness, compared to modern 1.5-inch "S4S" stock that nets 1.25 inches. That extra mass translates to stiffness and resistance to deflection under planing or clamping.
- Cost per performance. Reclaimed pine often costs less than cherry or walnut, yet outperforms kiln-dried pine on flatness and longevity.
When Reclaimed Pine Falls Short
Not all reclaimed stock is equal:
- Irregular dimensions and embedded nails require milling and careful inspection.
- Visible cupping, twist, or crook often signal ongoing wood movement, a red flag for a bench top.
- Soft spots from rot, insect damage, or age-related degradation undermine stiffness and workholding grip.
A quick field test: press your thumbnail into the surface. If it leaves a permanent dent, the wood is too soft for reliable dog-hole holding or heavy planing loads. For sourcing and structural tips specific to salvaged stock, see our reclaimed material workbench build specs.
How Do You Ensure Stability and Prevent Racking?
Understanding Racking and Deflection
Racking (the bench twisting or shifting sideways under uneven clamping or planing pressure) is the primary complaint among woodworkers using benches with marginal mass or joinery. A bench might feel solid when empty, but lose its solid feel under a heavy handplane or vise pressure.
Measurement matters. A well-tuned wooden workbench should deflect less than 0.05 inches (1.25 mm) under 100 pounds of lateral clamping force at the front vise. Anything more invites missed joinery lines and finish telegraphing into the next workpiece.
Practical Stability Tactics
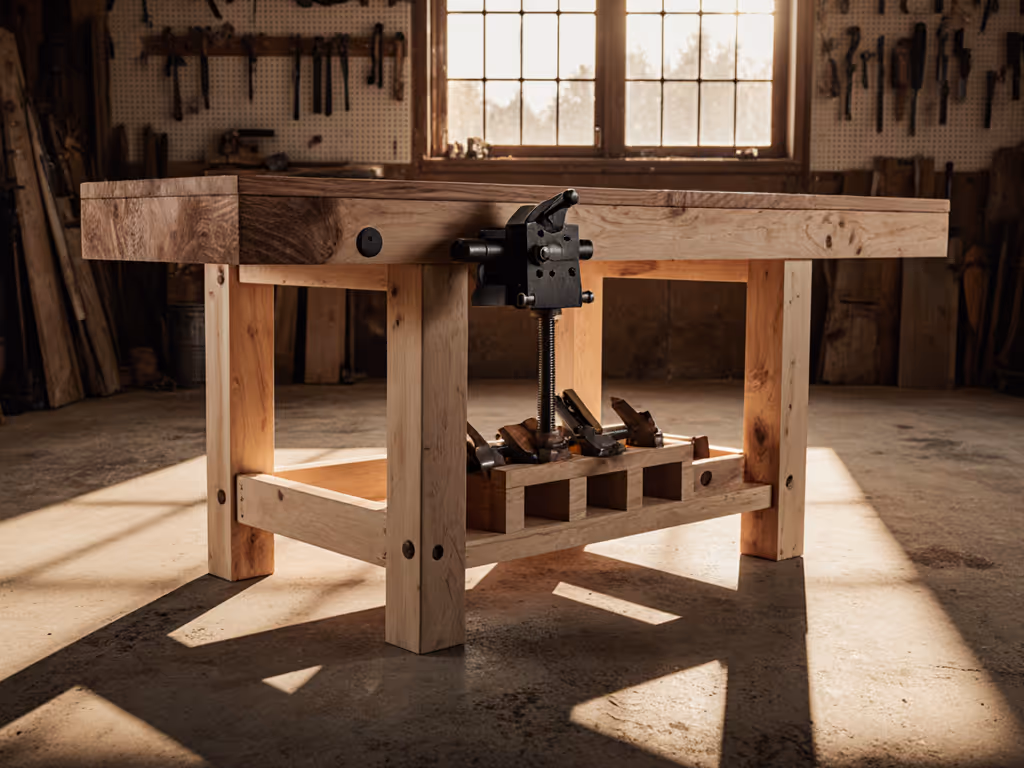
- Mass and thickness. Aim for a top at least 3 inches thick if the span exceeds 48 inches. Reclaimed pine in 4×10 or 4×12 timbers (actual dimensions) provides sufficient rigidity.
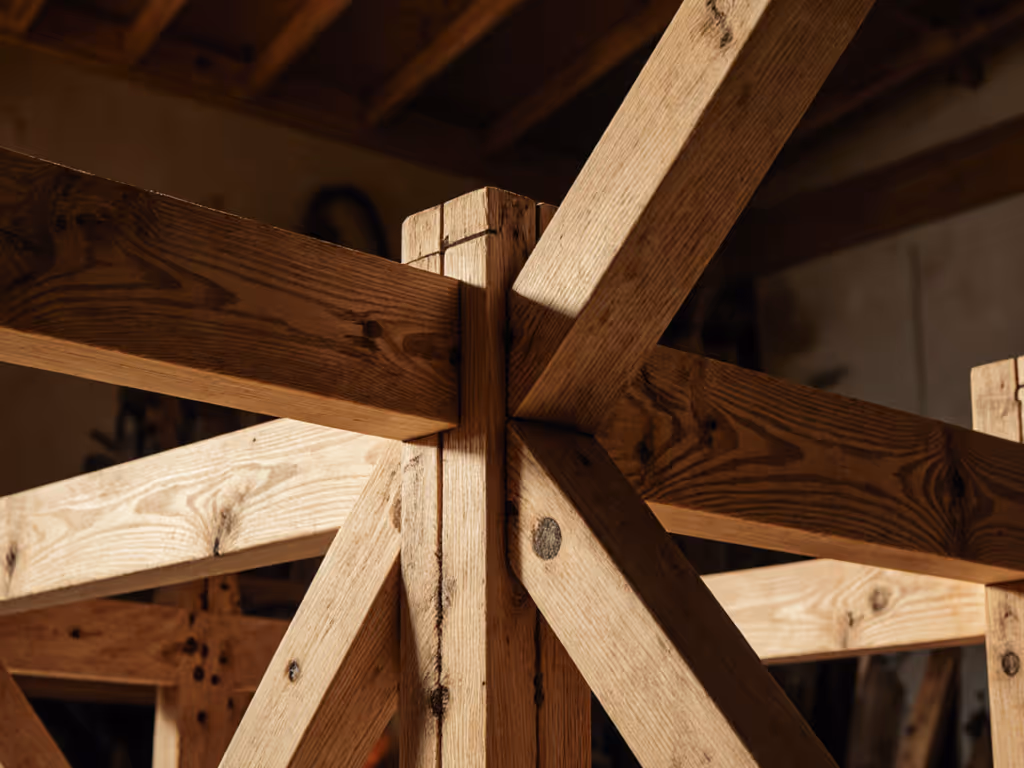
- Frame stiffness. The base (legs, stretchers, and aprons) must be as stiff as the top. Mortise-and-tenon joinery is the standard. Avoid lap joints; they flex and rack over time. Dig deeper into base design in our workbench foundation engineering guide.
- Diagonal bracing. A cross-brace or substantial apron tie keeps the frame square and resists racking through clamping cycles.
- Leveling feet. Once assembled, level the bench in all directions using shims or threaded leveling feet. Even 0.1 inch of twist will show up as rocking under clamps.
What's the Right Height, and How Do You Set It?
Why "Standard" Height Misses the Mark
Most benches are built at 34-36 inches (864-914 mm), copied from old patterns without regard for individual proportions. This single-height assumption suits nobody particularly well. Set height by task, not tradition.
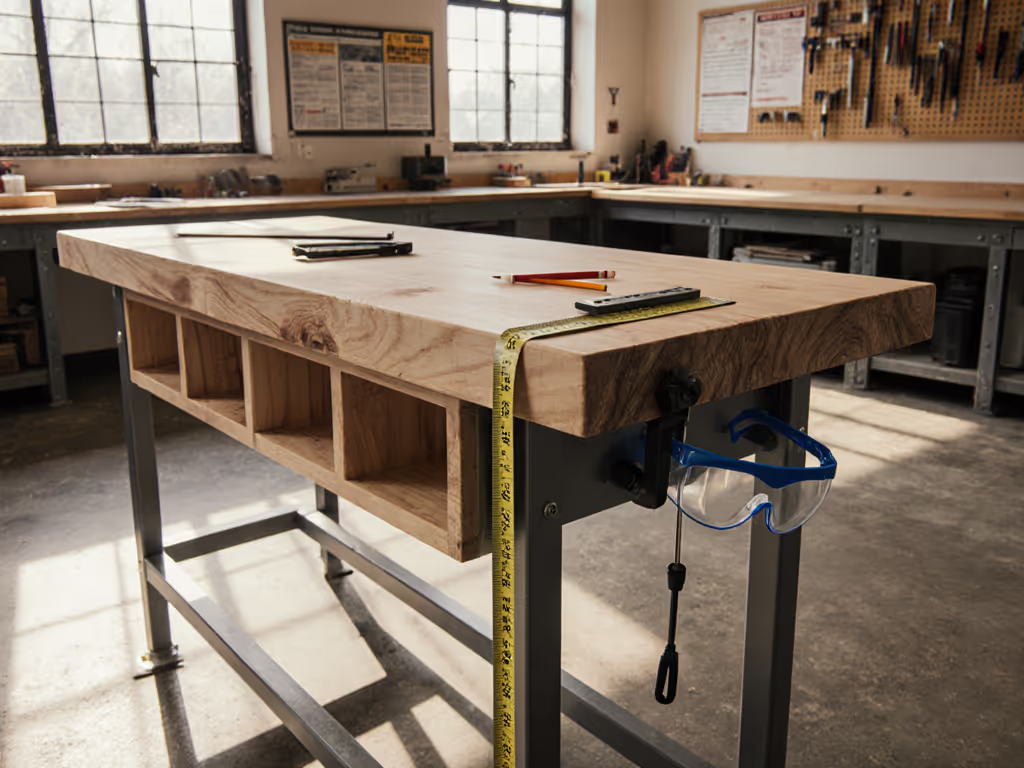
Measurement-Backed Height Protocol
Your working height depends on forearm length, stance, and primary task:
- Measure your standing reach. Stand with arms at your sides. Raise your hands to bench-top level with elbows slightly bent (about 15° flex). That's your ideal hand-working height, typically 2-4 inches lower than "standard" for most makers.
- Task-specific adjustments. Heavy planing demands lower stance (32-34 inches) for better downstroke leverage. Precision chiseling benefits from slightly higher (36-38 inches) to reduce spinal flexion. Assembly and glue-ups often sit between.
- Foot rail test. Add a 4-inch-tall footrail under the front edge. Standing on it lifts your working level by 4 inches, giving you a second height without building two benches.
Comfort and control are prerequisites for precision and consistency.
After a long run of dovetails, I realized my backache wasn't age, it was bench height. Lowering just 30 mm and adding a foot rail transformed my endurance and, with it, my work quality. I wasn't fighting my body's leverage anymore, and precision followed naturally.
How Do You Maintain Flatness Over Time?
Why Reclaimed Pine Drifts (and How to Mitigate It)
Even well-seasoned reclaimed pine moves seasonally. Annual wood movement in thickness is typically 1-2%; in width, 3-6%, depending on moisture swing.
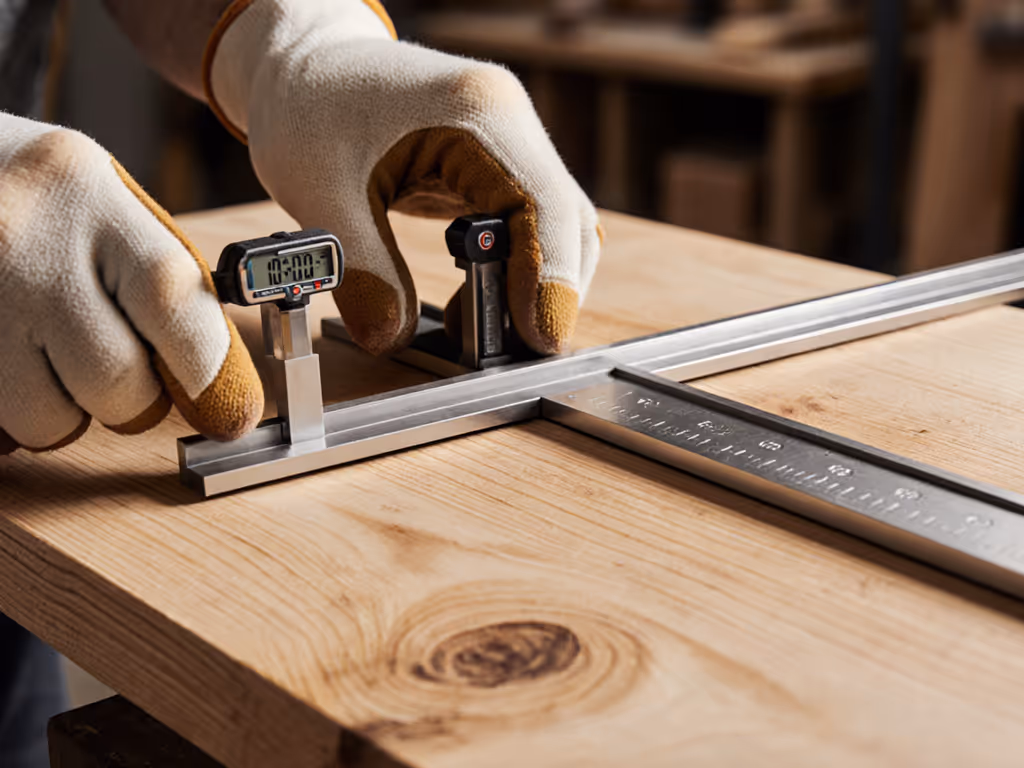
Measurement-backed checks:
- Measure diagonals (corner to opposite corner) monthly during the first year. If they differ by more than 0.125 inch (3 mm), the top is racking.
- Use a straightedge or level across the top in multiple directions (front-to-back, side-to-side, and diagonals). Any bow or cup exceeding 0.1 inch over a 48-inch span triggers a reflatten.
Practical Reflatten Approaches
- Sand the high spots. A track sander or hand plane can remove 0.05-0.1 inch. This is non-destructive and quick, often a weekend job.
- Shim the base. If one corner is slightly low, slip a veneer shim under that foot. This is gentler than sanding if movement is minimal.
- Top moisture management. Keep shop humidity stable (40-50% relative humidity). Swings above 60% or below 30% accelerate wood movement.
What About Workholding and Clamping?
Dog-Hole Grid and Vise Placement
Reclaimed pine's density means dog holes can hold a wedge or dog firmly without re-drilling constantly. Typical grid spacing:
- 20 mm centers (metric standard, compatible with most Scandinavian-style vises).
- 3/4 inch centers (common in North American benches, less dense spacing).
- 96 mm modular spacing (used by MFT-style systems; flexible for custom builds).
Choose one and stick with it. A hybrid grid wastes holes and confuses tool placement. If you're standardizing accessories, see our bench dog systems comparison.
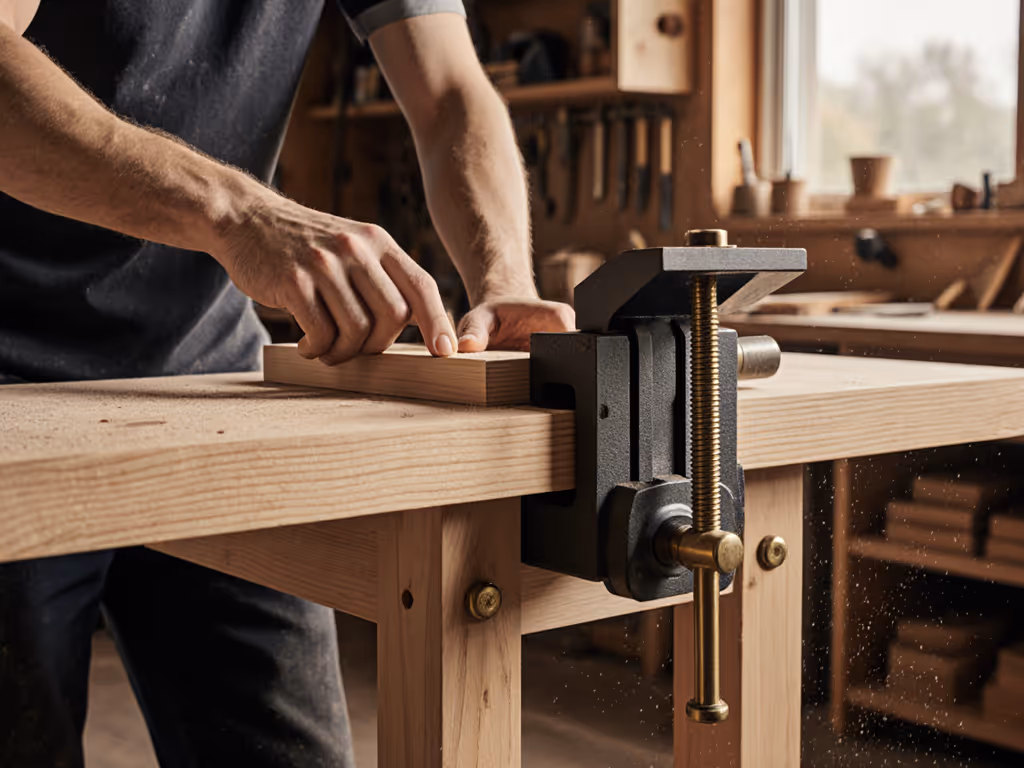
Vise Position and Obstruction
- Front vise. Mount at the left front corner (for right-handed makers) or right front (for left-handed). The vise jaw should sit flush with the front edge; any protrusion wastes clamping reach.
- Clearance. Ensure at least 8 inches of free space below the vise jaw for tall workpieces; 12 inches is better.
- Apron obstruction. A deep apron under the top blocks clamping. Tapered or setback aprons preserve access.
Is Reclaimed Pine Durable Enough as a Workbench Surface?
Surface Wear Patterns
A pine bench durability question often hinges on glue staining, denting, and contamination from finish overspray or metal particles. Pine is softer than maple or beech, so dents happen. That's not failure; it's character and evidence of use.
Practical strategies:
- Accept the patina. A bench should show its work. Dings and stains don't reduce performance.
- Protect against finish bleed. If glue squeezes out and dries on pine, it can etch the finish or stain the next workpiece. Use wax paper or caul boards. To speed cleanup long-term, compare glue-resistant bench coatings.
- Dedicated zones. Isolate metalworking, finishing, or epoxy work to one corner or removable mat. Pine absorbs finish fumes and solvents; they can weaken local fibers.
- Periodic resurfacing. Every 3-5 years, sand the top with 120-grit to remove surface contamination and restore grip for dog holes.
How Do You Evaluate a Used or Reclaimed Workbench?
Pre-Purchase Inspection Checklist
Flatness. Use a 4-foot straightedge. Sight down the length and across the width. More than 0.125 inch of cup or twist signals major repair work.
Stiffness. Press down firmly at the center of the top with both hands. Feel for flex. Try the same at the corners. Uneven flex or creep under pressure means loose joinery.
Frame integrity. Check for cracks in the legs or frame stretchers, especially where tenons meet mortises. Hairline cracks are cosmetic; open cracks indicate ongoing movement or stress.
Dog holes and vise pockets. Spin a dog in each hole. Are they damaged, obstructed, or stripped? Vise pockets should be square and clean; rounded or debris-filled pockets lose clamping force.
Finish condition. Old lacquer or paint can hide soft spots or rot. Ask the seller if you can scrape a test patch or drill a small sample hole.
Actionable Next Steps
- Measure your body. Take 5 minutes to establish your ideal working height using the protocol above. Record it in your phone. This spec travels with you.
- Test a candidate bench. Visit a local makerspace, woodworking club, or used-goods supplier. Work a hand plane on a few benches at different heights. Feel the difference in control and fatigue.
- Inspect the specifics. If you find a reclaimed pine candidate, bring a straightedge, dog, and calipers. Spend 15 minutes on the pre-purchase checklist. You'll know within minutes if it's a winner or a rescue project.
- Plan your setup. Before buying or building, sketch your bench height, vise location, dog-hole grid, and foot-rail placement on paper. Check those decisions against your body measurements and primary tasks. Comfort and control follow from thoughtful design, not luck.
Conclusion
A reclaimed pine workbench can deliver stability, flatness, and workholding reliability if you measure carefully and set it up around your body, not tradition. The material itself is forgiving and durable; the setup is where precision lives. Your next bench is only as good as the height that lets you control it and the flatness you maintain through simple, repeatable checks. Start there.
Related Articles