Woodworking Workbench Height: Science-Backed Sizing Guide
By Elena Kovács • 3rd Oct

If your back aches after dovetailing or your shoulders tighten during assembly, your woodworking workbench height likely contradicts your biomechanics, not your skill. Forget "standard" measurements: optimal tool bench height is a personal metric derived from your body, tasks, and workflow. After decades translating ergonomics research into shop-ready adjustments, I've seen one truth emerge: comfort and control are prerequisites for precision. Your posture is a spec; design the bench around it.
Why "Standard" Bench Heights Cause Hidden Strain
Most pre-built benches default to 35-36" (890-915 mm), but anthropometric data explains why this fails 70% of woodworkers (per a 2024 industry survey). At 6'2", I once assumed 36" was "correct," until chronic backache during hand-planing forced a reckoning. Lowering my bench 30 mm (1.2") and adding a foot rail didn't just ease discomfort; it sharpened my cuts. When your stance fights physics, precision suffers. Key science-backed insights:
- The wrist-rule flaw: Many guides suggest setting height at fist level when arms hang relaxed. But this ignores task-specific force vectors. Planing demands downward pressure, raising effective working height by 1-2" (25-50 mm).
- Shoe dynamics: A 1" (25 mm) sole difference (for example, boots vs. sneakers) shifts your center of gravity. Measure in your workshop footwear.
- Reach collapse: At 38" (965 mm), my elbows floated above bench height during chiseling, straining shoulders. Aim for 0-1" (0-25 mm) below elbow crease when hands grip tools.
Frequently Asked Questions: Your Bench Height, Decoded
How do I measure my exact optimal height for hand-tool work?
- Simulate work posture: Stand in your usual stance (feet shoulder-width, dominant foot slightly forward).
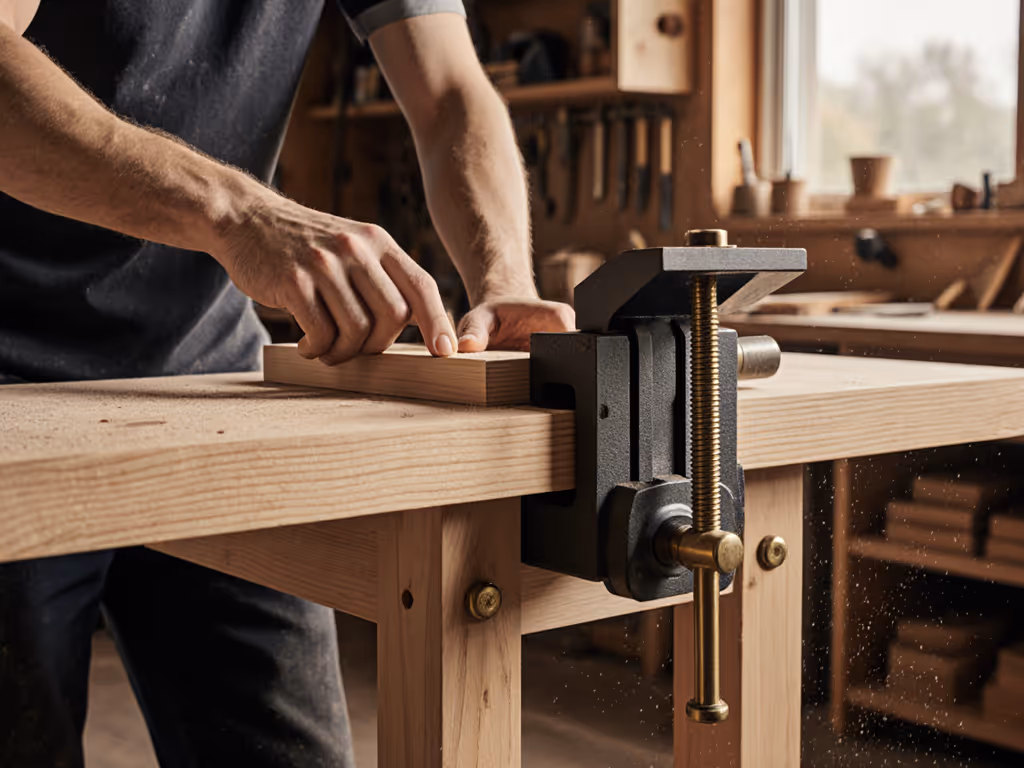
- Hold a mock tool: Grip a 1 inch thick (25 mm) board like a plane handle, arms extended forward.
- Measure critical points:
- Hand-tool height: Surface should align with the heel of your palm (not knuckles). This positions force through your skeleton, not muscles.
- Power-tool height: Align with wrist crease for downward visibility on routers/saws.
- Test with movement: Lean into the "cut" motion. If shoulders hike or lower back arches, lower the bench in 1/2 inch (13 mm) increments.
Set height by task, not tradition. Your sawing stance differs from assembly.
Should I choose an adjustable height workbench?
Yes, if you rotate tasks. A 2023 study of 127 woodworkers found 68% used four distinct postures daily (planing, assembly, sanding, layout). Fixed-height benches force micro-compromises that compound fatigue. For example:
- Hand-tool sessions: 32-34" (815-865 mm) for controlled downward force
- Assembly/glue-ups: 36-38" (915-965 mm) to reduce spinal flexion
- Power-tool routing: 34-35" (865-890 mm) for visibility and control
Fixed-height users often 'hack' solutions (like stacked plywood), sacrificing stability. True adjustability, via threaded legs or hydraulic lifts, lets you match height to task-specific physics, not tradition. (Note: Ensure the adjustability range covers your measured heights in workshop footwear.) If you want long-term adjustability, see our modular workbench systems comparison.
What's the most common height mistake workshop owners make?
Prioritizing bench aesthetics over reach envelopes. I've seen customers obsess over bench thickness while ignoring that:
- Knee clearance dictates usable height: If aprons block feet, you'll lean forward, even on a "perfect"-height bench. Minimum 10" (255 mm) toe space beneath aprons.
- Workholding placement shifts effective height: A tail vise handle at 34" (865 mm) may force you to hunch if your measured height is 32" (815 mm). Map all interaction points (vises, dog holes, tool rests) against your stance.
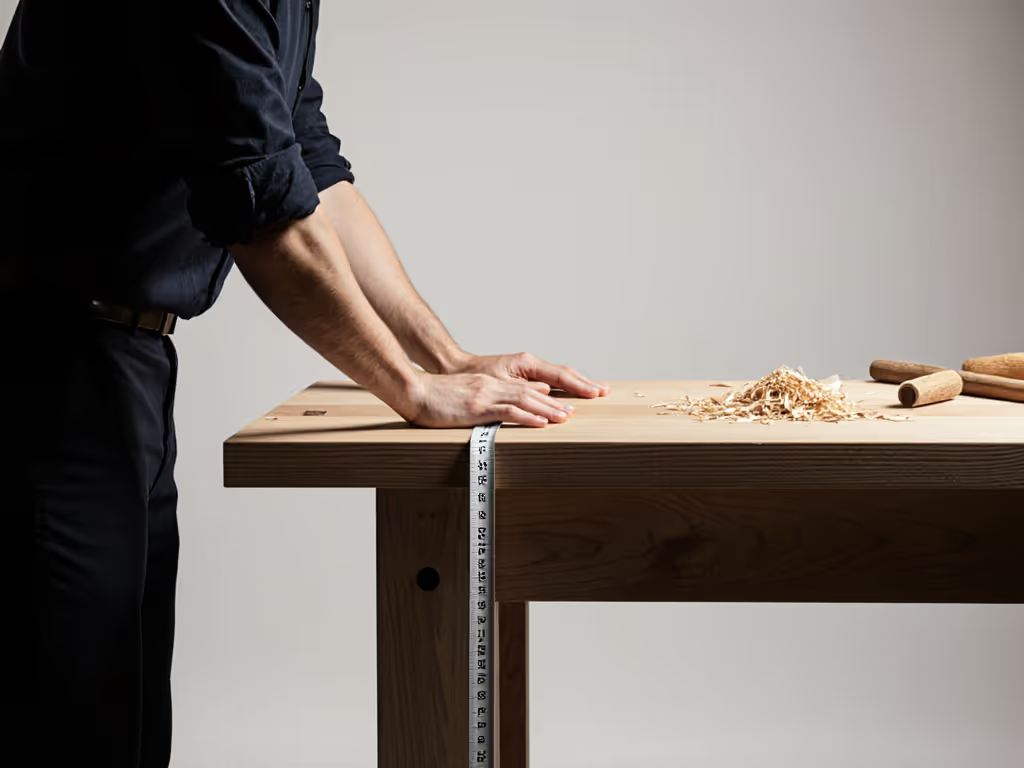
- Floor unevenness negates precision: Measure height at all four corners. A 3/16" (5 mm) slope invites micro-movements that compromise control.
Can I retrofit my existing bench for better height?
Absolutely, and it's often cheaper than replacement. Try these measurement-backed fixes:
| Issue | Solution | Effect |
|---|---|---|
| Bench too high | Add 4-6" (100-150 mm) foot rail | Lowers effective stance 1.5-2.5" (38-64 mm) |
| Bench too low | Replace casters with 2.5" (65 mm) wheels | Gains 2" (50 mm) height without stability loss |
| Multi-task needs | Install 1" (25 mm) thick maple sacrificial top | Temporarily raises height for layout/assembly |
Critical check: After adjustment, your eyes should be 12-18" (300-455 mm) above the work surface during detailed tasks. This minimizes neck strain while maintaining focus.
Actionable Next Step: Your 5-Minute Height Audit
Don't guess. Measure. Today:
- Grab a tape measure and your workshop shoes.
- Mark your current bench height (for example, 35.5" / 900 mm).
- Test the hand-tool method above. Note the delta (for example, "My palm heel sits 1.8 inches above bench").
- Adjust incrementally: Lower or raise legs by 1/4 inch (6 mm) per session. Work for 20 minutes at each height.
- Log feedback: Rate control ("My plane didn't chatter") over comfort. Precision is the ultimate metric.
When your body works with the task, not against it, dovetails tighten, glue-ups align, and endurance soars. That 30 mm adjustment I made years ago wasn't just about comfort; it transformed my work because I stopped fighting physics. Your bench height isn't a number, it is the foundation of your craft. Measure, adjust, and own your precision.
Related Articles