Unusual Workbenches: How Specialized Designs Solve Problems
By Diego Martins • 24th Apr
The Problem: One Bench Can't Optimize Everything
The standard woodworking bench (sturdy torsion box, front vise, dog holes, maybe a tail vise) is a solid all-arounder. But "all-arounder" means compromise across every dimension. A bench optimized for hand-planing may sacrifice the flat, obstruction-free surface a glue-up demands. Configurations that excel at clamping long boards create knee-clearance headaches. Bench height and vise placement that suit 6'2" leave a 5'4" maker struggling with shoulder fatigue. And when you shift from furniture-grade work to repairs, metalwork, or electronics (tasks that appear in your shop as opportunity rather than plan) the original bench becomes an obstacle rather than an asset.
The evidence is unambiguous: makers who expand their task scope without redesigning their bench encounter recurring friction. That friction isn't just frustration; it erodes accuracy. Each workaround, each re-clamping, each reach beyond comfortable geometry introduces micro-errors that compound into joint gaps, alignment failures, and surface contamination.
Agitation: Why Compromise Erodes Accuracy and Workflow
When a bench doesn't match its tasks, the cost manifests in ways that don't always announce themselves loudly.
Accuracy drift under load: A bench designed for outfeed work may concentrate clamps and fixtures on one side, leaving the glue-up zone cramped. You compensate by working faster, skipping micro-adjustments, or repositioning parts mid-clamp. Each deviation is small (0.5 mm here, a slight twist there), but compounds into visible joint failure. The culprit isn't poor technique; it's a workholding geometry that forces trade-offs.
Ergonomic tax accumulates over time: The classic bench height of 34-36 inches works for average frames but not for individuals outside that band, nor for tasks requiring downward or overhead work. A maker working 40+ hours weekly on a bench 3 inches too high develops chronic shoulder strain. An adjustable-height workbench guide can help match surface height to each task and user. Over years, this isn't discomfort; it's an injury trajectory. The cost isn't just pain; it's lost productivity, lost capability, and a weakening willingness to tackle ambitious projects.
Workholding bottlenecks kill cadence: A face vise that clamps horizontally excels at planing but fails when you need to hold a panel edge-up for a vertical cut. Standard dog-hole spacing (3/4-inch vs 20mm) doesn't align with specialty jigs or template systems. Every task transition requires adaptation, auxiliary setups, or workarounds. In a shop billing by the hour or fighting personal deadlines, setup delays compound into lost days.
Task-switching contamination: Moving between glue assembly, metalwork, and finishing on the same surface without losing precision demands deliberate design. A bench covered in glue residue or metal dust telegraphs contamination into your next part. Standard benches force you to choose between dedication (one bench, one purpose) and versatility (one bench, all compromises).
The Solution: Unusual Designs Address Real Constraints
The design variations documented in maker communities (from Popular Woodworking's gallery of unusual workbenches to boutique builder innovations) aren't novelty experiments. They're targeted responses to identified gaps. Understanding the logic behind them lets you evaluate whether they solve your actual problems and whether the cost-per-capability math works for your situation.
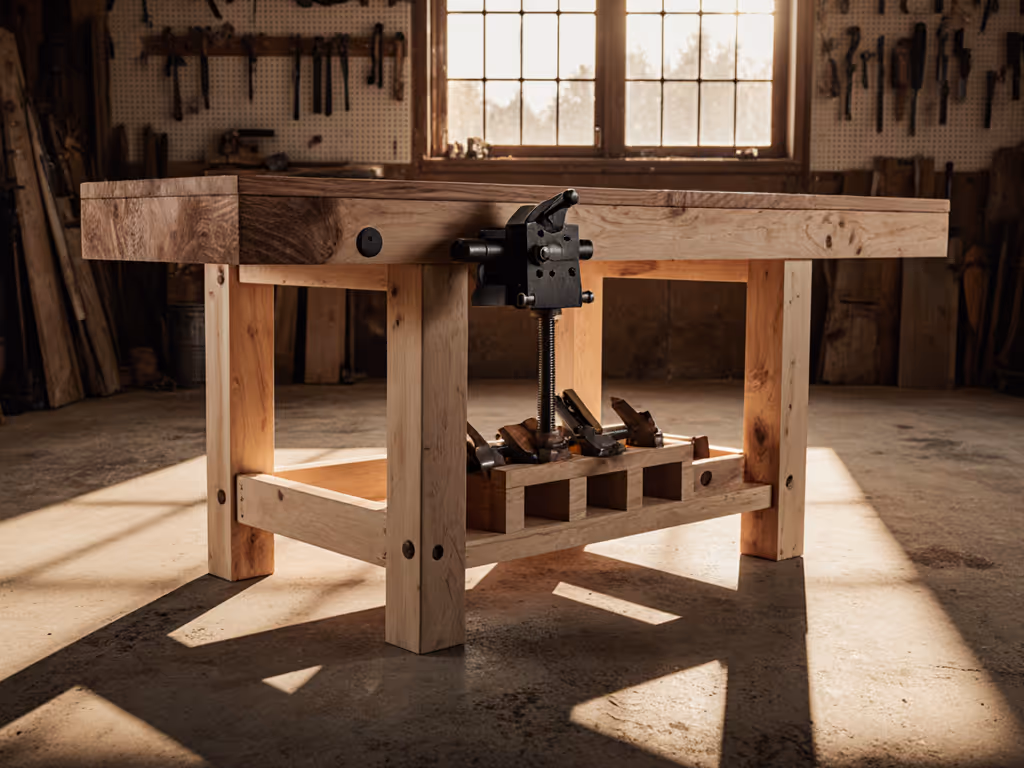
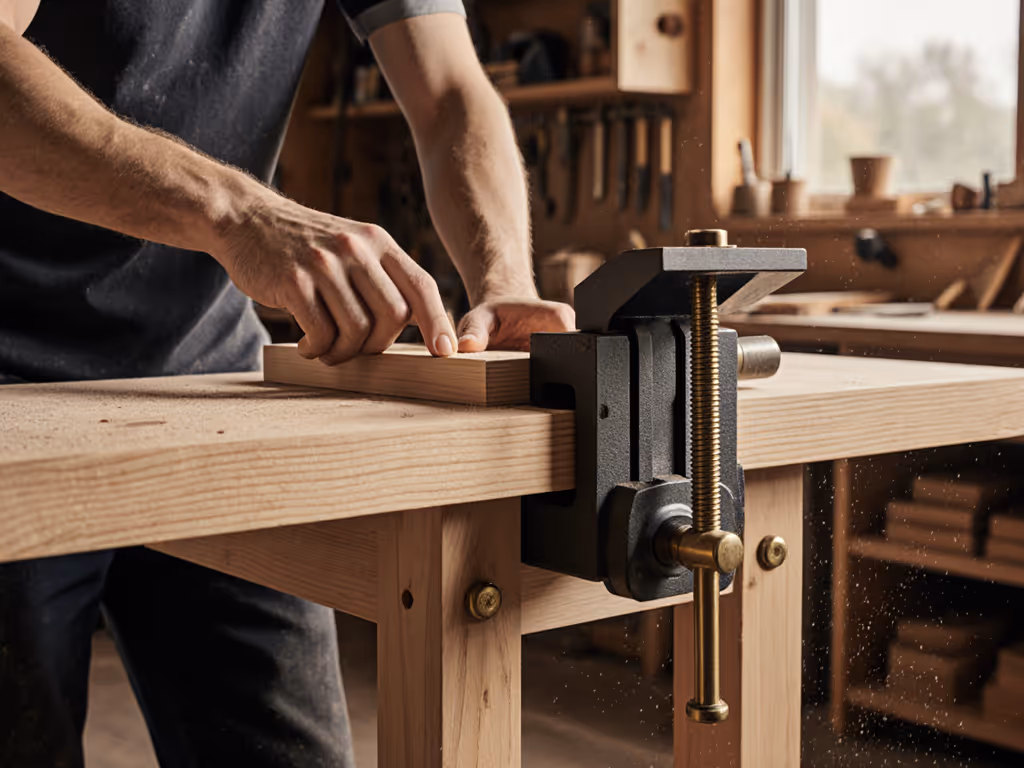
Vertical-Hold Configurations and Specialized Vises
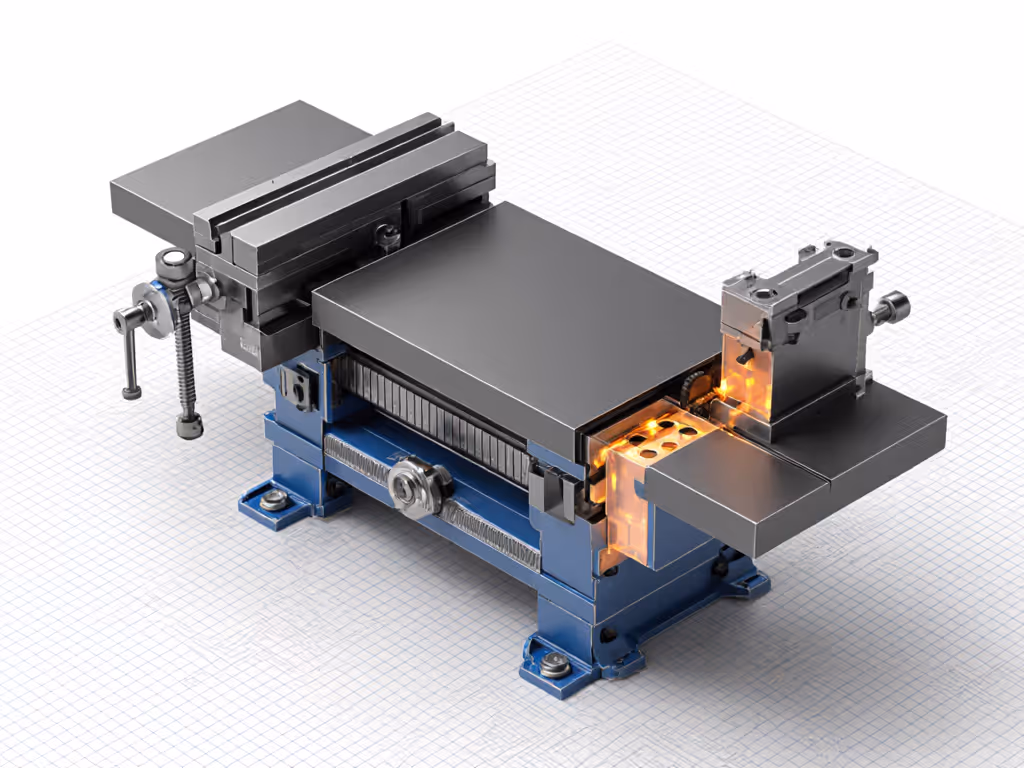
A vertical-hold shoulder vise rotates the clamping plane 90 degrees, holding work edge-up or face-out. This is essential for hand-tool tasks that demand clear sight lines and direct force paths (mortising, chiseling, planing). It's also superior for panel-edge operations and template routing. The trade-off: it consumes more frontal bench space and demands a stronger front apron. But if hand-tool joinery represents 40% of your workload (as it does for many furniture makers) this specialized interface pays measurable dividends in accuracy and fatigue reduction.
The Lervad bench vise, originally developed in Scandinavian workshops, optimizes screw geometry for leverage and precision under edge-grain work. It's less common in North American shops partly due to sourcing friction, partly because the standard face vise became cultural shorthand. But it demonstrates a crucial principle: vise geometry directly affects clamping efficiency, repeatability, and the force required to achieve a secure hold.
Multi-Level and Modular Platforms
Some makers have moved beyond the single fixed-height top. A bench with a shallow top section optimized for hand-tool work and a deeper platform at a lower height for assembly and clamping addresses the ergonomic diversity of different tasks. This configuration reduces fatigue across an 8 hour day by measurable margins compared to single-height alternatives (not through technology, but through honest matching of task geometry to body mechanics).
Modularity compounds capability over time: start with a core platform that's rigid and flat, then add specialized interfaces (vise carriages, router-lift pockets, fixture rails) incrementally. Interfaces turn money into options (your investment isn't locked into a single configuration; it becomes a building block for expanding capacity). This approach aligns with how most makers actually upgrade: they start lean, add interfaces, and compound the capability as the shop and workload evolve.
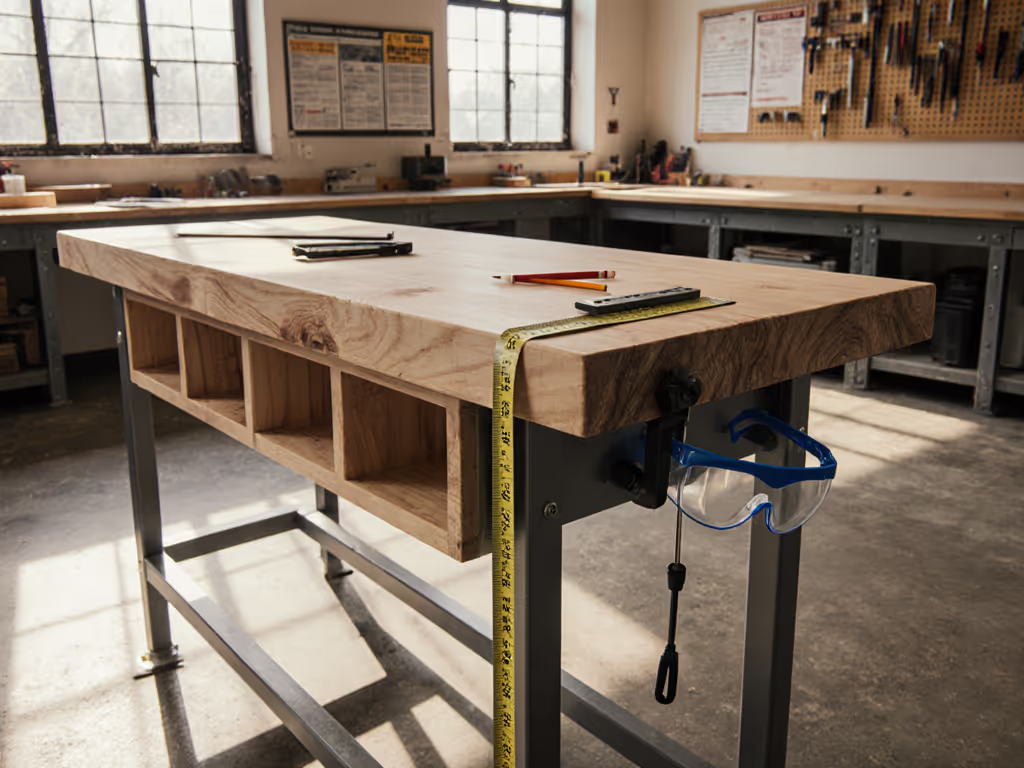
Integrated Storage and Clamping Ecosystems
An unusual configuration gaining traction is the bench-workstation hybrid: storage and tool access integrate into the structure itself, eliminating reaching and tool-hunting. A solo maker can't afford a dedicated tool wall 10 feet away. But a bench where the most-used vises, dogs, and fixtures are within arm's reach (organized via a consistent grid) eliminates micro-wastes that drain focus over a day. The cost-per-capability argument is indirect but real: you buy back the time lost to setup friction.
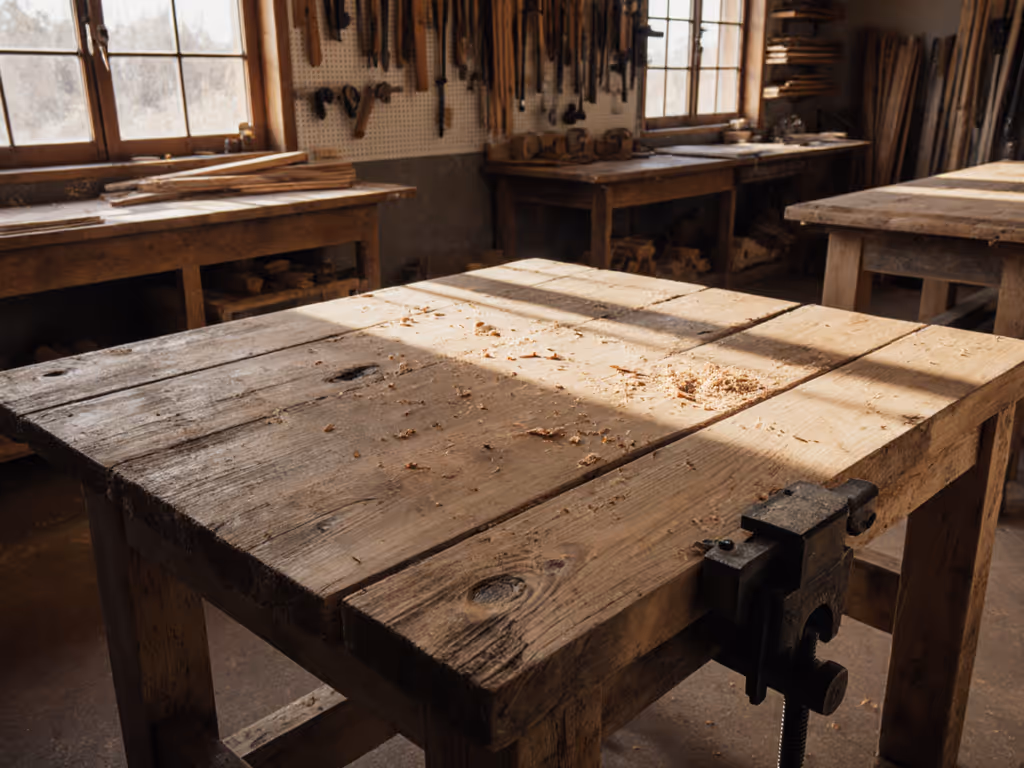
Surface Specialization and Replaceable Tops
Some specialized benches use zoned or interchangeable tops: a sacrificial surface for glue and metalwork, swappable for a polished top when finish work or client-side assembly is the priority. This isn't novel (kit-build solutions like the Festool MFT/96 popularized modular surfaces) but the principle applies broadly. A bench that transitions between task zones without losing precision is a rare efficiency multiplier.
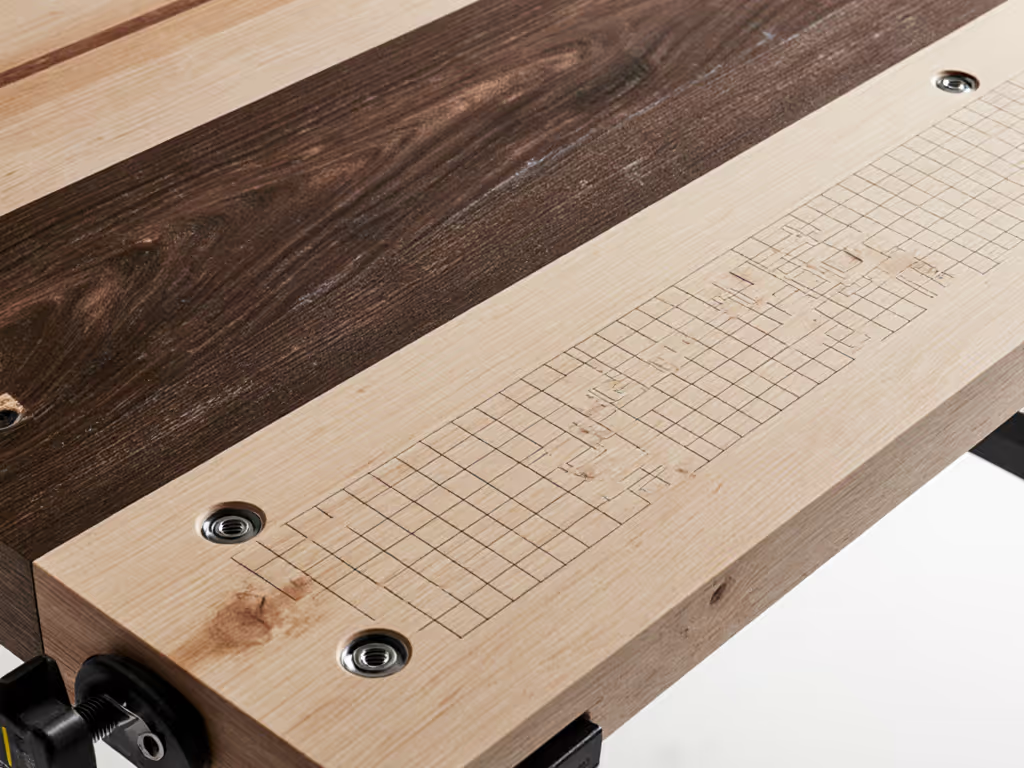
The Role of Standards Compatibility
The most durable unusual benches succeed because they embed standardized interfaces: 20mm or 96mm hole grids, T-track rails, or Festool-pattern slots. These standards don't emerge from marketing; they emerge from repeated measurement and consensus on what actually works. For a deeper look at compatibility and upgrade paths, see our modular systems comparison. When a bench commits to a standard, every accessory sourced to that spec becomes an interface that compounds capability.
A bench locked into proprietary clamping or custom hole spacing means each new task requires a one-off solution. You're rebuilding, not upgrading. That's not modularity; that's starting over.
Evaluating Unusual Designs: Cost-Per-Capability Framework
When a specialized bench interests you, audit it against these criteria:
Task Specificity: Does this design solve a constraint that represents >30% of your actual workload? If it optimizes for hand-tool work and you're 80% power-tool assembly, the capability-per-dollar is poor regardless of absolute quality.
Standards Alignment: Are the vises, dogs, and accessory mounts compatible with common suppliers and aftermarket parts? Or are you locked into sourcing from one maker?
Upgrade Path: Can you start with the core bench and add specialized interfaces (additional vise carriages, modular tops, storage) without needing a rebuild? This is where modularity-minded design pays ongoing dividends.
Flatness and Rigidity: Has anyone measured deflection under actual load (hand-planing pressure, clamping force)? Unusual doesn't mean untested; demand specifics. Parts sourcing clarity matters here too (you need to know what goes into the bench, how it's assembled, and whether you can repair or reinforce it).
Real-World Task Proof: Does the design demonstrate performance in a task you actually do (glue-up, mortising, assembly, or repair work) or is it theoretical elegance on Instagram?
Your Next Step: Audit Your Tasks, Then Your Bench
Before adopting an unusual design, map your actual tasks over a typical month: hours spent hand-planing, assembly clamping, routing, finishing, repair work, tooling. Then ask: does your current bench create friction in >25% of those hours? If yes, identify which constraints matter most (ergonomics, workholding geometry, surface transitions, or mobility).
An unusual design that solves your top two constraints is more valuable than a prestigious bench that perpetuates the problem. Start by documenting your workflow and the friction points. Then evaluate whether a specialized configuration (or a modular upgrade to your existing bench) delivers capability over time without forcing you to scrap what already works.
Value isn't what you spend on day one. It's what you can do over the months and years that follow. The bench that compounds your capability (not the one that impresses at first glance) is the one that pays.
Related Articles