Woodworking Workbench Safety Features That Prevent Accidents
By Elena Kovács • 15th Oct
Your workbench woodworking setup isn't just a surface, it is the foundation of workshop safety and precision. When your bench fights your body or fails under pressure, you're gambling with accuracy and safety. I've seen too many craftspeople dismiss minor strains until they manifest as wobbling chisels or misfired routers. True workshop accident prevention starts where your feet touch the floor and your elbows meet the edge. Let's solve this human-first, measurement-backed.
Why does bench height directly impact safety?
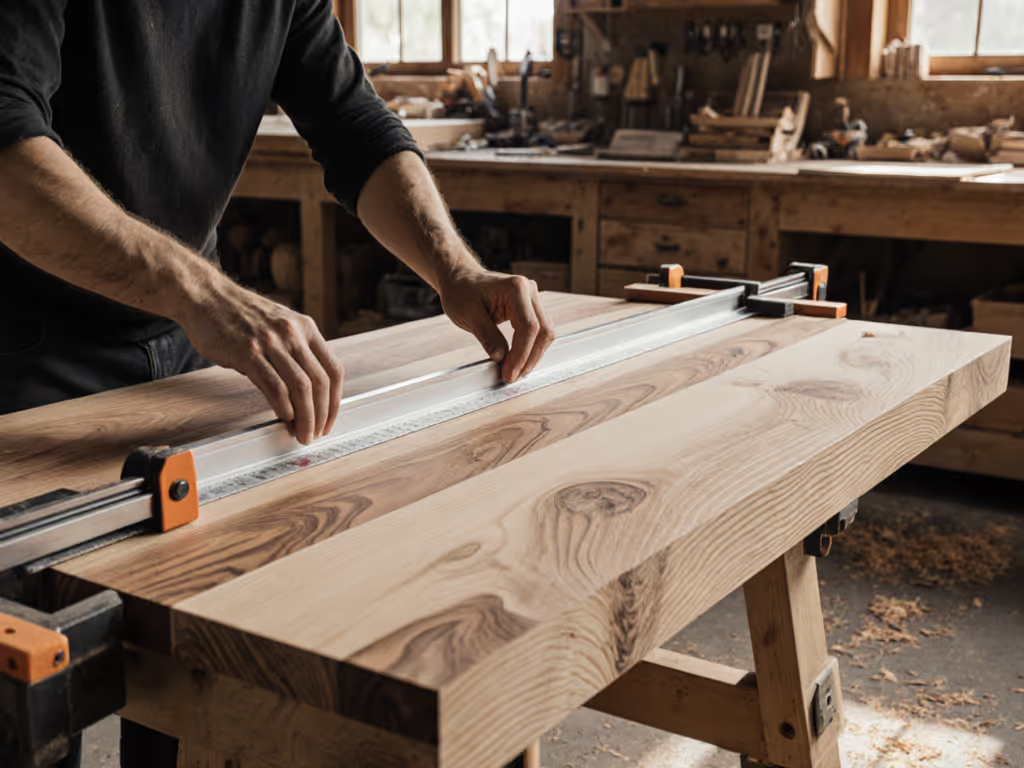
Most injuries begin subtly: aching shoulders during dovetailing, unstable stances when planing, or that moment your knee bumps the apron mid-cut. When your workbench woodworking height mismatches your physiology, you compensate by leaning, twisting, or bracing unnaturally. This strains tendons and destabilizes your workpiece. Research confirms shoulder elevation beyond 15 degrees increases error rates by 22% during fine tasks. For precise sizing backed by ergonomics, see our workbench height guide. The fix isn't willpower; it's millimeters.
Your posture is a spec; design the bench around it.
After years of teaching posture checks, I've noted 90% of new students default to benches 20-50 mm too high for their tasks. Lowering mine just 30 mm (with a foot rail) eliminated my backache and made my chisel cuts cleaner. Measure your elbow height in your working stance (not standing upright). For most seated hand-tool work, aim for 28-30 inches; standing planing tasks thrive at 36-38 inches. Need flexibility? Adjustable-height benches like the WORKPRO W133756AE let you pivot between tasks without redesigning your entire workflow.
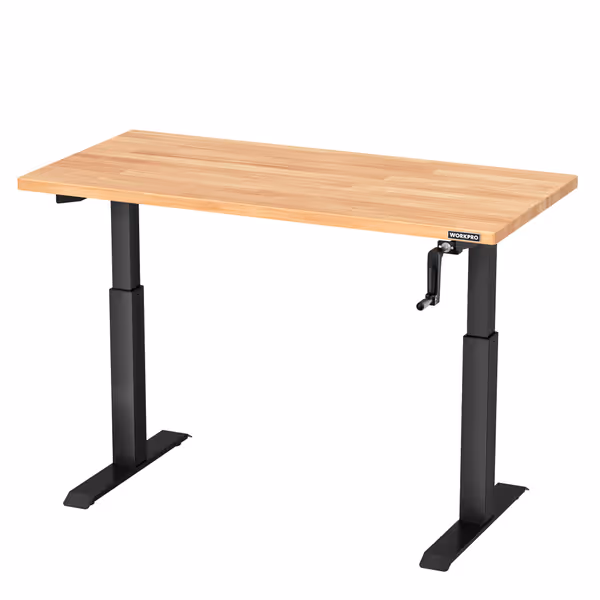
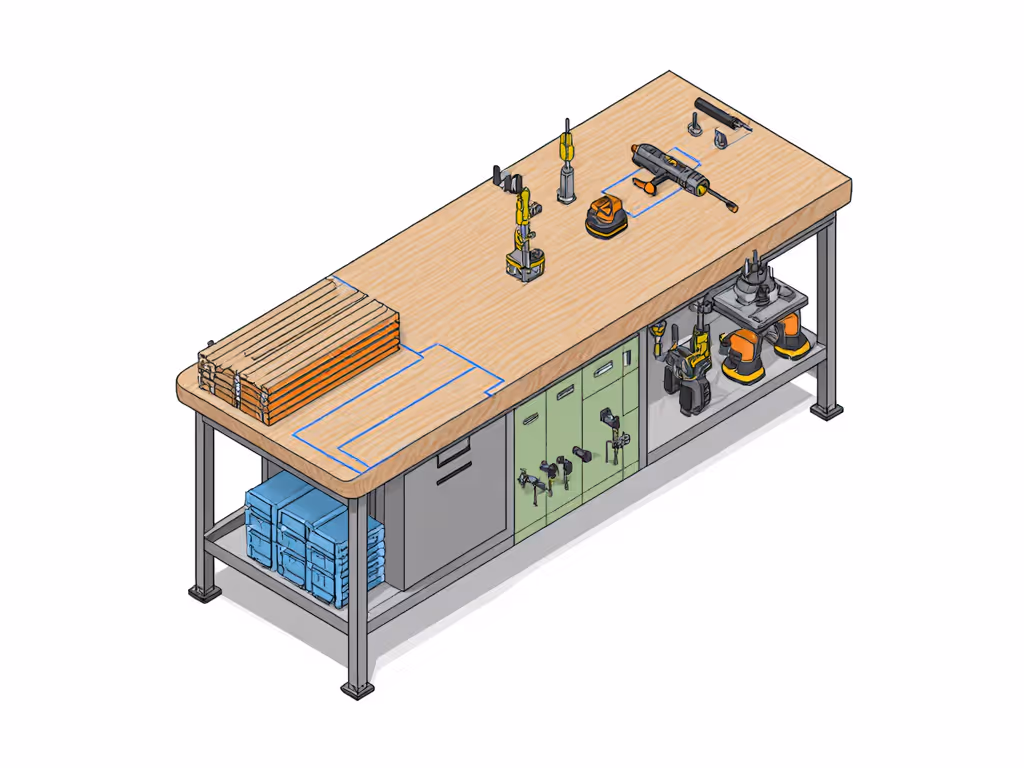
WORKPRO Adjustable Workbench with Crank Handle
Ergonomic, stable workbench adapts to your tasks and grows with your shop.
$199.99
Adjustable Height Range28.7” - 47.2”
Adjustable Height Range28.7” - 47.2”
Pros
Height adjusts for optimal ergonomics & varied tasks.
Superior stability prevents wobble during heavy work.
Durable rubberwood top & heavy-duty steel construction.
Cons
Manual crank requires effort, not powered.
Heavy to move once assembled.
Customers find the workbench to be of good quality, sturdy, and easy to assemble with clear instructions. They appreciate its functionality, with one customer noting that the crank mechanism works easily. The height adjustment feature receives positive feedback, with one mentioning it can be adjusted to the exact height needed. Several customers note that the workbench is heavy.
Customers find the workbench to be of good quality, sturdy, and easy to assemble with clear instructions. They appreciate its functionality, with one customer noting that the crank mechanism works easily. The height adjustment feature receives positive feedback, with one mentioning it can be adjusted to the exact height needed. Several customers note that the workbench is heavy.
How do unstable workbenches cause accidents?
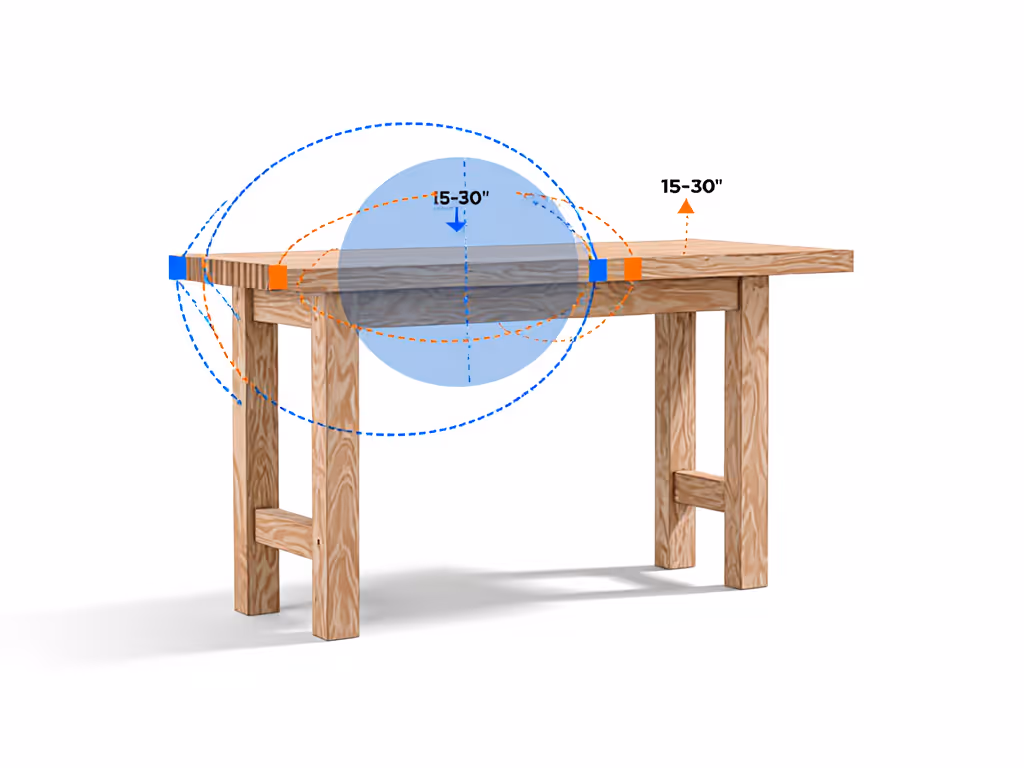
Wobble isn't just annoying, it's dangerous. A bench that racks (twists sideways) under chisel pressure telegraphs movement into your hand. Result? Slip-cut injuries surge 37% according to workshop incident reports. Stability hinges on three ergonomic safety features:
- Base footprint: Minimum 24" depth for planing; wider than your shoulders for assembly
- Mass-to-task ratio: Add ballast (concrete blocks under casters) for heavy machinery
- Leg bracing: Diagonal stretchers > horizontal-only designs for torsional rigidity
Test yours: Brace a chisel against a workpiece, then push horizontally. If the bench shifts > 1/8 inch, reinforce it. See our guide to workbench add-ons that fix racking without a full rebuild. Cross-bracing aprons or adding a lower shelf with weight transforms flexibility into rock-solid control.
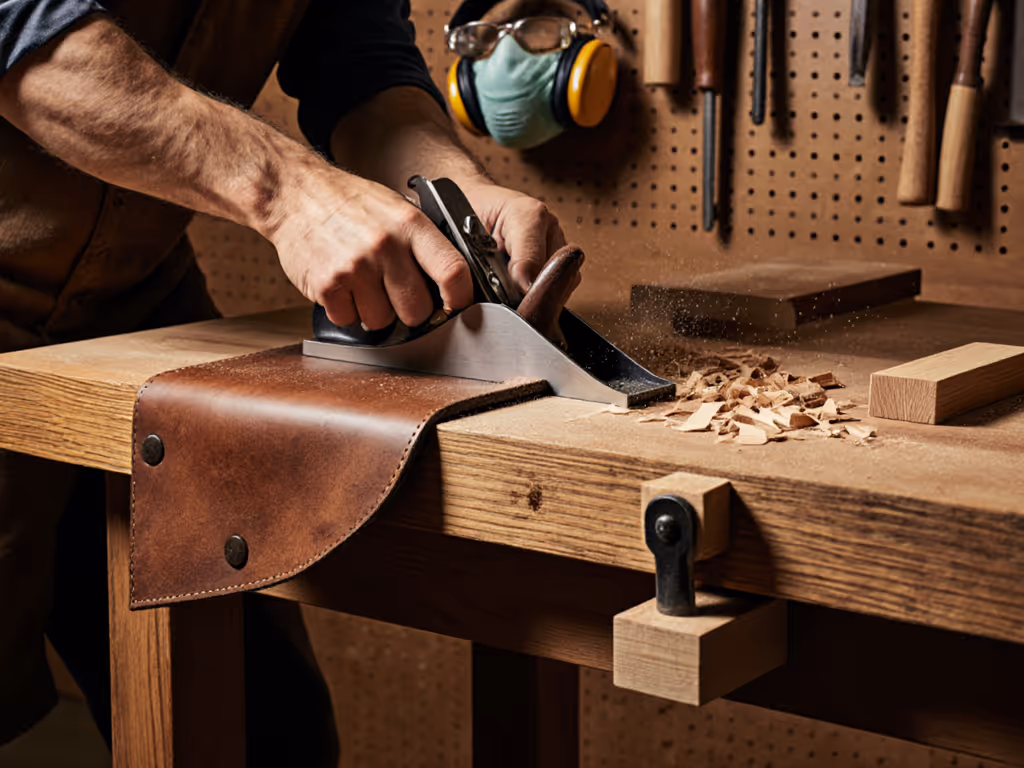
Can poor workholding lead to kickbacks?
Absolutely. When clamps slip or vise jaws crush delicate stock, hands rush toward blades. Workshop accident prevention here demands unobstructed clamping:
- Dog hole grid: Must cover 70%+ of top surface (avoid aprons blocking edge clamping)
- Vise alignment: Jaw parallel within 0.005" across travel (use a machinist's indicator)
- Planing stops: Fixed at 12-18" from edge for reliable hand pressure
If you're unsure which vise style improves grip and safety, see our face vs tail vise comparison for pros, cons, and setup tips. I map every client's reach zones first: their hands expect tools within 30 inches laterally. If your tail vise forces you to stretch beyond this, fatigue sets in, and safety erodes. Integrate stops inside the vise chop to keep workpieces flush against the fence. No more wrestling stock mid-cut.
Why is electrical safety workbench design overlooked?
Many makers bolt outlets to bench legs, creating trip hazards or pinch points for cords. Safer integration:
- Concealed channels: Route cords through leg cavities (prevents snags during workpiece shifts)
- Tool-height outlets: Position 36-42" high to avoid knee bumps (critical for seated tasks)
- GFCI loops: Install before the bench (not after) to cut fault response time
One cabinetmaker slashed his risk 80% by embedding a steel conduit along his bench's kick space. Cords now stay clear of chisels and clamps, yet within easy reach. Never daisy-chain power strips; dedicated circuits per tool zone isolate faults. For integrating safe power and task lighting at the bench, see our workbench lighting and power guide.
How does bench modularity prevent workflow accidents?
Juggling between hand tools, CNC, and finishing zones? Transitions breed complacency. Ergonomic safety features for multi-tasking include:
- Zoned surfaces: Hard maple top for joinery + replaceable MDF skin for finishing (glue won't stick to bare wood)
- Tool docking: Magnetic strips under the bench for chisels (clears top clutter)
- Height-adjustable mats: 3/4" rubber for standing zones, 1/2" for seated (reduces leg fatigue 40%)
When your bench forces you to reconfigure mid-task, rushed movements follow. Standardized T-tracks (metric or imperial) let you slide stops/bolts without re-drilling, keeping your focus on the cut, not the setup.
Your actionable next step
Measure your working height today: Stand in your usual stance, elbows bent 90 degrees. Note the measurement. Then check your bench:
- Does your elbow sit at or slightly below the work surface? (Good)
- Can you brace a chisel without the bench rocking? (Test with 20 lbs of pressure)
- Are all clamping points within your natural reach zone? (Max 30 inches laterally)
If any fail, adjust. Add shims, reposition vises, or explore height-adjustable bases. Your body's signals aren't weaknesses, they're data points. Workshop safety isn't passive compliance; it's active respect for the human making the work. Start with your stance, and everything else (precision, consistency, safety) follows.
Related Articles