Workshop Bench Lighting: See Clearly While Working
By Elena Kovács • 3rd Oct
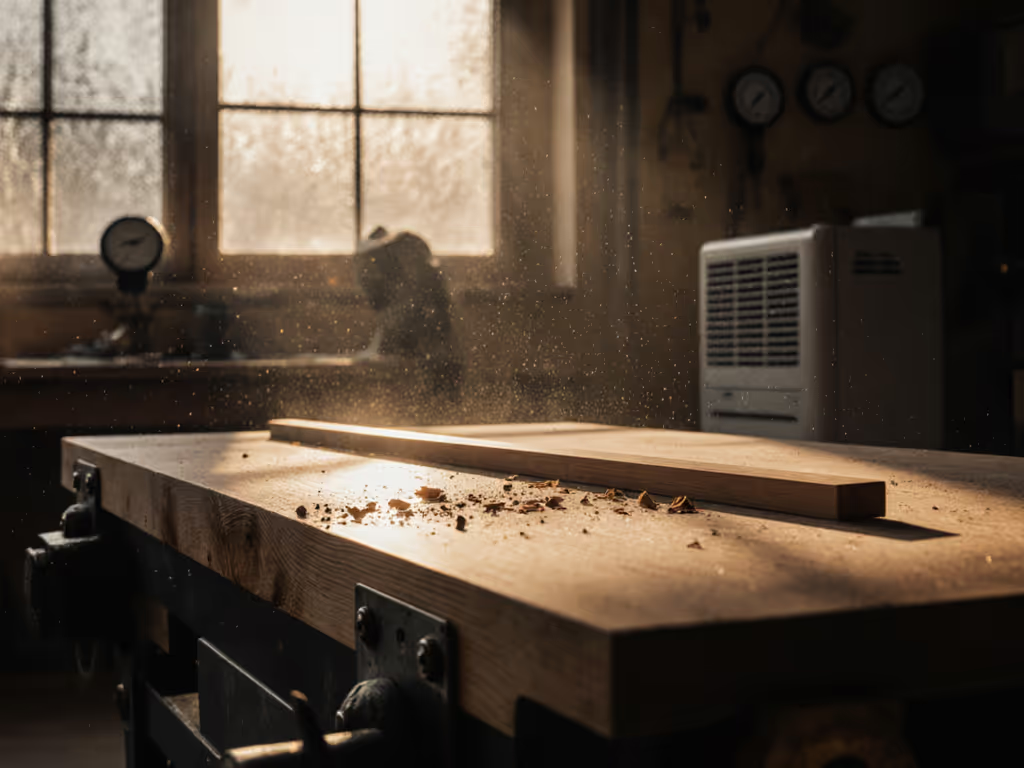
When your hands are steady but your vision blurs, it's rarely the tools, it's the light. That truth hit me after a long run of dovetails left my eyes strained and my joints screaming. I'd optimized my bench height and foot stance, yet overlooked how workshop bench lights anchor your entire workflow. The right illumination isn't just about brightness; it's a work bench power solution preventing fatigue before it starts. Human-first lighting transforms squinting into surgical precision. Let's fix this step by step.
Your posture is a spec; design the bench around it.
Why Lighting is Your Silent Ergonomic Partner
Most makers treat lighting as an afterthought, until glare forces a hunched neck or shadows hide a chisel's edge. Yet industrial studies confirm poor lighting contributes to 30% of workshop fatigue. When your eyes strain, your shoulders clench, your back compensates, and your grip tightens. Suddenly, that "minor" tremor in your hands isn't fatigue, it's your body fighting for visual control.
Precision work demands your eyes work with your hands, not against them.
I've watched hobbyists abandon projects after hours of blurred dovetails, not realizing their hanging garage lights cast shadows exactly where their hands operated. Workshop electrical solutions must serve human movement, not just illuminate square footage. For posture-first ergonomics, set your bench to the right height with our workbench height guide. Your lighting should:
- Cast zero shadows across your cutting line
- Match the color temperature of your work phase (daylight for joinery, warmer for finishing)
- Eliminate glare on reflective surfaces like metal or wet glue
Mapping Your Personal Light Zones
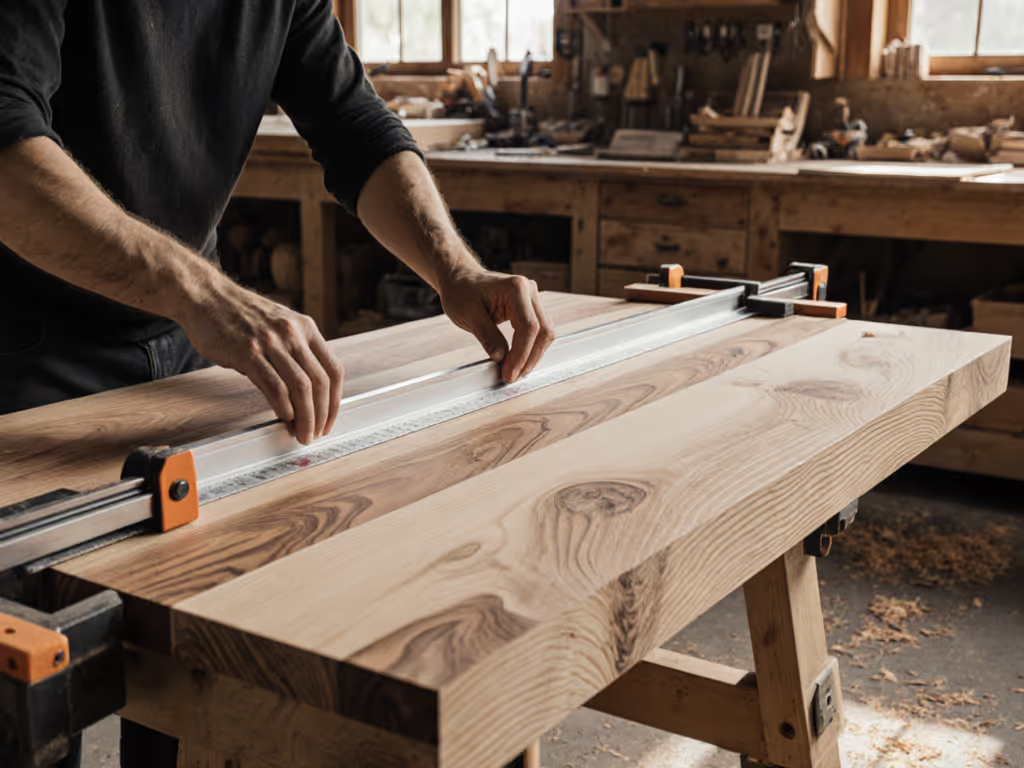
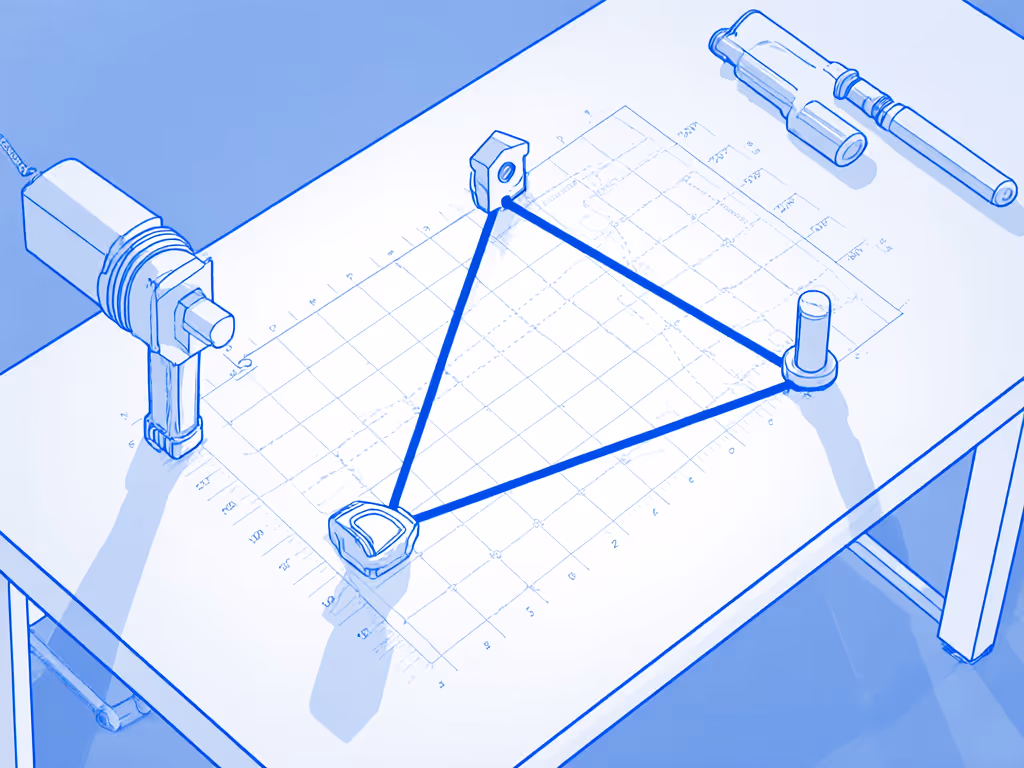
Forget "one-size-fits-all" fixtures. Your reach envelope and stance dictate where light must fall. Grab a tape measure and your most-used hand tool (chisel, plane, calipers):
-
Mark your critical triangle: Stand at your bench in your natural working stance. Place a dot where your eyes are, one where your tool tip lands, and one at your dominant hand's pivot point (e.g., wrist). This triangle must be shadow-free.
-
Measure lux at three heights: Use a free lux meter app (like LUX Light Meter Pro) to check illumination:
- At bench surface (target: 500 lux for fine joinery)
- At eye level (target: 300 lux to reduce pupil strain)
- At power tool guards (e.g., 400 lux for saw fences)
- Note shadow culprits: Work with a partner or phone camera. Perform common motions (planing, chiseling) and photograph where shadows fall. Common offenders: overhead ducts, cabinet soffits, and torso position.
The Placement Protocol: Human-First Over Fixture-First
Industrial standards recommend 300-500 lux for workshop tasks, but that's generic. Your body needs directional light. Here's my measurement-backed approach:
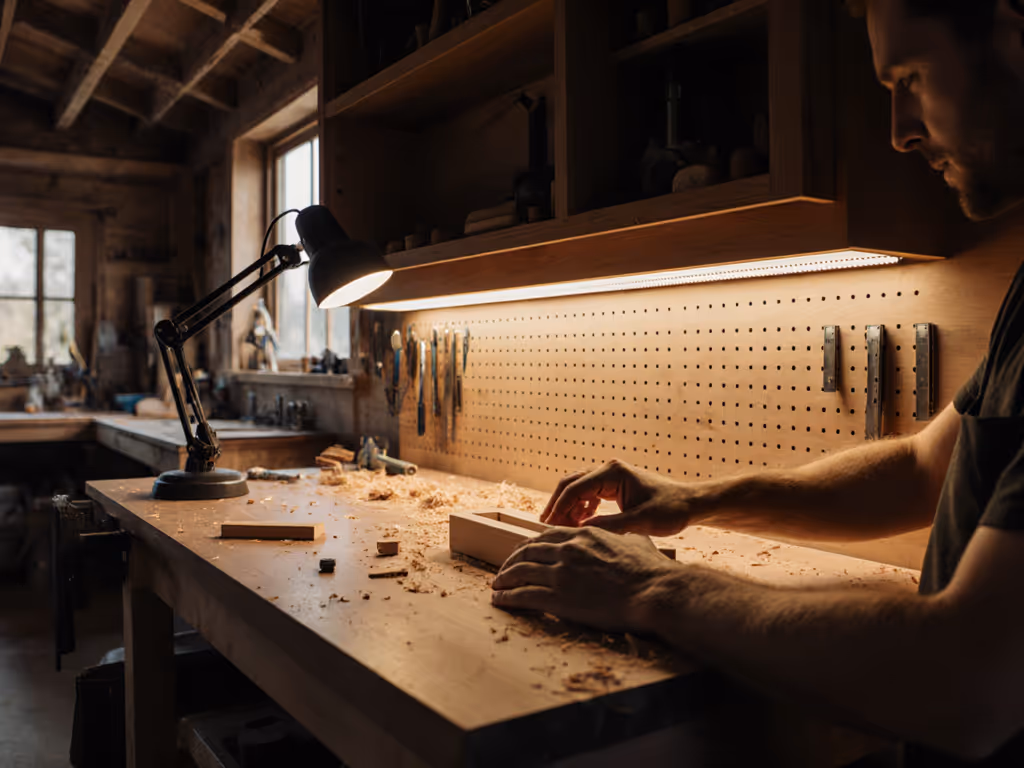
Step 1: Anchor Light at the Source of Movement
Under bench lighting installation beats overhead-only setups for 90% of makers. Why? Your body blocks ceiling light. Install LED strips below your front bench edge, angled slightly upward. This:
- Eliminates hand shadows on workpieces
- Prevents glare when looking up at ceiling fixtures
- Creates even illumination across the entire worksurface
Metric/Imperial Tip: Position strips 2-3 inches (50-75 mm) from the bench front edge. Too close causes glare; too far creates toe-kick shadows.
Step 2: Layer Light Like Your Work Zones
Divide your bench into task-specific zones:
| Zone | Task Example | Light Target | Fixture Height |
|---|---|---|---|
| Front Zone | Hand-tool joinery | 500 lux | 12-18" (30-45 cm) below bench top |
| Mid Zone | Assembly/glue-ups | 350 lux | 24-30" (60-75 cm) ceiling-mount |
| Rear Zone | Tool storage | 200 lux | Recessed strips under shelves |
Overhead lights alone can't differentiate these. A single 80-watt LED panel at 6 feet (per VetroSafe's data) gives blanket coverage but floods your eyes during detailed work. Instead, use dimmable strips for front zones and motion-sensor pucks for rear zones.
Step 3: Tame the Color Temperature
Many makers lump all "bright white" LEDs together. But modern work bench features include tunable lighting because:
- 4000K-5000K (daylight) reveals grain tear-out and joint gaps but strains eyes after 2 hours
- 2700K-3000K (warm white) reduces eye fatigue during finishes but hides fine defects
Run tasks in daylight-equivalent light. Shift to warmer tones for finishing/sanding. Your eyes will thank you.
Powering Smart: Clean Energy for Clutter-Free Work
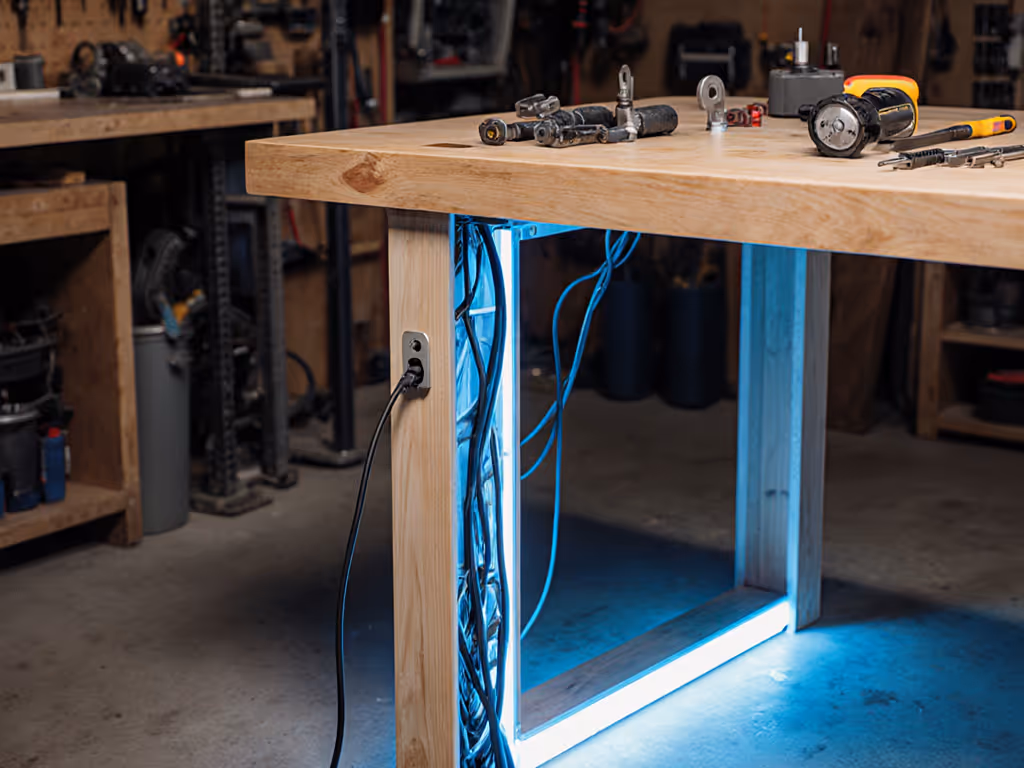
Work bench power strip setup often becomes a trip hazard. But strategic wiring supports posture as much as lighting:
-
Route power vertically: Mount a power strip inside your bench leg (not under the top). Feed cables through grommet holes drilled vertically into the leg. This prevents:
-
Cables tugging on tools during planing
-
Tripping while stepping back to check work
-
Clutter forcing awkward stances
-
Use cord management as an ergonomic tool: Secure cables with silicone loops every 8 inches (20 cm). Taut cables pull tools off-center, forcing shoulder strain. Loose cables create reach hazards. Aim for "snug but free" tension.
-
Integrate switches into your workflow: Place a foot pedal switch under your workbench rail. One tap kills power to sanders/drills without moving your hands, critical mid-cut.
Lighting that accommodates your body isn't a luxury, it's the foundation of repeatability.
Your Action Plan: See the Difference in 20 Minutes
Tonight, grab your phone and a measuring tape. Stand at your bench in your natural working stance and:
- Test shadow zones: Shine your phone light from ceiling height. Note where your hand casts shadows on your work area.
- Adjust one fixture: Lower an overhead light by 6 inches (15 cm) or add an under-bench strip. Re-test shadows.
- Map your lux: Use a free app to measure light at your tool tip. Aim for 400+ lux for fine work.
This isn't about perfecting your shop, it's about removing friction between your hands and your vision. When your lighting serves your body's needs, you'll notice smoother cuts, calmer shoulders, and work that looks yours, not the light's.
Your posture is a spec; design the bench around it. Start with the light it lives in.
Related Articles