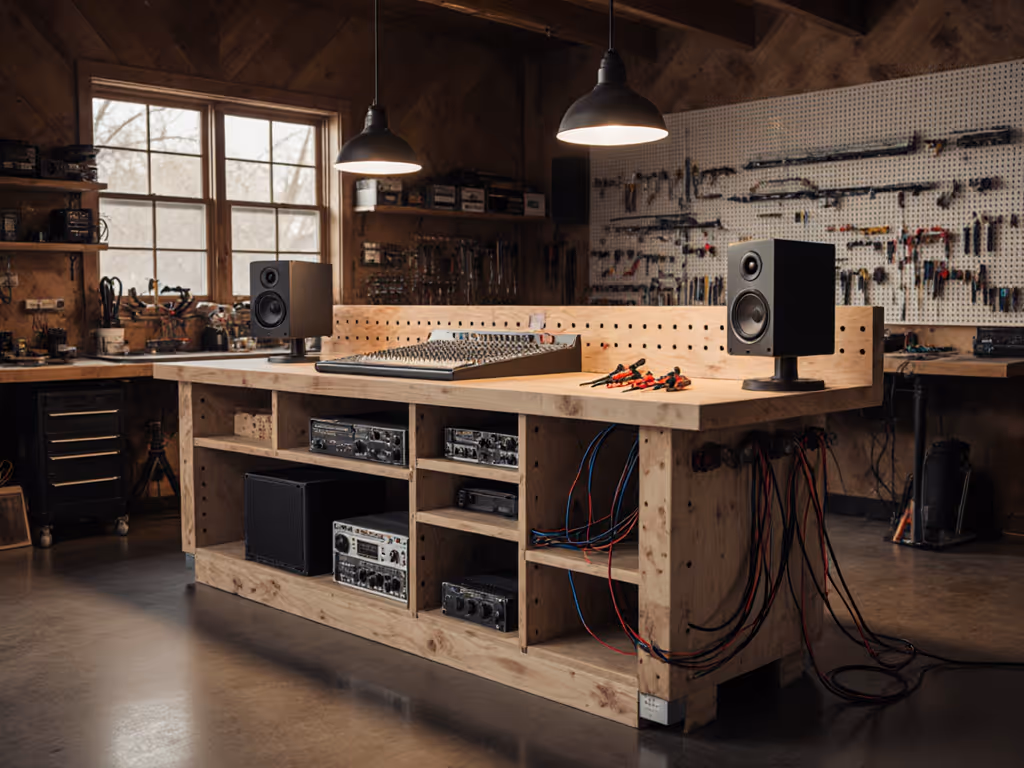
Build Flat, Stable Large Panel Workbench Tops
By Elena Kovács • 15th Feb
What Causes Large Workbench Tops to Sag or Twist?
The enemy is unsupported span. A typical 8-foot bench top will flex in the middle when you plane or chisel, and that flex travels directly into your work (a gap opens in your glue line, a cut drifts, and your confidence erodes). Worse, temperature and humidity will shift the surface over seasons if the structure lacks rigidity or if the top is over-constrained and splits. To prevent seasonal movement from telegraphing into your work, start with a rigid workbench foundation design that resists sag and racking.
Second is racking: the frame loses square when you clamp across it or when weight bears unevenly. A workbench that twists a fraction of an inch will make a large flat panel rock rather than sit true.
Third is the materials and their bonds. A 3/4-inch plywood top can absorb deflection over a 12-inch-wide span, but across 24, 30, or 48 inches without intermediate support, it sags. MDF (medium-density fiberboard) shares this weakness (it flexes and doesn't spring back sharply). Laminated panels built from multiple thinner layers regain stiffness through glue lines but demand precise glue-up technique.
How Should the Frame Be Designed to Prevent Deflection?
Start with a workbench engineering mindset: think of the top as sitting on a beam structure, not a skeletal frame. Use 2×4 or 2×6 lumber running lengthwise (front to back), and reinforce them with steel: flat iron bar (approximately 6 feet long and 1 inch wide) bolted or glued and screwed to the top edge of the lengthwise members creates a composite beam that resists mid-span sag.
The frame itself should be a closed loop. For fixed benches, these gains multiply when you secure the base using simple anchoring methods tailored to your floor type. Long rails running the full length, upper and lower crosspieces, and legs positioned at corners or every 2 to 4 feet keep the structure from racking. When you apply a clamp across the bench, that diagonal force should dissipate through the perimeter frame, not cause the top to twist.
For a large assembly table or laminating workbench, consider a grid of support beneath the top. If the top is wider than 30 inches or longer than 10 feet, place intermediate legs or adjustable height supports (pedestals, leg extensions, shims) every 2 to 3 feet to prevent cantilevering. This is measurement-backed: a 1/2-inch deflection in a large panel under a 50-pound clamp load is the difference between a glue line that holds and one that opens within hours.
What Top Thickness and Lamination Strategy Works Best?
3/4-inch solid plywood or MDF works for moderate spans and light loads. For numbers on when thicker pays off, consult our workbench top thickness guide before you laminate. For a true flatness for large panels approach, especially in a furniture or cabinetry shop, laminate two layers of 3/4-inch material with alternating grain direction or cross-grain orientation, and glue them with construction adhesive. The lamination adds stiffness (the second layer bridges weak spots) and helps the top resist warping if one side absorbs more humidity than the other.
Alternatively, create a frame-and-panel construction: glue up narrow strips of hardwood or cabinet-grade plywood into "mini slabs," joint them flat on a thickness planer, then laminate them face-to-face. This method produces a heavier, denser top that feels more responsive under hand tools and resists denting.
For a large work table that will handle repeated glue-ups and clamping, a hardwood edge band (typically 3/4-inch maple or ash) glued and screwed to the perimeter of the top both protects the plywood edge and provides a clamping surface where dogs or vises can grip without splitting the substrate.
How Should Fasteners and Glue Be Applied to Keep Flatness?
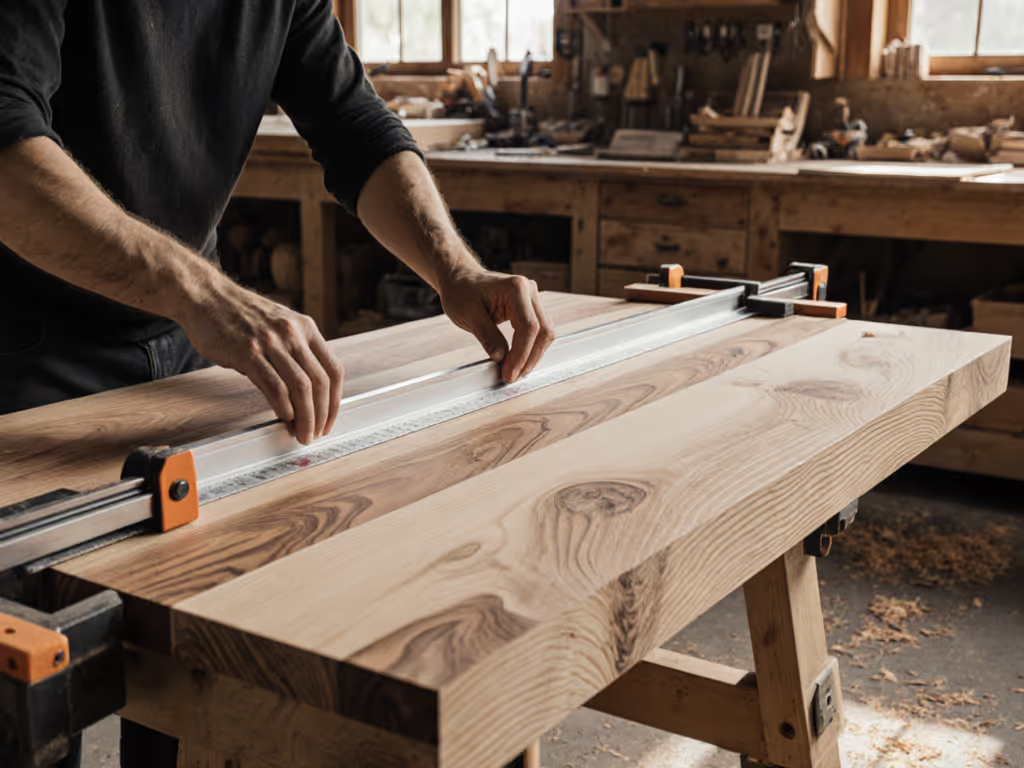
When laminating layers, spread a uniform layer of heavy-duty construction adhesive and use a spiral pattern of screws (starting at the center and working outward) as you clamp all four corners to a flat surface. This prevents pockets of air and uneven adhesive squeeze-out, which create soft spots and telegraphing later. Let the glue cure for 24 hours under clamps.
Countersink all top screws below the surface to prevent snags and to allow the surface to be planed flat if needed. Use #8 deck screws at 20-inch intervals around the perimeter and 12-inch intervals under the top where the top meets the frame. The screws anchor the top without over-constraining it; a flexible bond allows seasonal wood movement without splitting.
How Do You Verify and Maintain Flatness Over Time?
Invest in a 4-foot or 6-foot straightedge and a feeler gauge. Lay the straightedge diagonally across the bench top at several orientations, and check for gaps under the blade. Acceptable tolerance for a panel assembly surface is typically 1/32-inch to 1/16-inch over 6 feet, depending on your joinery standards. If you find high spots, they can be planed with a hand plane or belt-sanded; low spots can be shimmed beneath the frame or corrected at glue-up with a full re-lamination.
Seasonal flatness drift is normal. If you work in an unheated garage or a humid shop, expect the surface to move up to 1/8 inch with seasons. Design the frame to allow the top to expand and contract without splitting: fasten the top with slot screws (elongated holes) rather than through-screws, or use figure-8 fasteners that let the top float slightly across its width while staying anchored at the front rail.
Check flatness quarterly during your first year after building, then annually thereafter. Use a structured workbench maintenance schedule with flatness checks, humidity tracking, and surface conditioning at set intervals. Early detection of sag means you can add intermediate support or re-shim before it affects your accuracy.
Why Does Workbench Height Affect How Flatness Feels?
Your posture is a spec; design the bench around it. Dial it in with our science-backed bench height guide to reduce flex you accidentally introduce with body mechanics. A bench top that's 2 inches too high or too low changes how you load it: pressing downward from shoulder height creates different deflection than loading from the elbow or working with arms extended. If your bench feels "floppy" despite being flat, you may be pushing at an angle that amplifies flex in the legs or apron. Lowering the bench 1 to 2 inches or adjusting foot clearance so you stand closer can transform responsiveness without rebuilding the top. I learned that lesson after a run of dovetails; back fatigue was masking my sense of whether the bench was truly stable.
What's the Actionable First Step?
Measure your current workspace and task load. If you're assembling case goods, veneering large panels, or edge-jointing stock longer than 6 feet, you need a large panel workbench with documented flatness and a rigid frame. Sketch your ideal top size (length × width), note the span between legs, and calculate the required top thickness using a beam deflection calculator or consult a structural reference (most woodworking texts cite acceptable deflection ratios of 1/360 to 1/480 of the span under full load). Order cabinet-grade plywood, source steel flat bar if your span exceeds 8 feet, and assemble a test frame before committing to fasteners. Use a straightedge immediately after glue cures to catch any twist or waviness while you can still adjust. Your bench will reward precision now with years of flat, trustworthy work.
Related Articles