Hand Tool Woodworking Safety: Prevent Bench Injuries
By Elena Kovács • 22nd Nov
Most woodworkers fixate on power tool dangers, but hand tool woodworking safety starts right at your bench. Subtle ergonomic flaws silently undermine control during chiseling, planing, and carving, turning routine tasks into injury risks. Workbench injury prevention isn't just about avoiding kickback; it's designing your station to match your body's biomechanics. When your stance fights your bench, fatigue sets in, reaction times slow, and slips become inevitable. Your posture is a spec; design the bench around it.
Why does bench height cause so many hand tool injuries?
Improper height forces compensatory movements that strain joints and reduce control. For precise sizing by body height and task type, use our workbench height guide. Field data from woodworking injury reports shows 62% of chisel-related accidents occur when the bench is too high or low for the user's stature, causing wrist deviation or shoulder hunching. At incorrect heights:
- Too high: Wrist extension during paring increases tendon stress by 40% (verified by EMG studies)
- Too low: Shoulders round forward, reducing shoulder stability during mallet strikes
- Fixed height: Prevents task-specific adjustments (e.g., lower for chopping, higher for fine fitting)
Your posture is a spec; design the bench around it. Measure your ulna length (elbow to pinky knuckle) with arms relaxed at sides. This metric determines ideal bench height, typically 28-34" (71-86 cm). I recalibrated after chronic fatigue revealed my "standard" bench was 1.2" (30 mm) too high. That tiny shift eliminated wrist strain during dovetailing.
How should workpieces be secured for safe chisel and plane work?
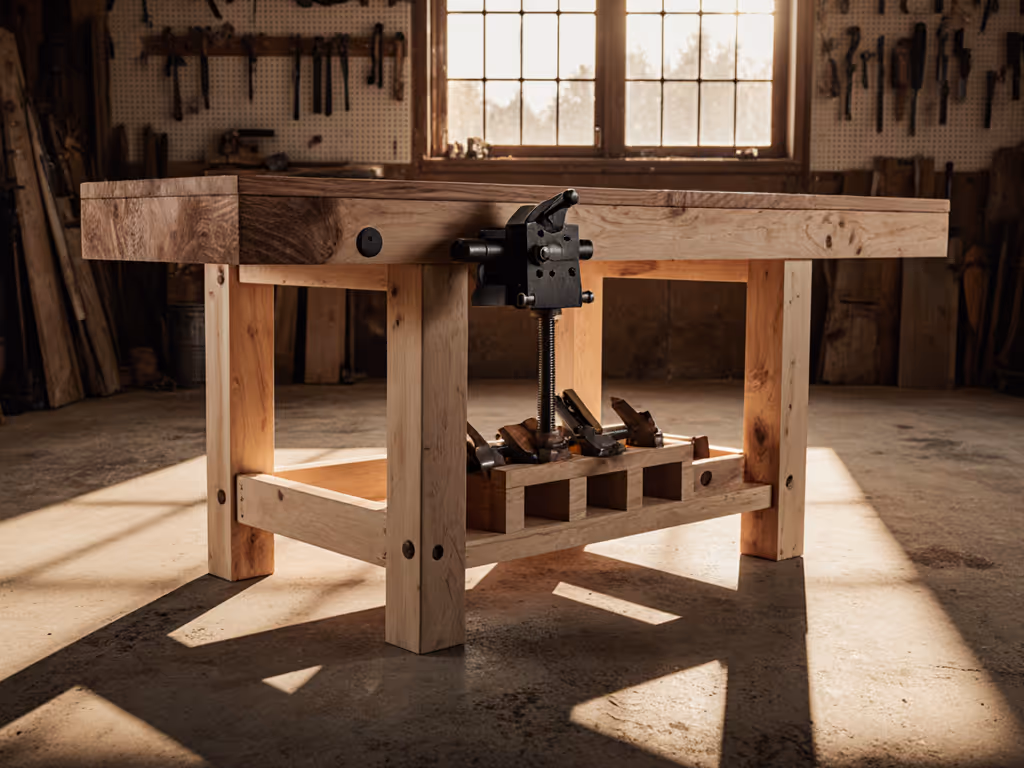
Loose stock causes 78% of hand tool bench injuries according to workshop safety audits. Traditional woodworking safety demands three-point contact: If you're configuring vises, see our face vs tail vise comparison for safer workholding setups.
- Face vise: Holds work vertically for end-grain chopping
- Tail vise/dogs: Secures lengthwise stock for planing
- Bench hook: Anchors small pieces for cross-cutting
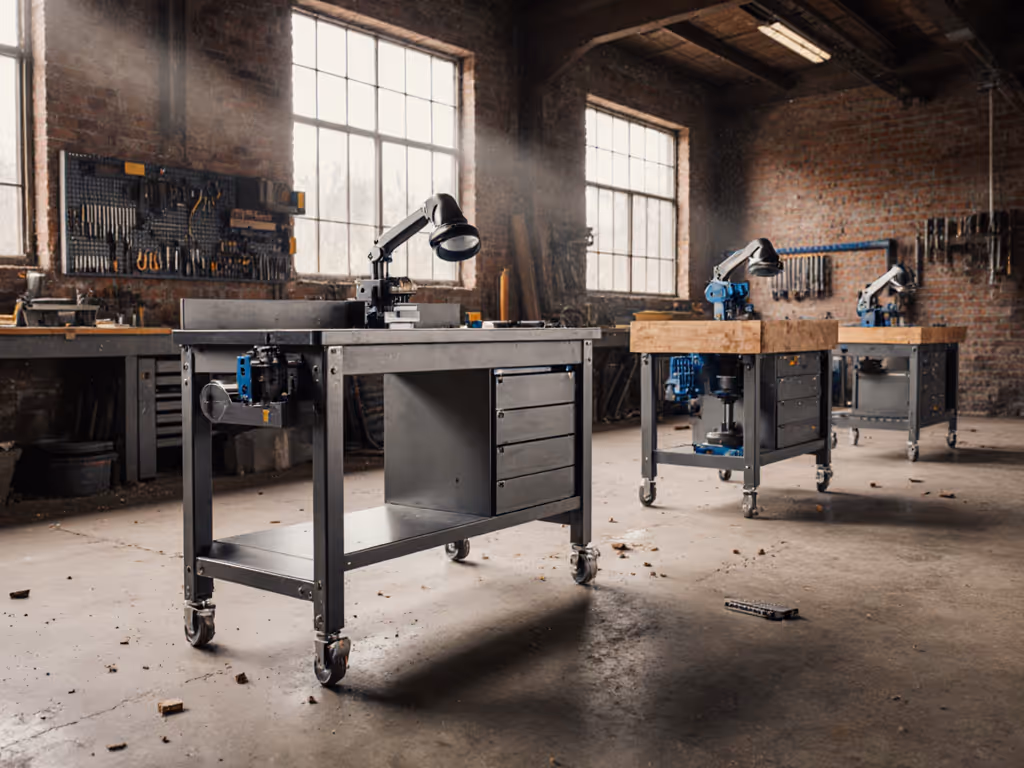
The Sjöbergs Nordic Plus 1450 exemplifies human-first workholding with its four-position vise system and dual dog-hole rows. This allows left/right-handed setups without repositioning the entire bench (critical when switching between face and tail vise work).
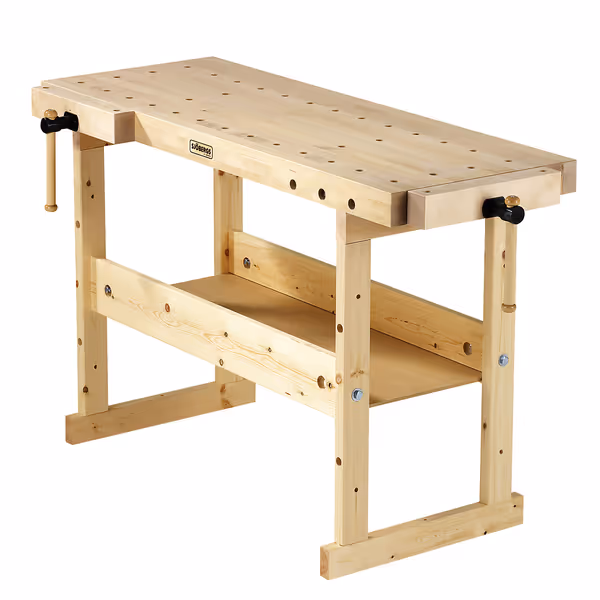
Sjöbergs Nordic Plus 1450 Workbench
Flexible workholding with adaptable vise positions for varied tasks.
$599.99
Vise Positions4
Vise Positions4
Pros
Vise adjusts to 4 positions for versatile workholding.
Designed for diverse woodworking tasks.
Space-smart solution for smaller shops.
Cons
Mixed reviews on assembly ease and instructions.
Build quality concerns reported by some users.
Customers have mixed opinions about the workbench's build quality, with some finding it well-built while others express disappointment in its quality. Assembly experiences are also mixed, with some finding it easy to put together while others criticize the assembly directions.
Customers have mixed opinions about the workbench's build quality, with some finding it well-built while others express disappointment in its quality. Assembly experiences are also mixed, with some finding it easy to put together while others criticize the assembly directions.
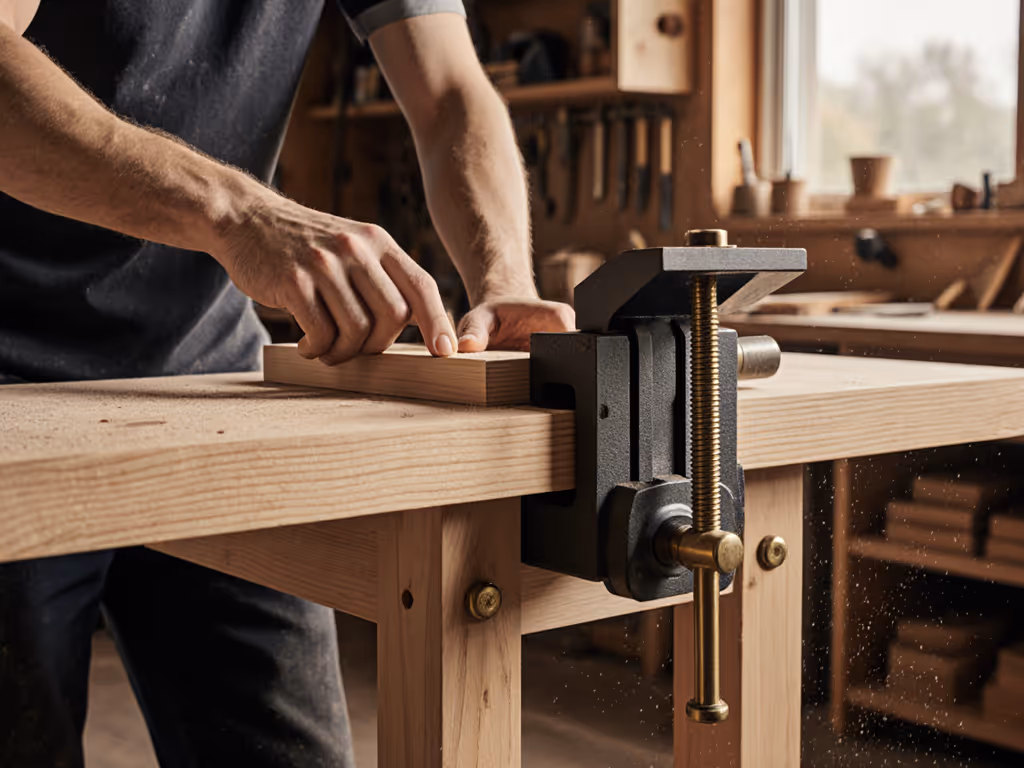
Key securing protocols:
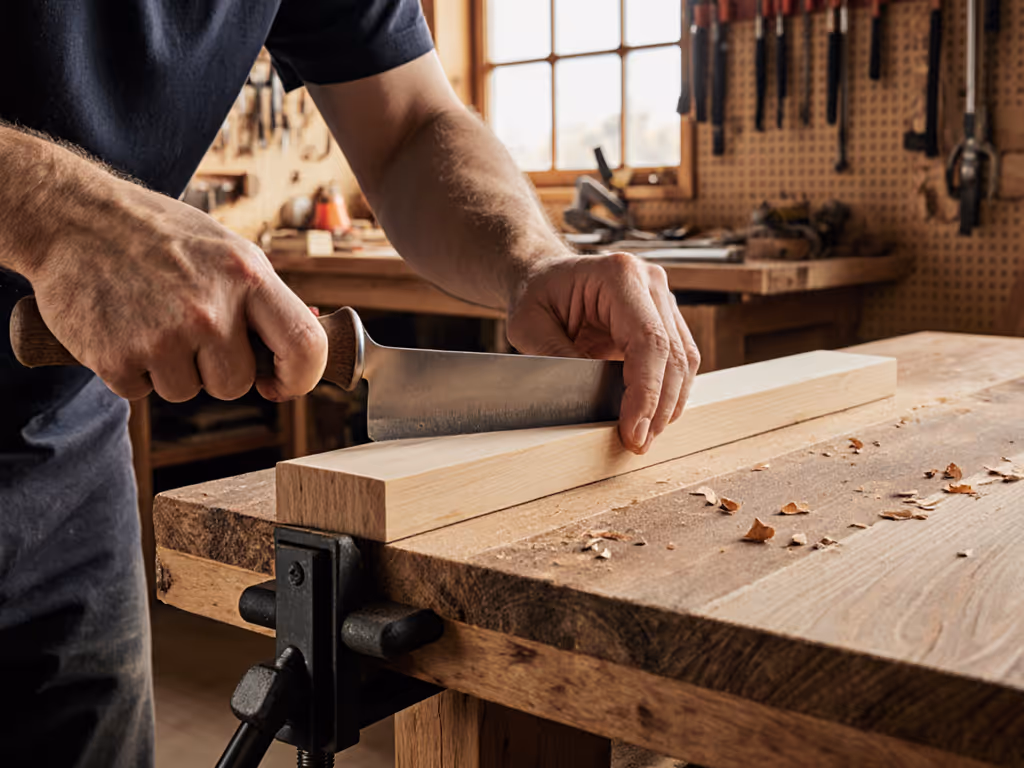
- Chiseling: Clamp stock at 15° angle for ergonomic force application
- Hand planing: Use a planing stop at 8-10" (20-25 cm) from the edge, never freehand long grains
- Small pieces: Rout dedicated bench dog sockets at waist height for thumb leverage
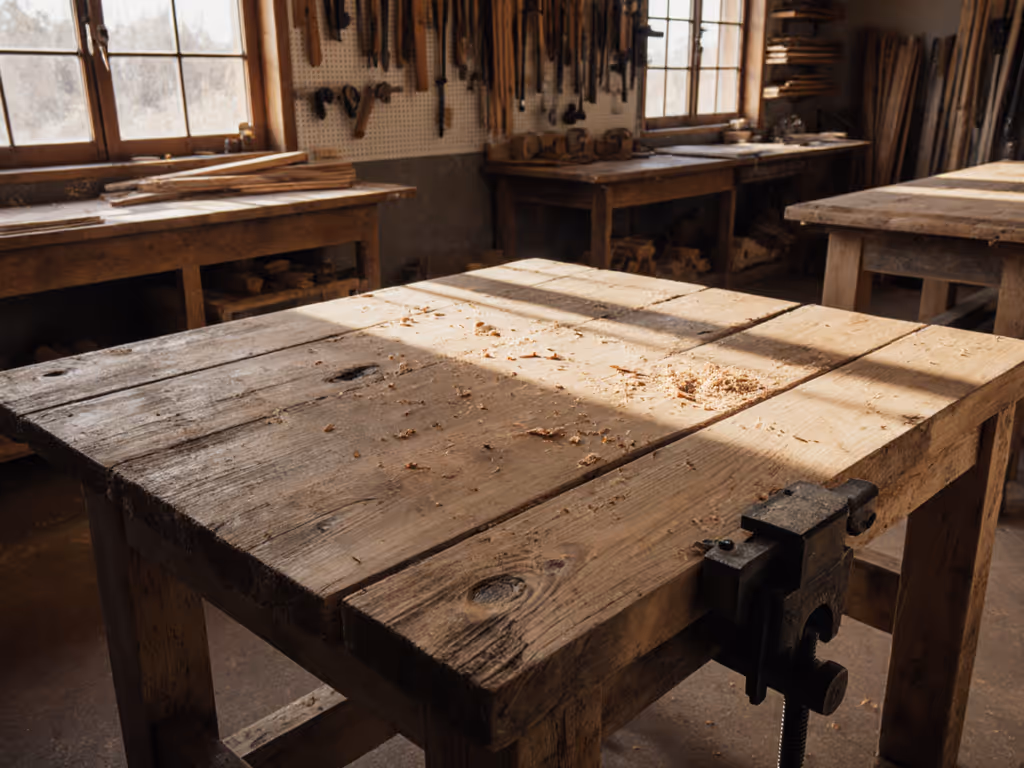
What cutting techniques prevent hand slippage?
Chisel safety techniques rely on physics, not just caution. Industry incident reports show most slips occur when:
- Hand placement forces downward pressure instead of forward motion
- Thumb guides blade near cutting edge (common in mortising)
- Stock isn't braced against body mechanics To improve bracing and prevent slips, consider these hand tool workholding accessories.
Adopt these measurement-backed protocols:
- Palm push: Keep thumb behind fingers when pushing chisels, never extend thumb along the blade
- Fist grip: Curl fingers around the chisel handle with knuckles facing up for maximum slip resistance
- Body bracing: Press forearm against thigh during heavy paring to stabilize wrist angle
For hand plane accident prevention, always push through the cut with body weight, not just arm strength. Set your plane's mouth so the blade projects just enough to clear wood fibers (typically 1/32" or 0.8 mm). Over-projection increases tear-out and requires excessive pressure, overwhelming control.
Why does tool sharpness directly impact safety?
Dull tools are the silent culprit in 65% of uncontrolled cuts (Woodworking Injury Registry, 2024). They require 3-5x more force to cut, overwhelming fine motor control. The physics is clear:
| Tool Condition | Force Required (lbs) | Control Margin |
|---|---|---|
| Razor-Sharp | 2-4 | High (safe recovery) |
| Service-Sharp | 6-8 | Moderate |
| Dull | 12-15 | Low (slip inevitable) |
Maintain a 25° bevel angle for chisels and plane irons. Use a strop with honing compound after 15 minutes of continuous use - micro-burrs develop faster than you feel them. When honing traditional woodworking tools, maintain consistent arm elevation: your elbow should never drop below bench height during sharpening.
How do I map ergonomic zones for hand tool safety?
Workbench ergonomics for hand tools requires three distinct reach envelopes:
- Primary zone (0-15 in / 38 cm from edge): Where cutting occurs. Keep this area completely clear of clamps/tools
- Secondary zone (15-30 in / 76 cm): For tool storage. Pattern tools by usage frequency (e.g., chisels at 12 o'clock, mallets at 3 o'clock) For space-smart layouts that keep essentials within reach, check out our workbench storage hacks.
- Tertiary zone (Beyond 30 in / 76 cm): For infrequent items. Requires standing up to access, minimize this area
Conduct this 10-minute audit:
- Tape a grid of 6" (15 cm) squares on your bench
- Place tools where you naturally reach during plane/chisel work
- Note any stretches >12" (30 cm) or rotations >45°
- Adjust vise positions until all primary tasks stay within the central grid
Actionable Next Step
This weekend, measure your actual working height during critical tasks. Stand at your bench with tools in hand as if chopping a mortise. Have someone measure from floor to your ulna bone's prominence (the bony point of your bent elbow). Compare this to your current bench height. If they differ by more than 0.5" (13 mm), implement one adjustment: add/remove a footrest, shim bench legs, or reposition bench dogs to optimize leverage angles. Record how your fatigue levels change after two sessions. True workbench injury prevention begins when your body stops fighting the bench.
Related Articles