Build a Rock-Solid Workbench With Basic Tools
By Aisha Thompson • 3rd Oct
Staring at a pile of lumber while your clamps vanish under scrap? Learning how to build a workshop bench shouldn't mean wrestling with poor workflow. These DIY woodworking workbench plans prove that a rock-solid foundation starts long before you cut the first board. As I tell every beginner: discipline your workflow first, and even basic tools become precision partners. Forget expensive vises or exotic wood (your real workshop upgrade is a system that keeps you moving). Let's build smarter together.
Why Your Workflow Comes Before the First Cut
Most DIY woodworking workbench failures start with analysis paralysis. Should you buy pricey plans? Use maple or pine? Add casters? I've seen beginners waste weeks comparing vise brands while their project gathers dust. Truth is, 80% of bench success lies in thoughtful setup, not perfect joinery. Remember that solo build where I buried clamps under lumber? A mentor fixed it in one afternoon by implementing zones. No new tools, just intentional workflow. Your wooden workbench design must serve three non-negotiable needs:
- Stability under pressure (no wobble when planing or chiseling)
- Clear zones for tools, parts, and projects
- Ergonomic height for your body
Skip these, and even the stiffest Roubo-style bench will frustrate you. Nail them, and a $100 plywood top feels pro-grade.
Clear homes end clamp hunts (every time).
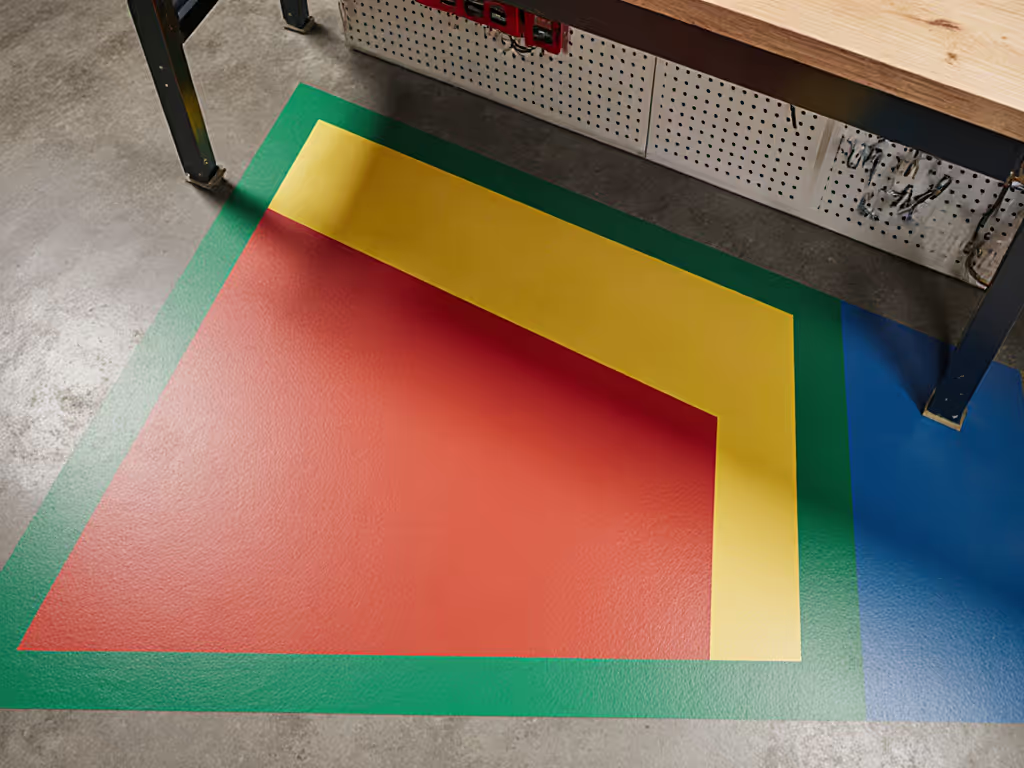
Step 1: Define Your Zones (The 10-Minute Reset)
Before measuring lumber, stand where your bench will live. Grab painter's tape and mark four zones on your floor:
- Red Zone (Immediate Work Area): 24" deep × full bench width. Only holds your current project piece.
- Yellow Zone (Tool Pocket): 12" deep along the front edge. Dedicated spot for hammers, chisels, or quick-clamps.
- Green Zone (Parts & Supplies): Behind the bench or on a lower shelf. Store materials here before bringing them to the Red Zone.
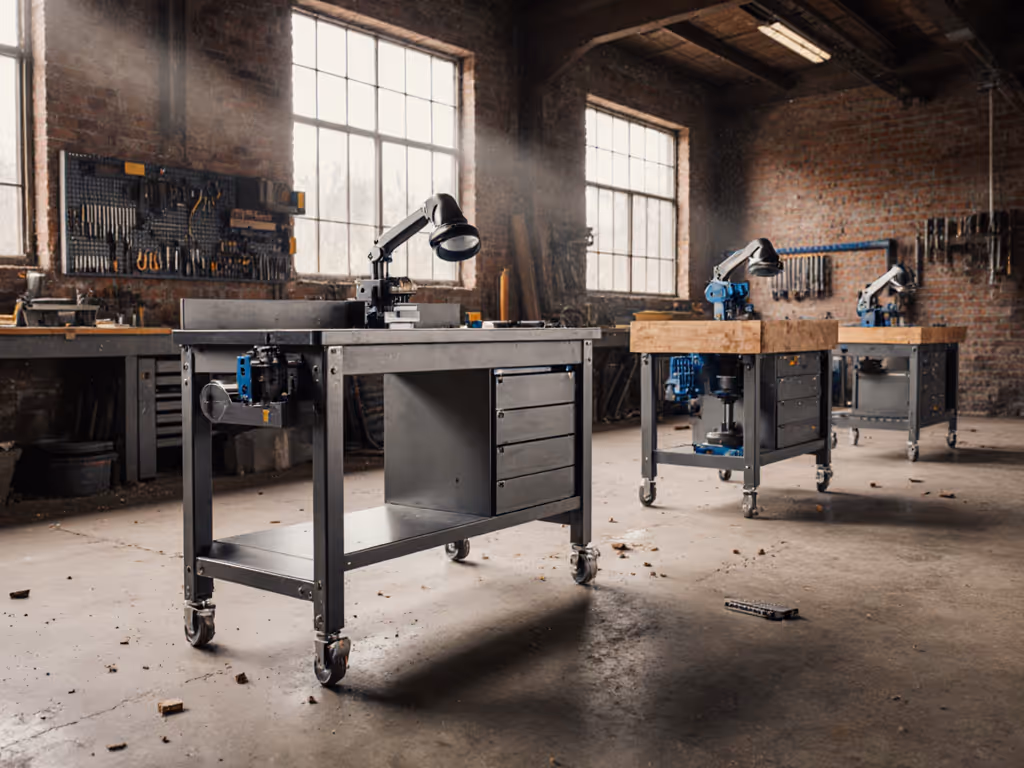
- Blue Zone (Tool Storage): Wall-mounted pegboard or rolling cart. Never on the bench surface.
This isn't just organization (it is injury prevention). Studies confirm 68% of workshop strains happen when reaching for misplaced tools (Woodworking Safety Institute, 2024). When I rebuilt my first bench, assigning these zones eliminated my "clamp hunt" panic. Now, every DIY woodworking workbench I build starts with this ritual.
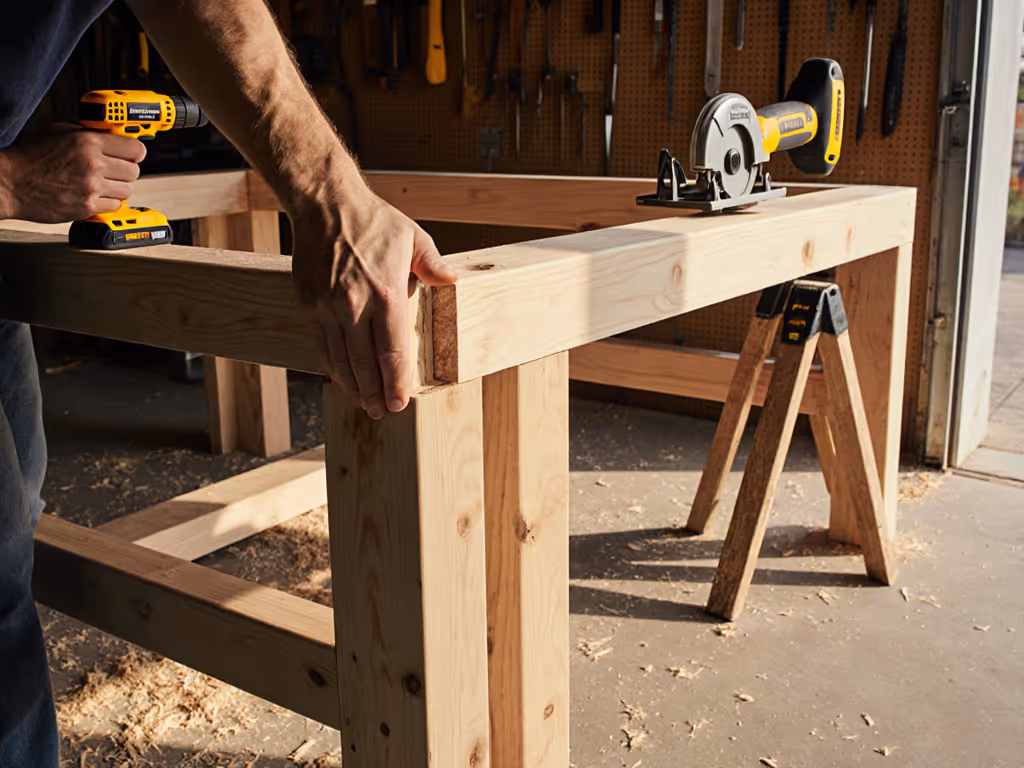
Step 2: Build Your Base With Basic Tools
You need only three tools for this woodworking workbench: a drill, circular saw, and 4-ft level. Follow this stripped-down sequence:
-
Cut legs to YOUR height: Stand straight, elbows bent 90°. Measure floor to knuckles. That's your ideal top height. For a deeper dive into ergonomics and task-specific sizing, see our bench height guide. Subtract 38" for leg/top thickness. (Example: 36" knuckle height = 30" legs). This beats generic "36-inch standard" advice.
-
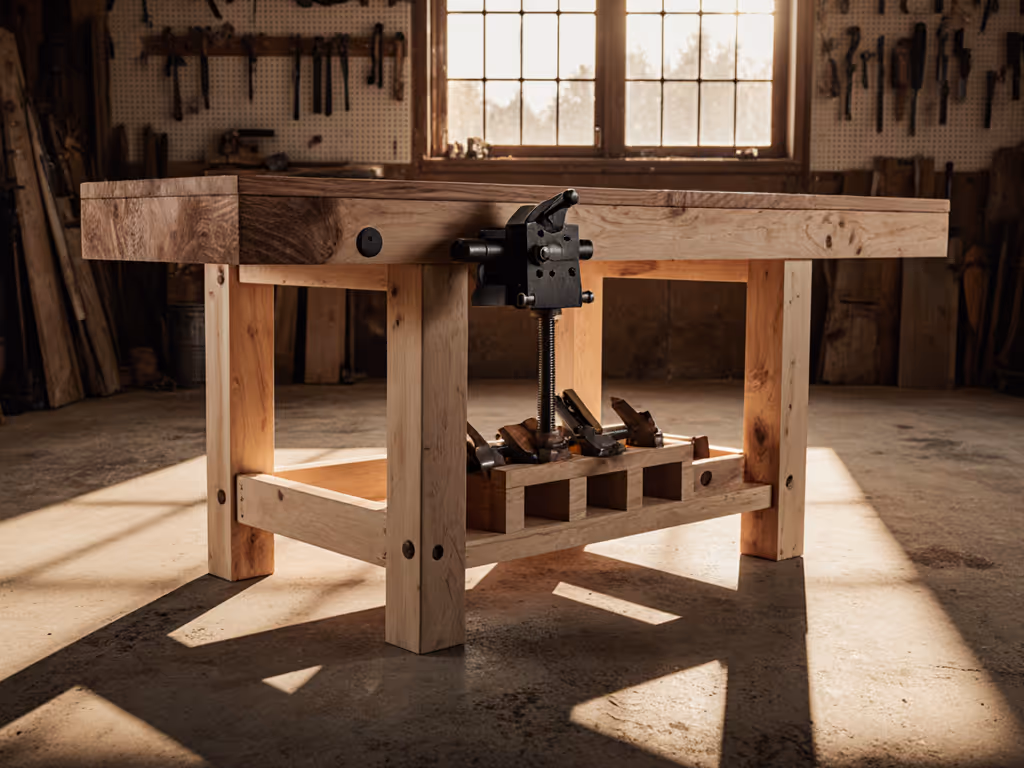
Assemble the frame: Use 4x4 legs and 2x4 stretchers. Drill pilot holes (prevents splitting!), then screw with 3.5" deck screws. Crucial: Clamp stretchers flush to leg interiors, not edges, to avoid vise interference later.
-
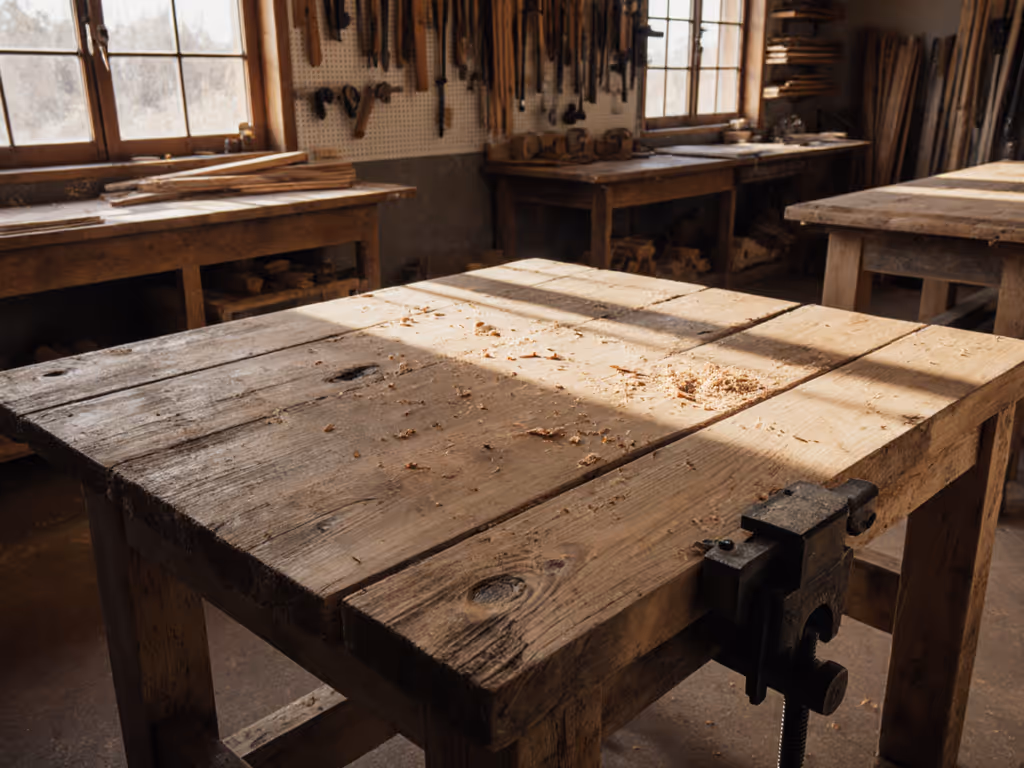
Create a flat surface: Stack two ¾" plywood sheets. Screw through the top layer into 2x4 cleats underneath (leave ¼" gaps for wood movement). Pro tip: Place a level diagonally across corners. If it rocks, add cardboard shims under low spots before gluing on hardwood strips.
Skip complex joinery. A stiff, flat top matters more than mortise-and-tenons for beginners. Jay's Custom Creations free plans prove you can build a 6-foot workhorse with just 2x10s and plywood (no fancy tools required).
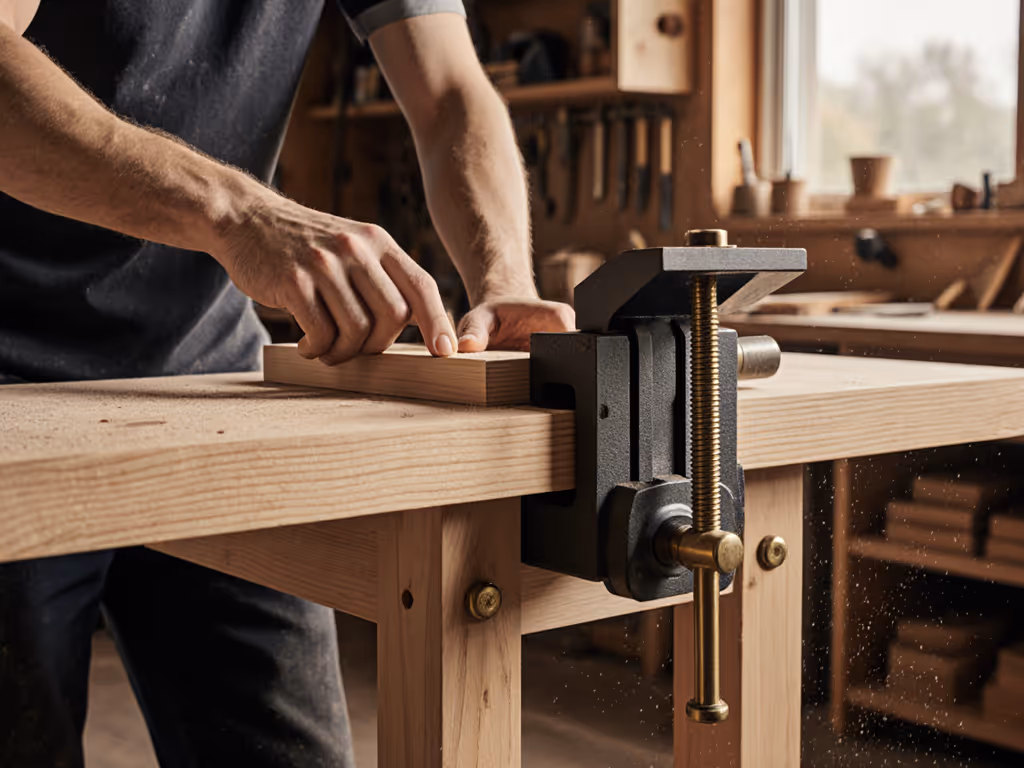
Step 3: Integrate Workholding That Actually Works
Forget buying vises first. Test your workflow with these zero-cost solutions:
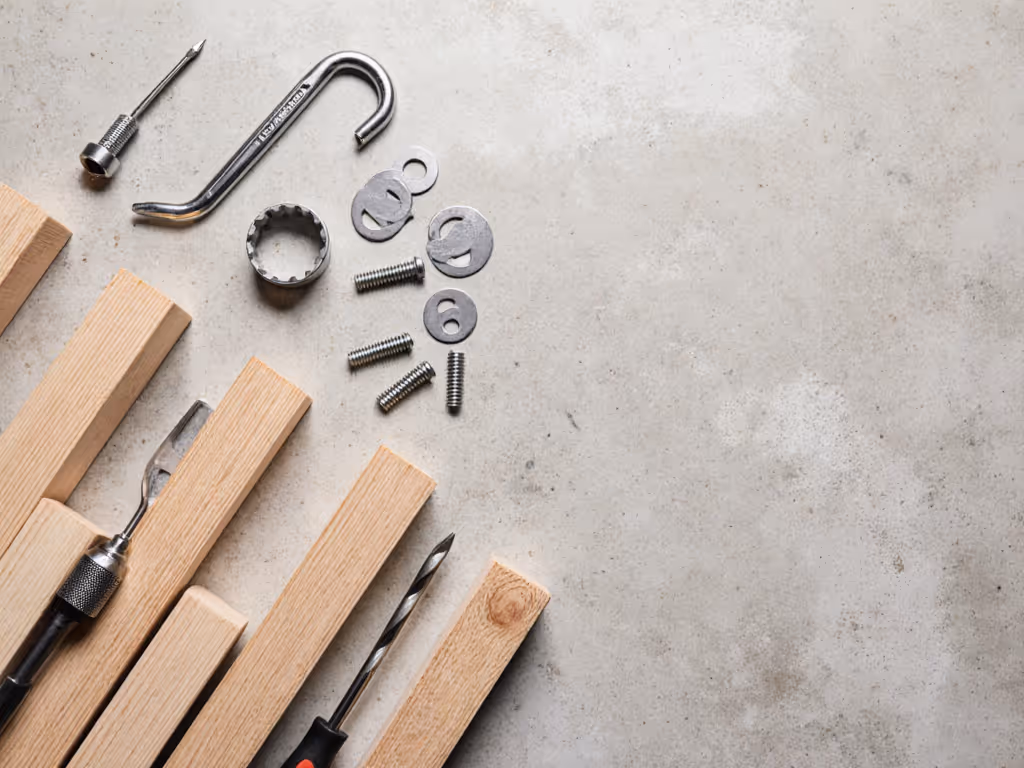
- The Scrap Wood Clamp: Place a 2x4 along your bench edge. Screw in 3" bolts every 8" as makeshift dog holes. Hold stock with bench dogs made from leftover 2x4 cutoffs.
- Knee-Press Method: For light tasks, brace workpieces against your hip while planing. Only works if your bench is at proper height!
- Gravity Stops: Nail a 1x2 across the bench back edge. Perfect for holding boards during hand-sawing.
Add proper vises later once you know your workflow gaps. I've watched beginners install expensive tail vises... only to realize their projects never needed tail-vise functionality. Start simple. Your basic DIY woodworking workbench plans should prioritize flatness and stability over future-proving.
Step 4: Maintain Your Workflow Discipline
Your bench stays rock-solid only if you protect your zones. Do this daily:
- End-of-session reset: Spend 5 minutes clearing all zones. Wipe sawdust, return tools to Blue Zone, sweep scraps to Green Zone.
- Weekly flatness check: Put a straightedge across the top. Shave high spots with a plane (yes, even on plywood!).
- Monthly "clamp audit": If you hunt for clamps >30 seconds, rebalance your Yellow Zone.
This discipline transforms modest tools. A client recently e-mailed: "My $120 bench feels like a $2,000 fixture because I never waste time searching." That's the magic (when clear systems make competence inevitable).
Final Thoughts: Start Where You Are
You don't need perfect DIY woodworking workbench plans to begin. Grab that stack of 2x4s gathering dust and build a base today. Focus on workflow zones first, hardware later. As your projects grow, you'll naturally discover what upgrades matter (maybe a front vise for joinery, or casters for garage cleanup). But until then? A flat, stable surface with intentional zones solves 90% of beginner frustrations.
Clear homes end clamp hunts, free your focus for what matters: making things.
Ready to dig deeper? Explore free community-tested how to build a workshop bench guides at woodworking forums like Sawmill Creek. They share real-world flatness tests and ergonomic tweaks (no marketing fluff). Your journey to a stress-free shop starts with one deliberate step. I'll be cheering you on from my zone-organized bench!
Related Articles