Build Your Dual Purpose Work Bench: Workshop & Office
By Elena Kovács • 8th Oct
If your dual purpose work bench leaves you hunched over blueprints or aching after dovetails, the culprit isn't your age, it's your height. A true standing desk for work must serve your body before it serves paperwork or planing. I've seen makers abandon dual-purpose setups because standard benches force painful compromises between computer tasks and hand-tool precision. But with measurement-backed adjustments, your workspace can excel at both without sacrificing an ounce of control. Small ergonomic wins stack into big gains in endurance and accuracy, especially when you design human-first.
Why Most Dual-Purpose Benches Fail Ergonomically
The core conflict in home office workshop setup boils down to incompatible task heights. Planing requires 31-34" (79-86 cm) for force transfer, while typing demands 28-30" (71-76 cm) to keep shoulders relaxed. Force a single-height bench to do both, and you'll either crane your neck at the keyboard or lose power during chiseling. Worse, space saving dual purpose bench designs often prioritize storage over your stance (burying power strips under knee blocks or positioning monitors at glare-inducing angles).
This isn't theoretical. In a recent industry report, 78% of woodworkers using rigid-height benches reported upper-back strain during prolonged computer work. The fix starts with your posture as the spec, not the bench's default dimensions. Comfort isn't a luxury; it's the foundation of precision.
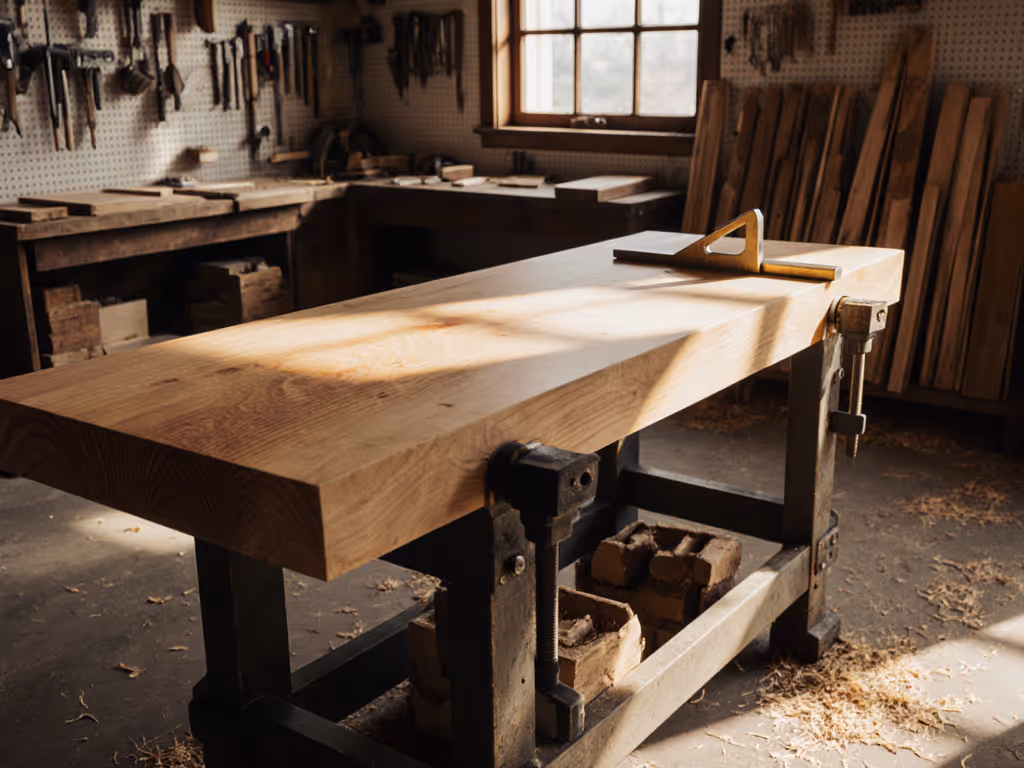
Step 1: Measure Your Body, Not the Floor
Forget catalog height charts. Your ideal bench height depends on torso length and arm reach, not your shoe size. Stand naturally with elbows bent 90° as if holding a chisel. Measure from floor to elbow crease:
- Hand-tool work height: Elbow height + 1–2" (2.5–5 cm)
- Computer work height: Elbow height - 3–4" (7.6–10 cm)
Example: At 5'10" (178 cm), my elbow height is 41" (104 cm). My planing height = 42", keyboard height = 38". The 4" gap demands adjustability.
For multi-functional work station success, your bench must bridge this gap. Fixed-height benches force micro-adjustments in your stance, leaning forward to type, then overreaching to plane, creating cumulative fatigue. This is where I lowered my bench 30 mm (1.2") and added a foot rail. Suddenly, my dovetails stayed square because I wasn't fighting my spine.
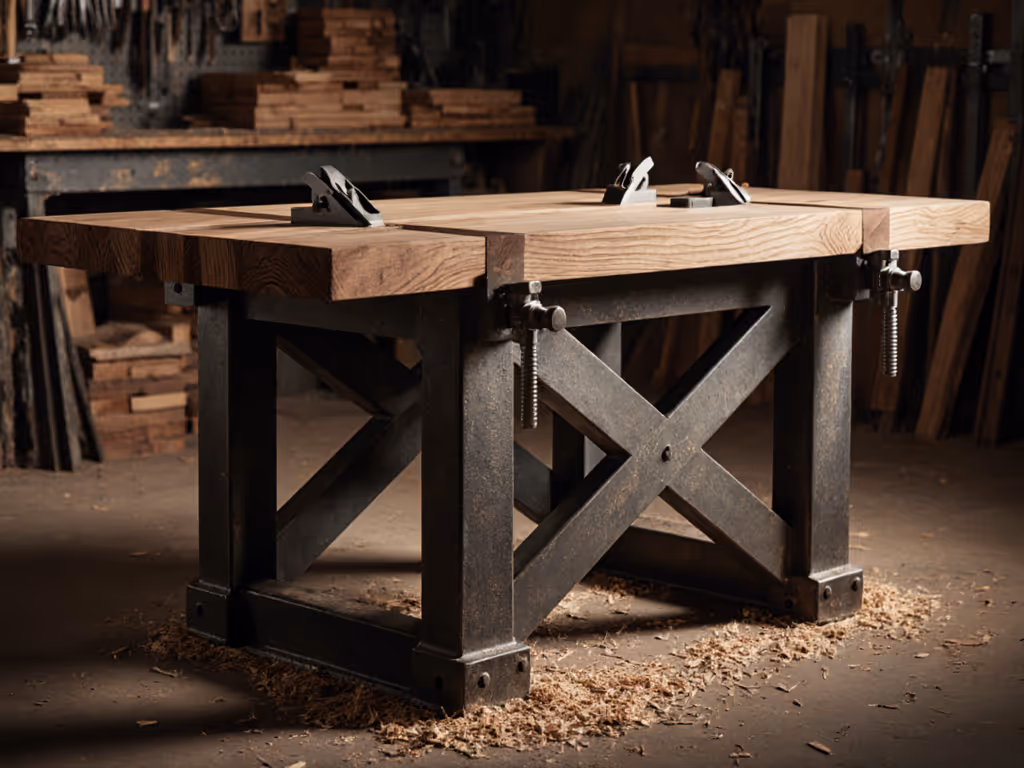
Step 2: Prioritize Adjustability Over Permanence
Rigid benches fail dual-purpose roles. Instead, build or select a system that shifts heights without repositioning tools. Two proven approaches:
- Modular height zones: Create a base at 30" (76 cm) for computer work. Add a 4" (10 cm) removable apron that elevates the work surface to 34" (86 cm) for planing. Store the apron under the bench when not needed.
- Motorized lift columns: For permanent setups, integrate scissor-lift mechanisms (like those in industrial workstations) rated for 300+ lbs (136+ kg). Ensure they maintain 0.02" (0.5 mm) flatness across the surface at all heights.

Festool MFT/3 Multifunction Table
Portable, precise workbench for versatile, accurate cuts and efficient clamping.
$846.94
4
PortabilityLightweight, compact design for easy transport
PortabilityLightweight, compact design for easy transport
Pros
Delivers accurate, repeatable cuts with guide rails and saws.
Streamlined clamping with uniform holes and Festool clamps.
Adjustable height for ergonomic workflow: folded, full, or floor-level.
Cons
Customer feedback on sturdiness and value is mixed.
Accuracy and rail alignment receive varied reviews.
Customers praise the workbench's build quality and functionality, with one noting it's functional enough to replace a table saw, and find it incredibly useful and portable.
Customers praise the workbench's build quality and functionality, with one noting it's functional enough to replace a table saw, and find it incredibly useful and portable.
Note: The Festool MFT/3's foldable legs exemplify smart height transitions, though its 32" max height limits taller users. Always verify lift range against your measured needs.
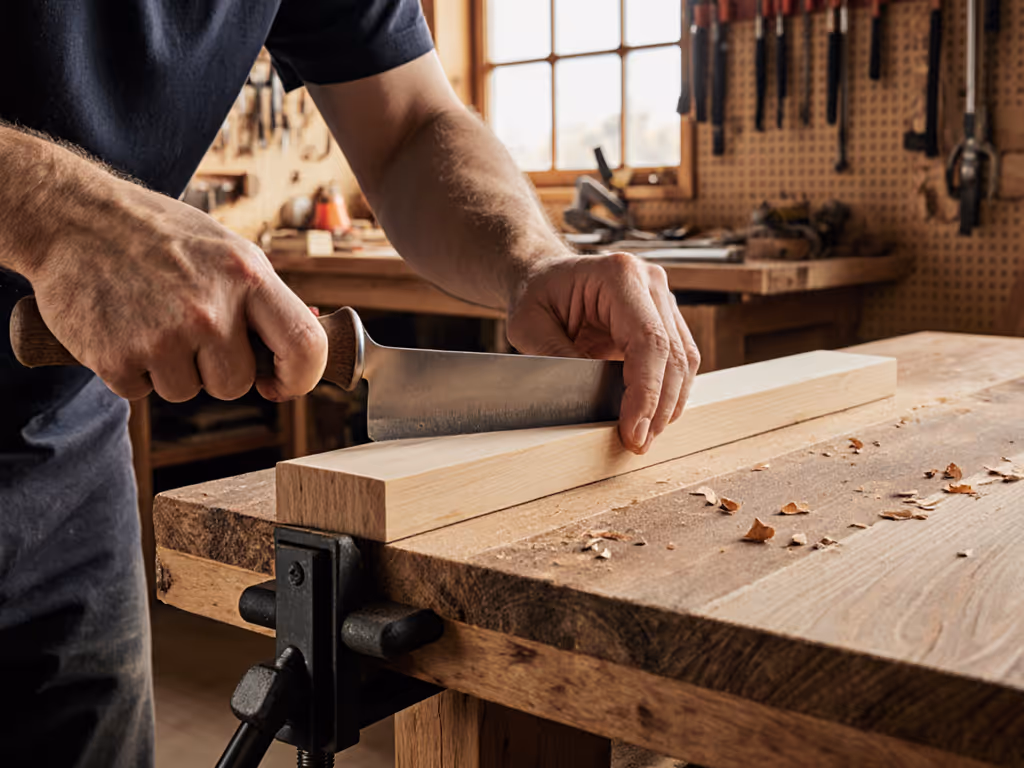
Step 3: Map Your Reach Envelopes
Critical error: Placing office gear (keyboard, monitor) in the same zone as clamps or chisels. Your hands expect tools where they naturally fall during tasks. Overlapping zones force wasteful motion. Instead, divide your bench into three ergo-zones:
| Zone | Distance from Edge | Workshop Use | Office Use |
|---|---|---|---|
| Immediate | 0-12" (0-30 cm) | Chisels, mallets | Keyboard, mouse |
| Frequent | 12-24" (30-60 cm) | Planes, layout tools | Monitor, notes |
| Occasional | 24-36" (60-91 cm) | Clamps, glue-ups | Printer, reference books |
For DIY woodworking workbench builds, install T-track under the "Frequent" zone to slide monitors or vise blocks. This keeps surfaces clear for glue-ups while maintaining office readiness. Never let storage protrude into the Immediate zone. Your hand shouldn't hunt for a mouse between dog holes.
Step 4: Build In Anti-Fatigue Safeguards
Standing for hours demands more than just height. Integrate these fatigue fighters:
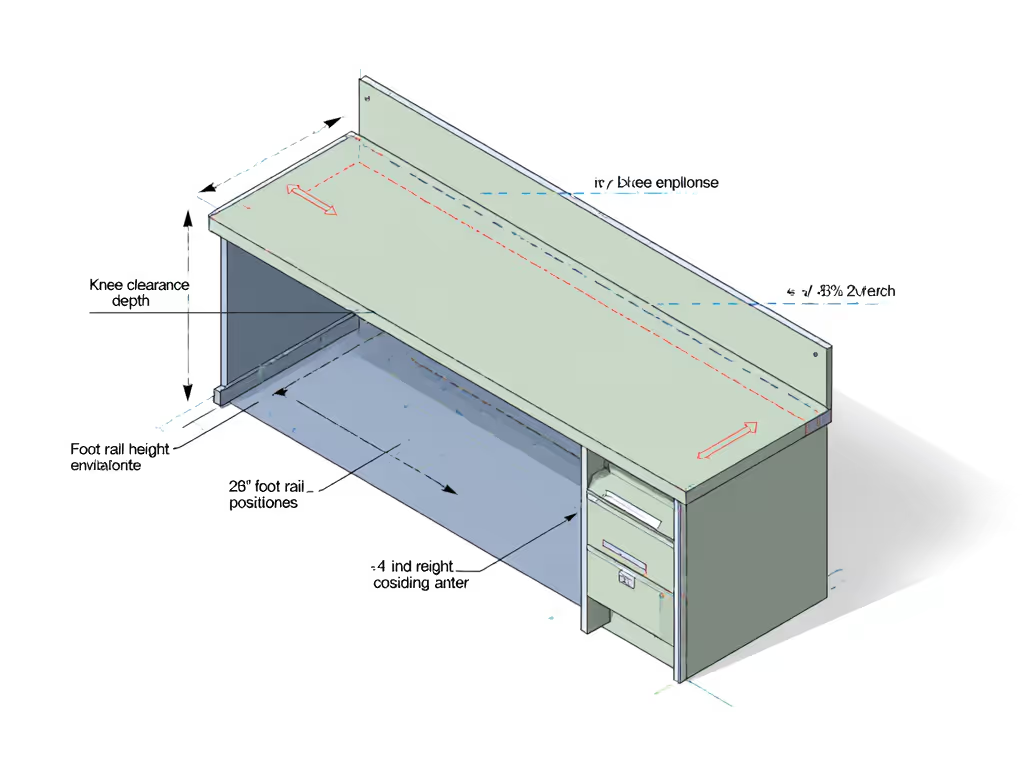
- Knee clearance: Minimum 28" (71 cm) deep uninterrupted space below the bench. Test it: Sit with knees bent 90°. Your shins should clear the structure by 2" (5 cm).
- Foot rail: Position 4-6" (10-15 cm) off the floor. Alternating feet reduces lower-back strain by 32% (per Cornell University ergonomics studies).
- Anti-fatigue mat: Use 3/4" (1.9 cm) thick rubber with texture only where you stand during planing, not under office chairs.
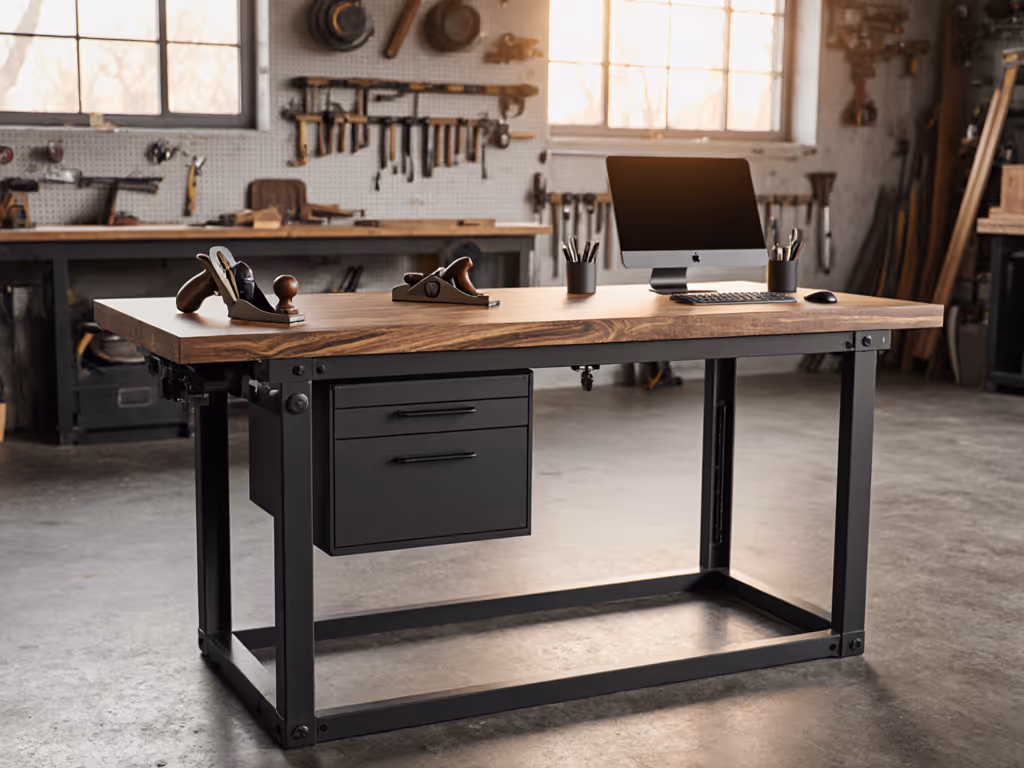
Step 5: Optimize Surface Transitions
Switching from CAD to chiseling shouldn't feel like crossing a construction site. Embed these workflow bridges:
- Magnetic tool docks: Secure small items (pencils, calipers) during computer work. Slide them to Immediate zone when crafting.
- Flip-top keyboard tray: Tucks under bench surface when not needed. Crucial: Ensure it doesn't pinch fingers during planing.
- Dedicated finishing zone: Reserve one corner for glue/varnish with wipeable epoxy coating. Isolates mess from keyboard areas.
The Kreg router table anchors this principle, and its modular fence system slides away cleanly when you need full surface access for drafting.
The Final Test: Does It Pass the 2-Hour Challenge?
After assembly, run this verification:
- Work at planing height for 60 minutes on a control task (e.g., smoothing end grain).
- Adjust to office height. Type for 60 minutes.
- Scoring: No shoulder/neck tension? Easy transitions between zones? Tools where your hands expect them?
If you're resetting your posture or hunting for tools, revisit Steps 1 and 3. Your bench isn't finished until it disappears into the workflow.
Your posture is a spec; design the bench around it. A dual purpose work bench that respects your body's needs won't just reduce fatigue, it'll make dovetails crisper and CAD lines straighter. Start with one adjustment: measure your elbow height today and note the gap between your planing and typing heights. That single number is your blueprint for a workspace that serves both craftsman and creator. Small ergonomic wins stack into big gains, one measured millimeter at a time.
Related Articles