Build Your Audio Workbench: Vibration-Dampening Studio Guide
By Aisha Thompson • 2nd Jan
If your studio monitors hum with every bass note or your delicate vocal recordings pick up thumps from the street, your audio production workbench might be the hidden culprit. The truth? A poorly designed recording studio workbench transmits vibrations that muddy your mixes and sabotage tracking. But here's the good news: with thoughtful workflow planning and smart vibration isolation, even a modest bench can become a rock-solid foundation for professional results. Let's build it step by step (without overcomplicating your space or budget).
Why Your Workbench Makes or Breaks Audio Quality
Before buying a single screw, ask: "What tasks will live here?" Recording? Mixing? Gear storage? I once watched a talented podcaster battle with inconsistent audio levels because her laptop kept sliding on a cluttered desk. She'd bought gear first (before clarifying workflow). When we reset with a clear "audio zone," "control zone," and "cable hub," her recordings stabilized instantly. Begin with workflows; the right bench choices follow.
Vibrations from monitors, foot traffic, or even HVAC systems travel through your workbench and into microphones or sensitive electronics. This isn't just about comfort; it is physics. A rigid surface amplifies low-frequency noise, while a loosely mounted desk acts like a sounding board for every household creak. The goal? A workbench that isolates vibrations without sacrificing stability. For data-backed material choices, see our bench top vibration test.
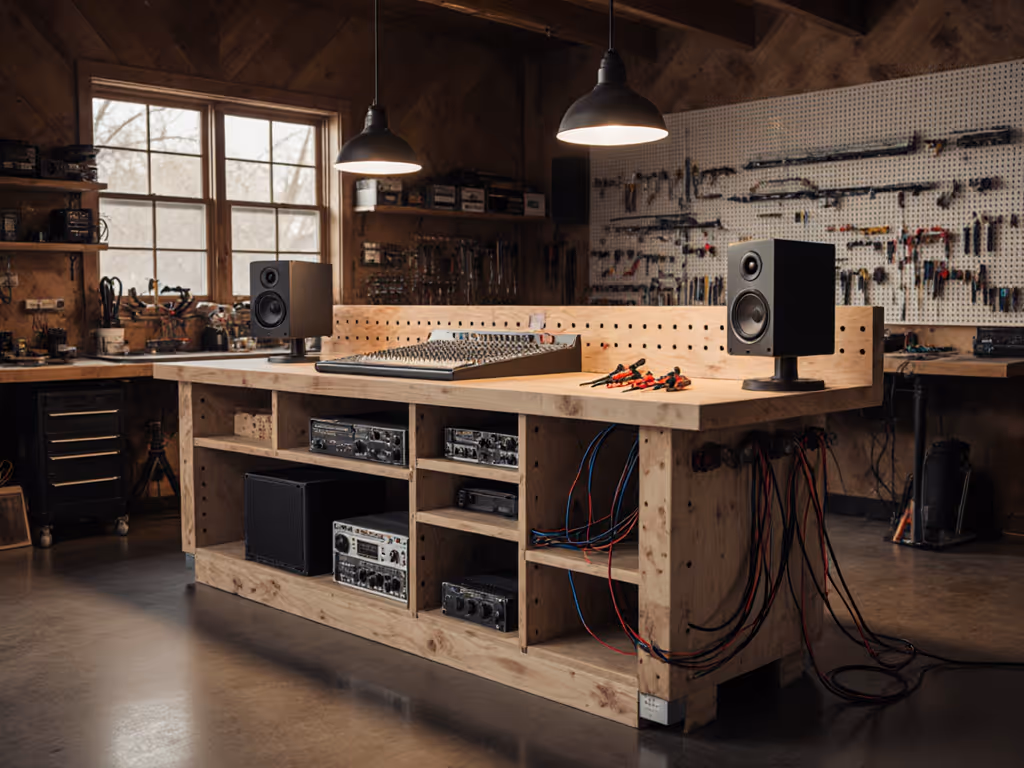
Phase 1: Plan Your Workflow Zones (The 10-Minute Reset)
Confidence is a shop multiplier. When your workflow clicks, you stop fighting your space and start creating.
Forget measurements first. Grab a notebook and sketch three zones directly on your floor or wall:
- Audio Zone: Where mics, interfaces, and preamps live. Must be vibration-isolated.
- Control Zone: Monitors, MIDI controllers, and your main screen. Must be eye-level and cable-accessible.
- Utility Zone: Cables, power strips, and backup gear. Must stay hidden but reachable.
Checklist for success:
- ✅ Leave 6-8" clearance behind monitors for airflow and cable access
- ✅ Position your chair so monitors are at ear height (not eye level)
- ✅ Keep vocal mics 3+ feet from walls to reduce standing waves
- ✅ Test sightlines: Can you see meters without leaning forward?
This is where I'd have saved hours on my first build. Clear zones prevent "cable spaghetti" chaos and eliminate the panic of hunting for a spare XLR mid-recording. For safe power and cable routing, follow our workbench electrical integration guide.
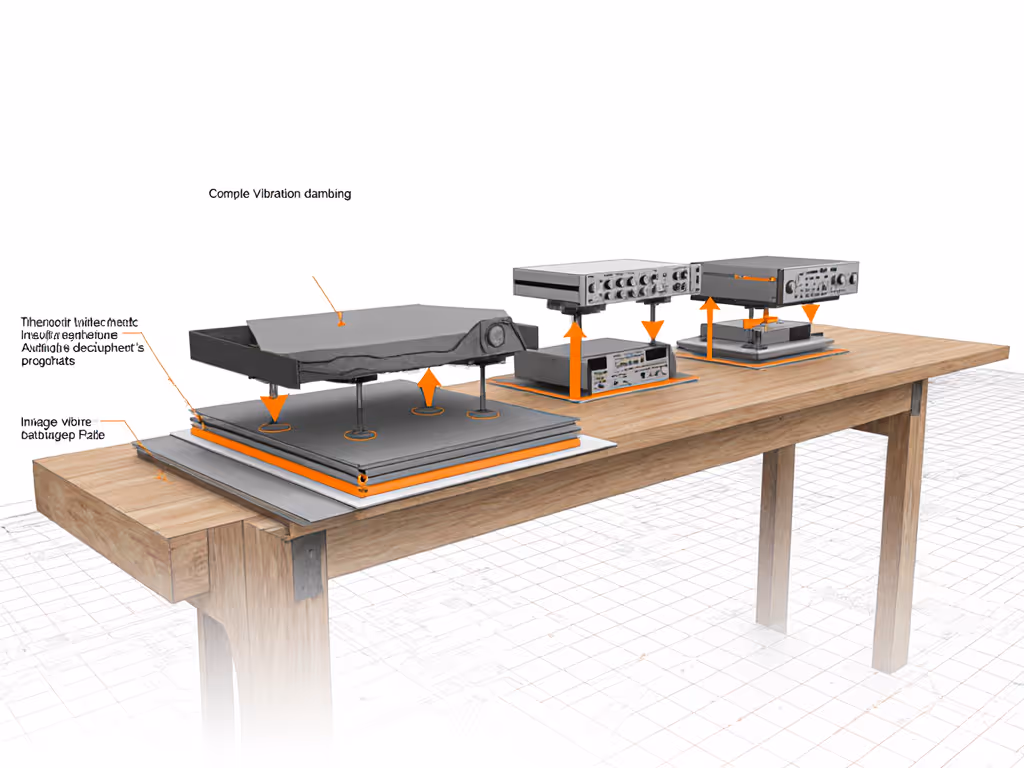
Phase 2: Build Vibration Damping Right Into Your Structure
Now, let's tackle vibration isolation for audio equipment. Forget rubber feet alone: integrated damping is key. Here's how to build it into your bench:
Core Principles for Stability
- Mass matters: A heavier bench (50+ lbs) resists resonance better than lightweight desks. But do not just add weight; distribute it evenly using a lower "dead zone" shelf for heavy gear like power supplies. For the science on how top thickness affects vibration and racking, see our workbench top thickness guide.
- Break contact points: Never let monitors touch the main desktop directly. Use studio monitor mounting solutions like foam pads or inertia bases (e.g., ISOacoustics stands). Pro tip: Angle monitors slightly inward (toe-in) to create a tighter stereo image.
- Decouple the structure: Sandwich dense rubber or cork between desktop layers. A 1/4" neoprene sheet between your top surface and frame absorbs 80% of footfall vibrations (confirmed by Berklee acoustic studies).
Simple DIY Fixes That Work Immediately
You don't need a custom build. Try these tonight:
- Monitor pads: Place 1" high-density foam pads under each studio monitor. Avoid memory foam (it resonates!).
- Cable floor routing: Run cables under your desk (not over edges) to prevent tension from tugging monitors.
- Mass-loaded barriers: Stack dense books (not hollow boxes!) under your interface power supply to dampen transformer buzz.
Critical safety note: Never overload shelves. Keep heavy gear centered to prevent tipping.
Phase 3: Master Cable Management for Clean Signal Flow
Cable management for mixing isn't just tidy; it prevents ground loops and interference. Follow this sequence:
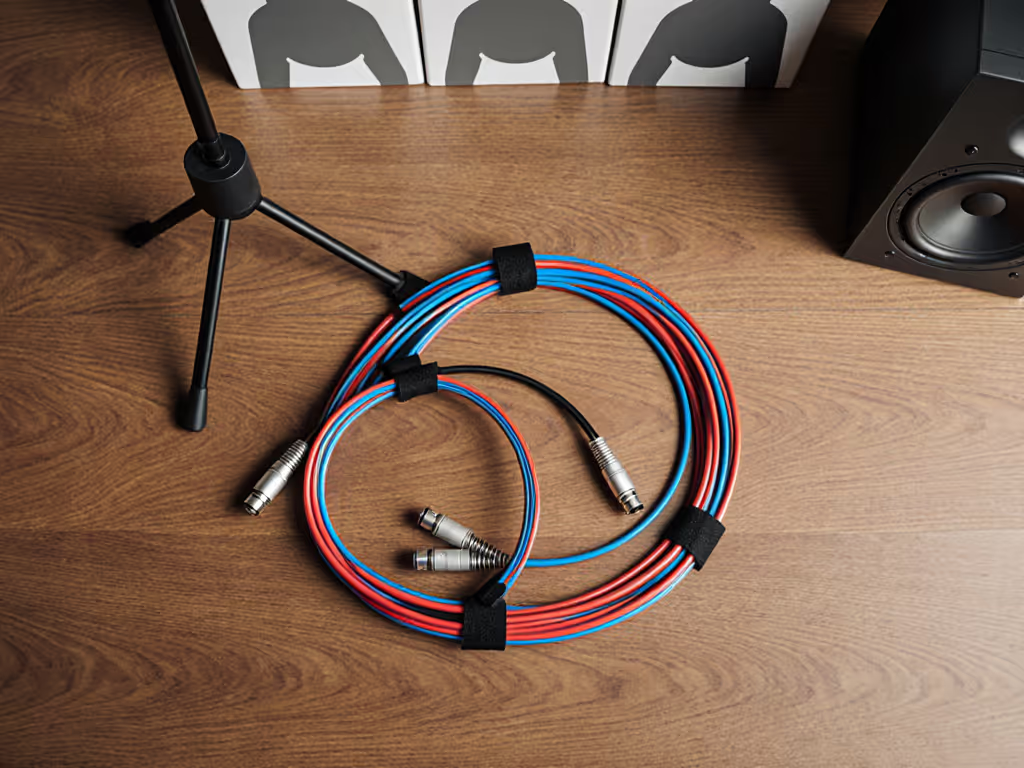
- Group by function: Bundle mic cables separately from power cords. Use velcro straps (never zip ties; they cut wires).
- Create service loops: Leave 6" slack coiled under your desk. Tension causes subtle vibrations that noise gates can't fix.
- Anchor endpoints: Tape cable ends to your desk underside 2" from connection points. This stops accidental tugs from introducing crackles.
The 30-Second Cable Test
Before tracking:
- ✅ Gently shake all cables near connections: no audio pops should occur
- ✅ Ensure XLR cables aren't pinched under monitor stands
- ✅ Verify no power cables run parallel to audio lines (cross at 90° angles only)
Why "Good Enough" Beats "Perfect Later"
I've seen too many makers delay starting because they're hunting for an "ideal" desk. Your first home recording desk setup just needs to reduce vibrations enough for your environment. In a basement studio? Focus on floor-to-bench isolation. In an apartment? Prioritize monitor damping over mass. If you share walls or floors, see our vibration damping guide for shared spaces for noise control without losing stability.
Remember my mentor's wisdom: "Workflow discipline makes modest tools feel world-class." That $20 IKEA desk with foam pads and cable anchors outperforms a $500 "studio desk" buried under clutter. Every adjustment you make toward intentional workflow compounds: less noise, fewer retakes, and more joy in creating.
Confidence is a shop multiplier. Start simple, refine often, and trust that clean foundations let your talent shine.
Ready to Level Up?
You've just built the silent hero of your studio. Now, explore deeper:
- Free vibration test kit: Measure resonance modes with your smartphone (search "audio frequency analyzer apps")
- Pro technique: How Abbey Road engineers isolate vintage gear (hint: it is not about cost, it is about workflow)
Your next great take starts with a stable foundation. Build it wisely, and let the music flow.
Related Articles