Adapt Your Standard Bench for Specialized Tasks
By Aisha Thompson • 11th Oct
Few things frustrate woodworkers more than a specialized workbench setup that introduces new headaches. When you're trying to focus on delicate joinery or intricate electronics projects, your bench shouldn't fight you. The good news? You don't need a complete overhaul. With thoughtful precision workbench modifications, your existing bench can smoothly transition between rough carpentry and fine detail work, all without breaking the bank. Let me show you how to adapt your standard bench for specialized tasks using simple, checklist-driven strategies that reduce decision fatigue and boost your workflow confidence.
Why Your Standard Bench Needs Specialized Zones
I remember wasting hours on my first clock project because my clamps were buried under lumber scraps. What I needed was a dedicated zone for small parts, but I didn't know how to create it without sacrificing my assembly space. This is where most woodworkers get stuck: trying to force one bench configuration to handle everything from rough lumber processing to fine watchmaking.
Your bench should act like a modular system where you can quickly shift between tasks. The key isn't buying more equipment (it is creating intentional zones that support your workflow). When you implement this approach, even modest tools start feeling world-class because your focus can stay on craftsmanship rather than setup chaos.
Step 1: Audit Your Current Workflow Bottlenecks
Before making any changes, identify exactly where your bench falls short for specialized work. Grab your notebook and answer these questions:
- Where do you lose time switching between tasks? (e.g., clearing space for small parts)
- What specialized tools constantly get in the way? (e.g., jewelry making work station tools cluttering your assembly area)
- Where do precision issues occur? (e.g., vise pressure crushing delicate electronic components)
- What safety compromises do you make? (e.g., balancing small workpieces on unstable surfaces)
This simple audit reveals exactly where your precision workbench modifications will deliver the most value. For instance, if you're doing fine detail work, you might discover that your standard bench top lacks a stable surface for micro-soldering (something that's easily fixed with a dedicated inlay).

Festool MFT/3 Multifunction Table
Portable, precise workbench for versatile, accurate cuts and efficient clamping.
$846.94
4
PortabilityLightweight, compact design for easy transport
PortabilityLightweight, compact design for easy transport
Pros
Delivers accurate, repeatable cuts with guide rails and saws.
Streamlined clamping with uniform holes and Festool clamps.
Adjustable height for ergonomic workflow: folded, full, or floor-level.
Cons
Customer feedback on sturdiness and value is mixed.
Accuracy and rail alignment receive varied reviews.
Customers praise the workbench's build quality and functionality, with one noting it's functional enough to replace a table saw, and find it incredibly useful and portable.
Customers praise the workbench's build quality and functionality, with one noting it's functional enough to replace a table saw, and find it incredibly useful and portable.
Step 2: Create Dedicated Work Zones (Without Permanent Changes)
The most effective specialized workbench setups maintain your core assembly functionality while adding temporary zones. Here's my proven checklist:
- Define your primary task area (keep this as your standard bench configuration)
- Add a secondary zone using a removable surface that fits within your existing footprint
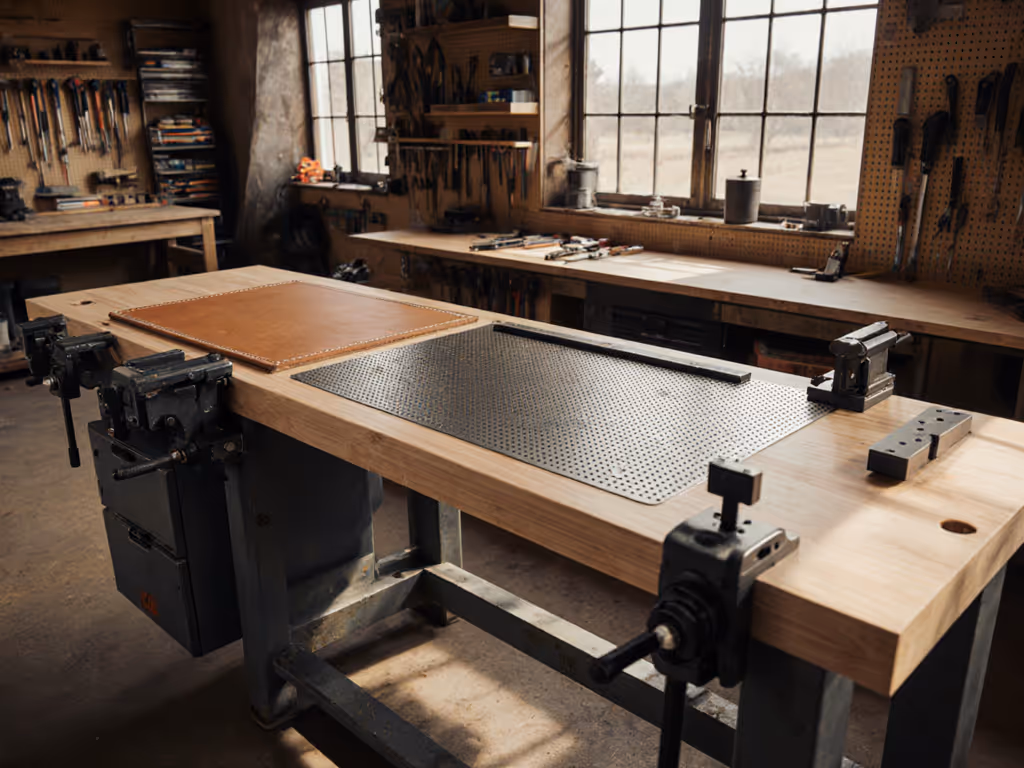
- For electronics workbench tasks: Use a non-conductive mat layered over a thin plywood base
- For jewelry making work station needs: Install a magnetic sheet with a fine-parts tray
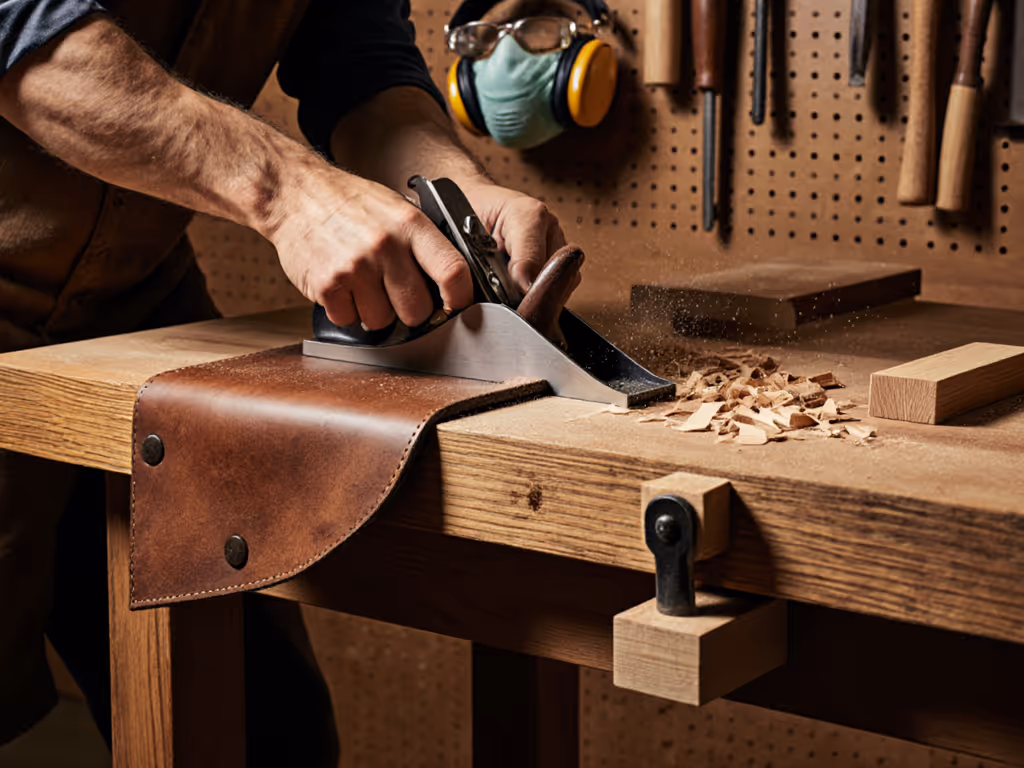
- For fine detail work bench applications: Create a recessed section lined with felt
- Mark zone boundaries with removable tape that won't damage your bench
- Store zone-specific tools in caddies that sit beside (not on) your work surface
Confidence is a shop multiplier; when you remove doubt about your setup, your craftsmanship naturally improves.
This approach solved my clock project problems. Instead of clearing my entire bench for delicate work, I now have a dedicated 12" x 12" zone that snaps into place. The rest of my bench remains ready for larger projects.
Step 3: Implement Smart Workholding for Specialized Tasks
Standard vises often crush delicate workpieces. Here's how to modify your grip system:
- For electronics workbench tasks: Create a simple "third hand" using a bench vise with padded jaws and a magnifying lamp mounted to the bench leg
- For fine detail work bench applications: Install micro-dog holes (3/8" diameter) that accept small bench dogs and hold-downs
- For jewelry making work station needs: Use a jeweler's bench pin that clamps to your bench edge
Crucially, don't remove your standard workholding. Instead, make these specialized systems removable so you can switch between configurations in under two minutes. My favorite trick? Store specialized workholding in a labeled drawer beneath the bench so it's always within reach but never cluttering my workspace.
Step 4: Optimize for Mobility Without Sacrificing Stability
A true mobile workbench shouldn't wobble when you're doing precision work. Here's my stability-tested approach:
- Install locking casters that sit flush with your bench feet
- Create a "stability triangle" using three casters (not four) to prevent rocking
- Add a removable plywood base that sits beneath casters when you need rock-solid stability
- Use rubber feet that drop down from the bench frame for temporary leveling
For projects requiring absolute stability (like intricate joinery), I drop the rubber feet and remove the caster base. When I need to move the bench for a different task, I raise the feet and slide in the base. This gives me the flexibility of a mobile workbench without compromising precision work.
Step 5: Streamline Your Tool Ecosystem
Specialized tasks often mean specialized tools that clutter your workspace. Implement this foolproof organization system:
- Group tools by task, not by type (e.g., "electronics repair kit" rather than "all pliers")
- Use transparent storage so you can see contents without opening containers
- Mount frequently used items on the bench underside or leg channels
- Create a "reset protocol" where you return tools to their home immediately after use
This system transformed my bench from a tool graveyard to a purpose-built station. Now when I switch from cabinet making to electronics projects, my jewelry making work station tools are ready in seconds (no hunting, no frustration).
The Final Piece: Your Workflow Checklist
Before starting any specialized project, run through this quick checklist:
- Bench surface appropriate for task (replaceable top section installed if needed)
- Workholding system configured for delicate/precise work
- Specialized tools within easy reach (no more than 12" from work area)
- Safety safeguards in place (e.g., non-slip mat for small parts)
- Clear path to reset bench to standard configuration when done
This simple routine ensures you're never wasting time on setup. When your workflow is dialed in, even modest equipment feels capable of professional results.
Next Steps for Your Bench Evolution
Your bench should grow with your skills, not hold you back. Start small: implement one specialized zone this week and notice how it affects your workflow. Then, gradually add more as your needs evolve. Remember, the best benches aren't defined by their price tag but by how they support your specific craftsmanship goals.
If you'd like more specific guidance on adapting your bench for particular tasks, I've created a free downloadable worksheet that walks you through customizing your bench for 10 common specialty applications (from electronics assembly to fine woodworking). It includes detailed diagrams and material lists so you can implement changes with confidence.
Related Articles

Workbench Storage Hacks: Small Workshop Organization Made Simple
Apply a workflow-first system to a small workshop with seven practical storage hacks - triangle zones, one-touch tool access, rolling under-bench storage, shadow boards, and task-specific modules. Spend less time hunting tools and more time building with a clear-start ritual and space-smart overhead options.

Workbench Add-Ons Fix Racking Without Rebuilding
Fix a shaky workbench without rebuilding: measure deflection to find weak points, stiffen the frame with torsion-box and diagonal bracing, then add modular dogs and mounts that increase capability. Re-test to verify ≤0.002 in deflection and repeatable, joinery-grade accuracy.

Workbench Woodworking Vise: Face vs Tail Comparison
Compare face and tail vises through an ergonomics lens to reduce strain and improve precision, with measurement-backed guidance on vise height, placement, and mounting. Use the 30-minute assessment and simple tweaks - like foot rails and dominant-side positioning - to maintain neutral posture and sustain endurance.

Workbench Top Longevity: Stop Rust and Glue Buildup
Maintain a flat, low-friction work surface with data-backed steps for safe glue removal, rust prevention and repair, and correctly timed conditioning. Zone the bench, control humidity, and run a 15-minute audit to preserve accuracy and reduce cleanup time.