Stainless Steel Work Table vs Laminate: Light Assembly Comparison
By Aisha Thompson • 30th Nov
When you're setting up a workspace for electronics assembly, model building, or precision crafting, your choice between a stainless steel work table and a laminate light assembly workbench can make the difference between a smooth workflow and constant frustration. If electronics are your focus, see our anti-static electronics workbench picks. As someone who's guided hundreds of makers through their first bench decisions, I've seen how the right surface choice transforms disorganized chaos into focused productivity. Remember that time you cleared your bench only to have tools and materials creep back within hours? That's not just clutter: it's a workflow problem waiting for the right foundation. Whether you're comparing options for your garage shop, home office, or makerspace corner, begin with workflows; the right bench choices follow.
Why Surface Matters More Than You Think for Light Assembly
Defining Your "Light Assembly" Needs
Let's be clear: "light assembly" isn't just a description, it's a specific workflow with unique requirements. When I work with clients on bench selection, we always start with a simple checklist:
- Tool weight: Are you handling delicate soldering irons or tiny watch components rather than heavy vises?
- Precision needs: Does your work require measured accuracy within thousandths of an inch?
- Contamination concerns: Are stray metal shavings or chemical spills potential hazards to your projects?
- Workflow patterns: Do you move between assembly, inspection, and packaging stations throughout your session?
If you're nodding yes to these questions, you're firmly in light assembly territory. This isn't about building cabinets or pounding chisels: it's about creating systems where everything has its place and nothing disrupts your concentration. The wrong surface becomes a constant distraction, whether it's static discharge ruining sensitive components or a chipped edge catching delicate materials.
Common Light Assembly Pain Points
From experience helping makers optimize their spaces, I've identified three recurring frustrations that surface choices directly impact:
- Static electricity shocks when handling small electronics (a major issue with certain surfaces)
- Glue and adhesive residue that builds up and interferes with precision work
- Surface imperfections that telegraph into delicate components during assembly
These aren't just annoyances: they're workflow killers that eat into your productive time. For preventing glue buildup and extending surface life, use our workbench surface care guide. The right bench surface should disappear from your awareness, letting you focus entirely on your craft. That's why I always recommend starting with a clean reset before choosing any equipment, just as my mentor showed me years ago when I was wasting hours searching for tools buried under lumber scraps.
Stainless Steel Work Tables: The Precision Player
Strengths for Light Assembly
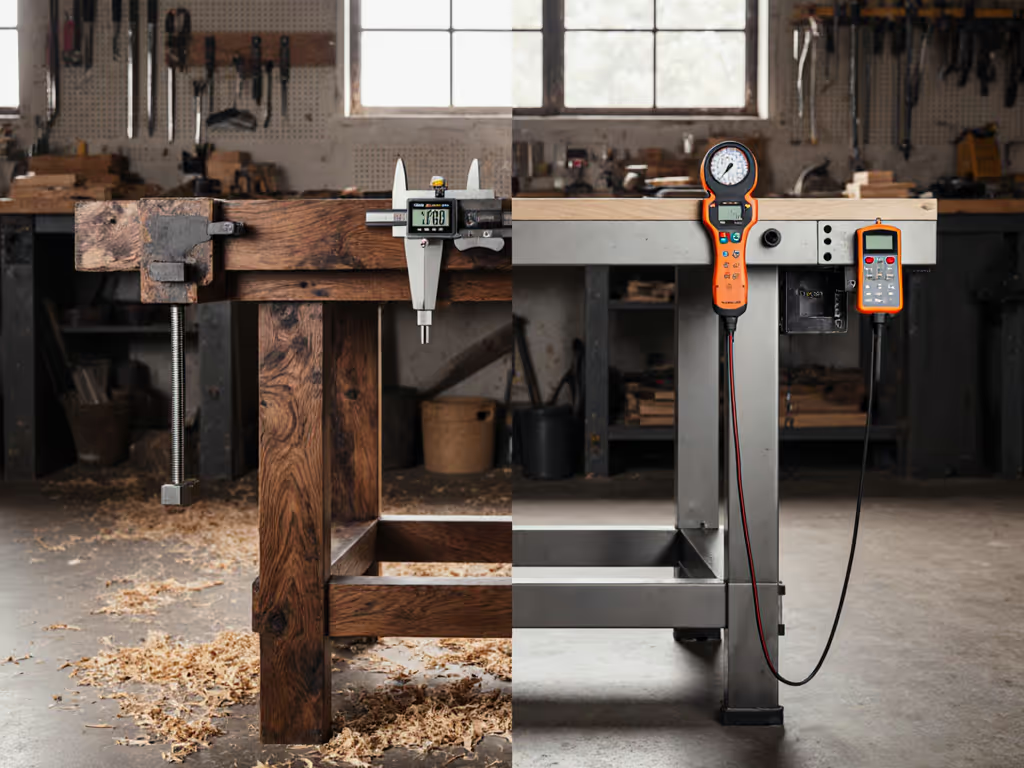
Stainless steel work tables shine in environments where hygiene, chemical resistance, and electrical properties matter most. Here's why they earn their place in many precision workflows:
- Static dissipation: Unlike some materials, stainless steel naturally dissipates static electricity (critical for electronics assembly)
- Chemical resistance: Wipe away flux residue, solvents, or adhesives without surface damage
- Hygiene factor: Non-porous surface prevents bacteria buildup (making them excellent cleanroom workbench options)
- Temperature stability: Won't warp with seasonal changes like some wood composites
For professionals working with medical devices or sensitive electronics, stainless steel provides peace of mind that your surface won't compromise your components. The mirror-like finish on higher-grade 316 stainless also makes it easier to spot tiny components that might otherwise get lost.
Practical Considerations and Limitations
While stainless steel offers impressive technical advantages, it's not without tradeoffs for the typical light assembler:
- Tool noise: That satisfying "clink" of metal tools becomes a constant distraction in shared spaces
- Scratch visibility: Every tool mark shows clearly (though some makers prefer this "lived-in" industrial look)
- Cost premium: Expect to pay 20 to 30% more than comparable laminate options
- Cold feel: The surface temperature can affect comfort during long sessions
If you're working in a home environment with family nearby, the noise factor alone might make stainless steel less than ideal. And while the high-end 316 grade offers superior corrosion resistance, the more common 304 grade still requires proper cleaning to maintain its appearance over time.
Laminate Workbenches: The Practical Performer
Strengths for Light Assembly
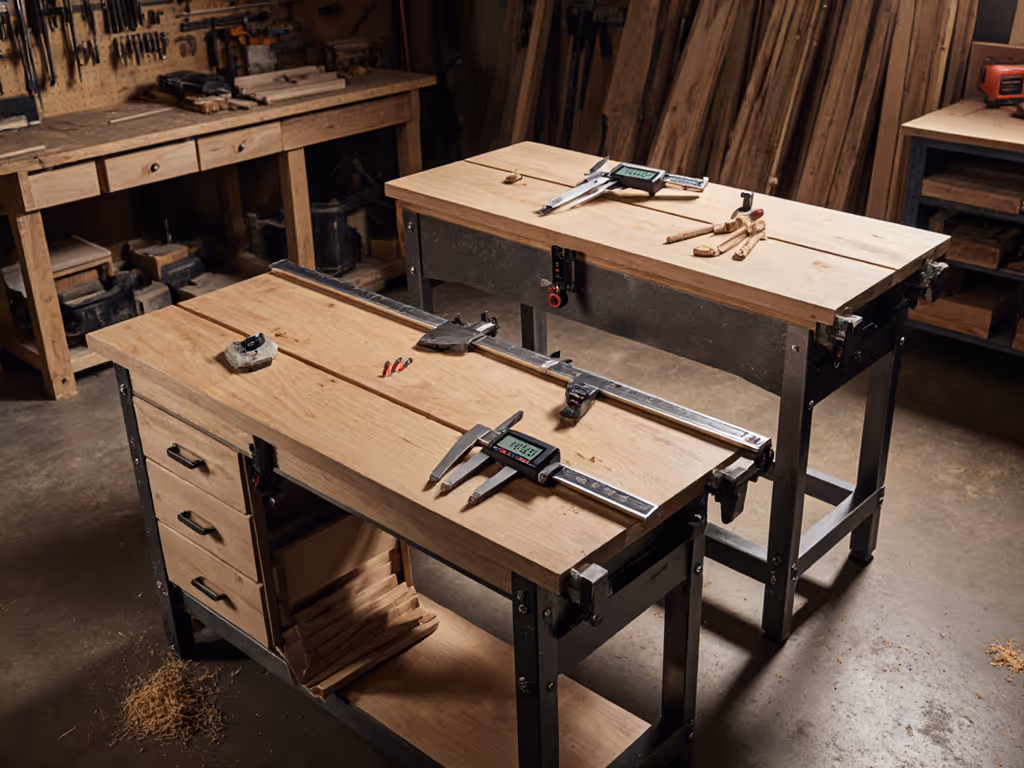
Laminate workbenches have maintained popularity for good reason, they deliver remarkable value for most light assembly applications. Consider these advantages:
- Cost-effective: Typically 25 to 40% less expensive than comparable stainless steel options
- Low-maintenance work surface: Spills wipe away easily without special cleaners
- Aesthetic versatility: Available in wood grains, solid colors, and patterns to match your space
- Noise reduction: Absorbs tool impacts better than metal surfaces
For hobbyists and small-scale producers, the low-maintenance work surface of laminate means less time cleaning and more time creating. I've seen many makers successfully use laminate for circuit board assembly, model building, and jewelry making when paired with proper ESD mats for static control.
Practical Considerations and Limitations
Laminate isn't perfect for every light assembly scenario. Be aware of these limitations:
- Edge vulnerability: Dropped tools can chip laminate edges, especially on thinner tops
- Heat sensitivity: Soldering irons or hot glue guns can damage the surface without protection
- Static concerns: Standard laminate generates static (though ESD versions are available)
- Weight capacity: While sufficient for light assembly, laminate can't handle heavy industrial use
The good news? Most laminate issues are easily managed with simple workflow adjustments. Using a dedicated cutting mat protects the surface, and adding grounding points creates an effective static-control system. For many makers I've coached, these small adaptations make laminate the smarter long-term investment.
Making Your Decision: A Workflow-First Checklist
Office Workbench Comparison Made Practical
Instead of getting lost in technical specifications, let's focus on what matters for your actual workflow. Complete this simple assessment before choosing:
Begin with workflows; the right bench choices follow. This isn't just a philosophy: it's the practical foundation that transforms your workspace from a source of frustration to a productivity engine.
Task Matching Checklist
| Requirement | Stainless Steel Better For | Laminate Better For |
|---|---|---|
| Static control | Native dissipation (no mats needed) | Requires ESD mat/add-on |
| Chemical exposure | Direct contact with solvents | Requires protective mat |
| Budget constraints | Higher initial cost | Lower entry price |
| Noise sensitivity | Louder tool impacts | Quieter work environment |
| Aesthetic preferences | Industrial, professional look | Warmer, more residential look |
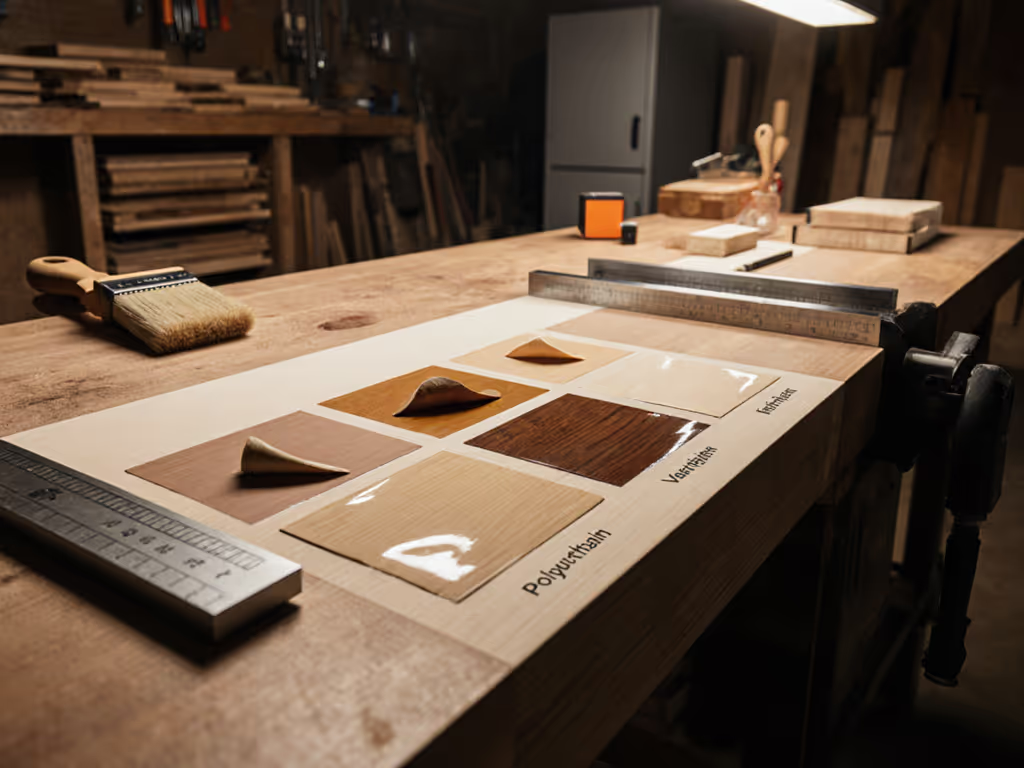
Maintenance Realities
Your bench's longevity depends more on daily habits than the material itself. Both surfaces require specific care:
- Stainless steel: Regular wiping with appropriate cleaners prevents water spots; avoid abrasive pads
- Laminate: Immediate cleanup of spills prevents staining; use trivets for hot objects
In my experience, makers who establish simple maintenance routines (like the 2-minute end-of-session reset I teach all my clients) get equal longevity from both surfaces. The key isn't the material; it's the consistency of your care.
Total Cost of Ownership
When comparing prices, look beyond the sticker:
- Stainless steel: Higher initial cost but potentially lower accessories needed (no ESD mats required)
- Laminate: Lower initial cost but may require additional static-control equipment
For most home-based light assembly work, laminate provides better value, but if you're building professional electronics in a dedicated space, stainless steel's native static dissipation might justify the premium.
Your Next Steps: Building Confidence in Your Choice
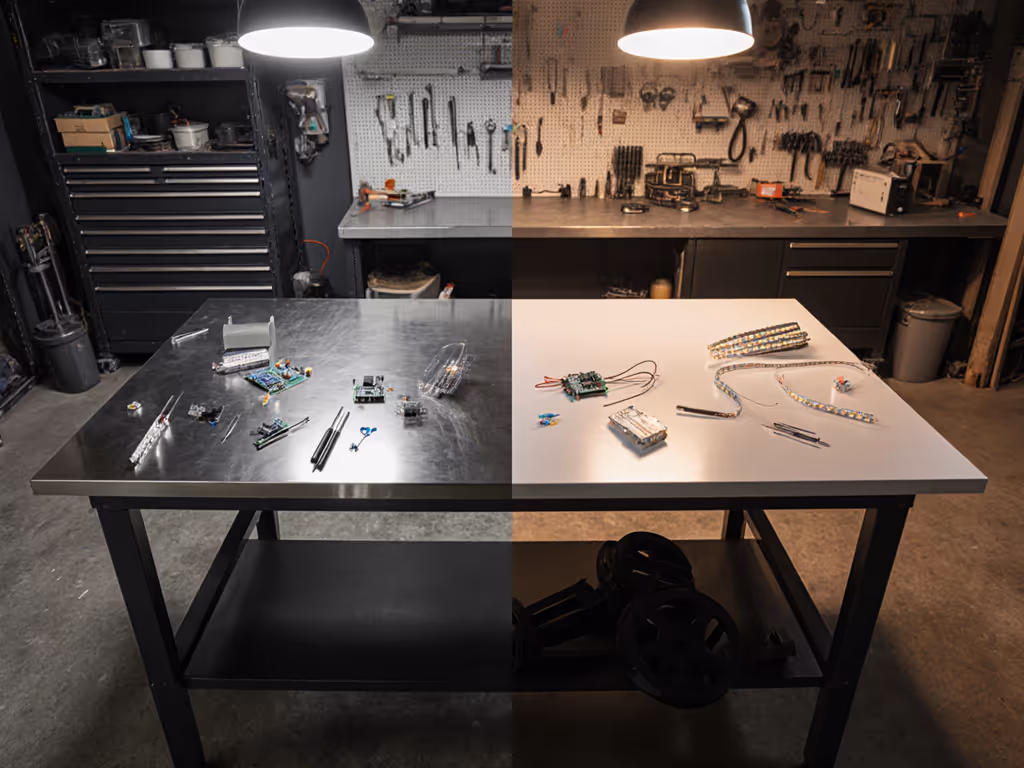
Testing Before Committing
Don't just take my word for it, put potential surfaces to the test:
- Bring your tools: Visit a showroom with your actual assembly tools
- Simulate workflows: Try placing components where you'd work
- Check lighting: See how each surface handles your workspace lighting Our lab tests compare LED vs fluorescent bench lights.
- Assess comfort: Stand at the bench for 5 minutes to gauge ergonomics
This hands-on approach prevents buyer's remorse and ensures your bench supports your actual workflow rather than someone else's idealized vision.
Starting Simple, Scaling Smart
Whatever you choose, remember my cardinal rule: start with the workflow, not the equipment. That stainless steel work table might look impressive in a catalog, but if it creates noise that disrupts your household or costs so much you skip essential vises, it's working against you.
Many successful makers begin with a basic laminate bench and add specialized surfaces only when specific workflow needs emerge. I've watched clients transform $200 laminate workbenches into precision assembly stations with strategic additions (a dedicated static-control zone here, a replaceable cutting surface there) without breaking the bank.
Beyond the Surface Decision
Your bench choice is just the beginning. Next, consider how it integrates with your overall workflow:
- Storage solutions that keep tools within your reach zone
- Lighting placement that eliminates shadows on your work surface
- Power management that keeps cords organized and accessible Get step-by-step guidance in our workbench electrical integration guide.
- Ergonomic adjustments for comfortable working height
Remember my first solo build? The bench wasn't the problem; it was how everything related to it. Once I established clear zones and fixed points, even my modest equipment performed like a professional setup.
Begin with workflows; the right bench choices follow. Your surface should disappear from your awareness, leaving only the focus for your craft.
Before you finalize your decision, explore how different bench styles integrate with your specific assembly patterns. Try sketching your ideal workflow on paper first (where tools live, where components move, where you stand) and let that guide your surface selection. When you approach it this way, you'll discover that even modest equipment feels world-class when supported by disciplined workflow thinking.
Related Articles