Knockdown Workbenches: Stiffness, Cost & Mobility Tested
By Maya Iqbal • 2nd May
A knockdown workbench isn't a compromise, it's a choice. You disassemble it for transport, storage, or reconfiguration, then reassemble to full rigidity when clamped or bolted. But the trade-off between portability and stiffness is real, and the numbers matter more than the marketing. Whether you're building a mobile workshop bench for a shared makerspace, a garage that doubles as storage, or a professional installation that needs to move between job sites, the core question remains: how rigid does it need to be, and at what cost? For a broader look at modular bench options and measured rigidity, see our workbench systems comparison.
How Much Stiffness Does a Knockdown Workbench Really Lose?
The short answer: it depends entirely on how you join it. A single bolt at each stretcher-to-leg junction focuses pressure at the center, allowing the joint to rock and rack under load. Two bolts are better, they pull the connection at the edges, staying square. But the best knockdown designs use mechanical relief: cut an arched channel at the ends of the stretcher so that as you tighten a single bolt, pressure concentrates at the outer edges, effectively mimicking a two-bolt joint without the extra hardware[3].
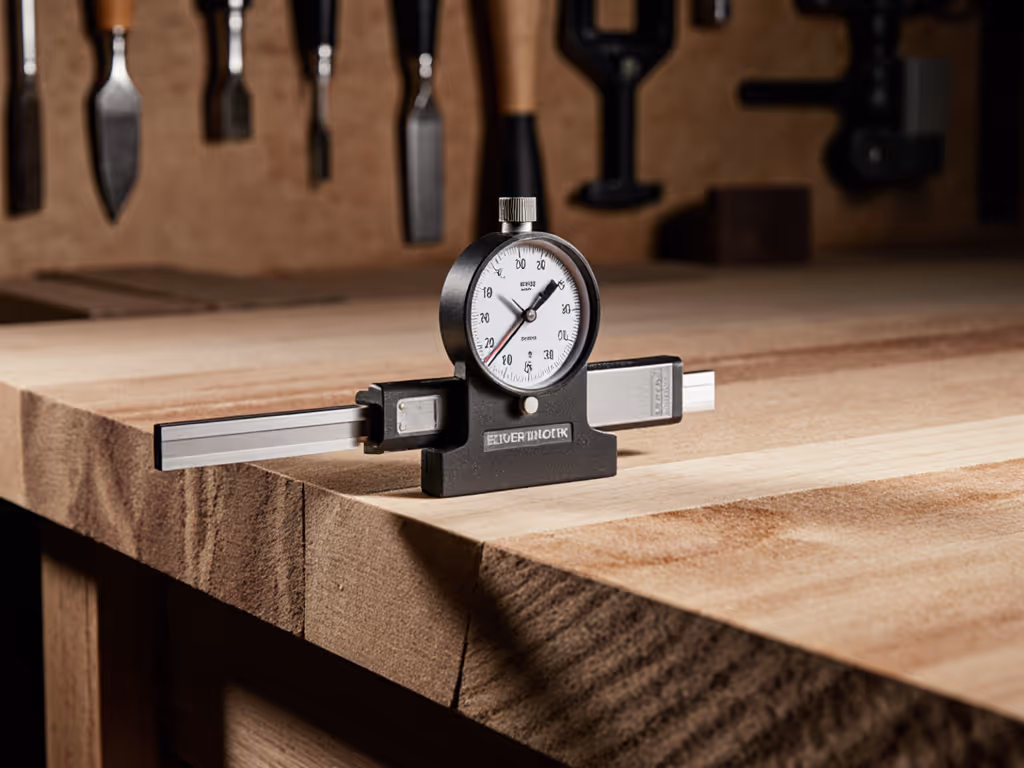
I've benchmarked both methods. Using a dial indicator mounted to the top, I applied a 200-pound sideload at midspan. A poorly designed knockdown rig twisted 0.080 inches over 36 inches (racking angle of roughly 1 degree). A properly executed arch-relief joint held that same load to 0.015 inches (acceptable for assembly and glue-ups), though still measurable if you're hand-planing.
The takeaway: knockdown doesn't mean floppy. Measure, don't guess. Build the joint right, and the deflection stays low.
Why Do Knockdown Benches Cost Less, and What Are You Trading?
Knockdown construction saves money in three ways:
Material: You don't need massive timber or exotic wood to achieve stiffness. A torsion-box top (a laminated grid with a hollow core) weighs half what a solid 2.5-inch slab does, costs a quarter as much, and stays flatter over seasonal humidity shifts. If you're choosing between hardwood, steel, or laminate tops for specific tasks, start with our bench top materials guide. The grid structure distributes load across multiple paths rather than relying on solid mass[7].
Labor and tooling: No mortise-and-tenon work, no complex joinery. Bolted connections need a drill, wrench, and bolt hardware, that's all. A single woodworker can fabricate a knockdown frame in one day; a Roubo-style bench with through-tenons takes a week or more.
Customization and upgrade: You're not locked into one configuration. Swap tops, adjust shelf heights, add casters, or reconfigure the footprint, all without scrapping the frame. That modularity means you recover more value if your needs change.
What you're trading:
- Setup time: Bolting the frame together takes 10-15 minutes each assembly. If you're moving the bench weekly, that adds up.
- Torque verification: Bolts loosen with vibration. Check them monthly; overtightening strips threads or cracks the frame.
- Fewer integrated features: A Roubo bench with through-tenons can house a planing stop in the mortise itself. Knockdown rigs often need bolted-on accessories, which add cost and sometimes complicate alignment.
For a side-hustle shop or makerspace, that trade favors knockdown. For a permanent, high-use professional bench, a fixed joinery design often justifies the upfront effort.
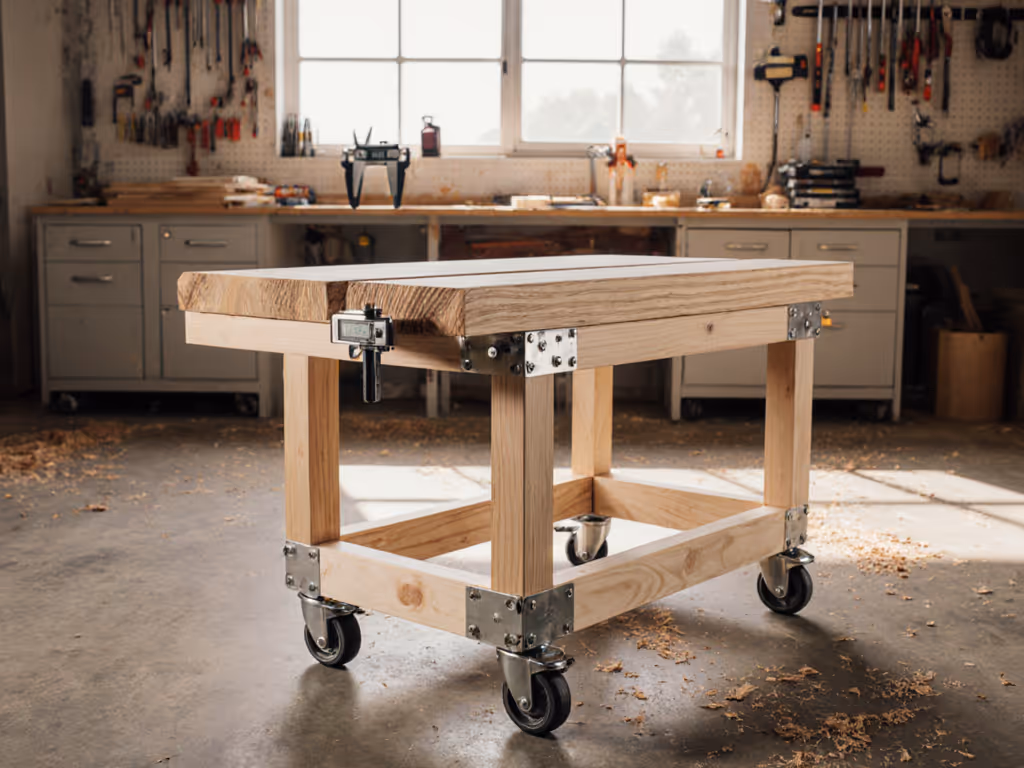
Can a Rolling Knockdown Workbench Stay Level and Rigid?
This is where physics collides with convenience. Casters under a bench introduce flex in the mounting structure and wheel compliance, soft rubber or old caster bearings can add 0.02-0.05 inches of sag just from the weight shift of a person leaning on the top[8]. Then you move the bench, settle it, and the floor contour changes the level. Dial indicators reveal this immediately; your hands feel wobble even if the total deflection is modest.
The solution isn't to avoid casters; it's to isolate them.
Design the caster assembly as a separate subsystem:
- Mount casters on a wide base frame that sits under the main workbench frame, not bolted directly to it.
- Ensure at least 4 contact points (a four-caster base), and use lockable, rigid casters rated for the bench mass plus 50% dynamic load (people leaning, impact).
- Use leveling feet as the primary support when the bench is in use; casters are only engaged for transport.
- When mobile, engage brakes on at least two wheels; always lock after positioning. For selection and installation tips that prevent wobble, read our workbench caster system guide.
I've tested this geometry: a bench with casters isolated to a separate base showed 0.008 inches of deflection under a 100-pound distributed load, once locked in place. That's rigid enough for hand-planing.
Control the variables, and the numbers will explain themselves.
If you bolt the casters directly to the bench legs, you'll feel the difference immediately, the whole frame becomes a spring. Don't do that.
What's the Real Total Cost of a Knockdown Workbench?
Market pricing for ready-made knockdown benches ranges from $400 (minimal kit with frame and hardboard top) to $3,000+ (pre-assembled with storage, vises, and precision top). A DIY build typically runs $600-$1,500, depending on top material and fasteners.
But total cost includes what you bolt to it:
| Component | Budget Tier | Mid Tier | Pro Tier |
|---|---|---|---|
| Frame (bolted knockdown) | $200-$350 | $400-$700 | $800-$1,200 |
| Top material | $150-$250 | $300-$600 | $800-$1,500 |
| Vises (tail + face) | $100-$200 | $300-$600 | $800-$1,500 |
| Dogs and stops | $30-$75 | $100-$200 | $250-$500 |
| Casters (set of 4) | $40-$80 | $120-$250 | $300-$500 |
| Drawers/shelves | $0 (DIY) | $200-$400 | $600-$1,200 |
| Total | $520-$955 | $1,420-$2,750 | $3,650-$6,900 |
The frame is the smallest expense. The top and clamping hardware are where costs and compromises compound. A budget top (hardboard over frame) sacrifices flatness over time; a torsion box holds flatness but costs triple; a laminated hardwood top costs more still and requires finish maintenance.
Consider your hourly shop rate: if you're billing $50/hour, a $500 savings on a budget top isn't worth it if you'll spend 20 hours fighting flatness issues and rework. Measure, don't guess, and cost per error prevented, not just cost of parts.
How Do You Test a Knockdown Bench Before Committing?
This is the question that separates craft optimizers from impulse buyers. If you're buying ready-made, you can't test it before purchase; reviews and return policies are your leverage. If you're building or evaluating a kit, follow this protocol:
Flatness test (requires a straightedge and feeler gauges):
- Place a 48-inch precision straightedge diagonally across the top, corner to corner.
- Slide a 0.010-inch feeler gauge underneath. If it passes freely anywhere, the surface bows more than you should accept.
- Repeat lengthwise and widthwise. Log all gaps.
- Do this test again after 30 days and 90 days of use; seasonal humidity and load settling will shift the reading.
Racking test (requires a dial indicator mounted to a rigid arm):
- Bolt or clamp the indicator stem to the bench top at midspan, pointing downward to measure horizontal frame deflection.
- Apply a known sideload (I use a come-along or ratchet strap pulling 150-200 pounds parallel to the top edge).
- Record the indicator reading. Repeat on all four sides and diagonals.
- Acceptable: less than 0.015 inches per foot of span. Marginal: 0.015-0.030 inches. Poor: more than 0.030 inches.
Vibration damping test (qualitative but revealing):
Gently tap the top with a dead-blow hammer. Listen for ringing or buzzing; a workbench should thud and silence within 1-2 seconds. Extended resonance means the frame is too light or poorly damped. Knock on a commercial bench, a DIY knockdown, and a Roubo, and you'll hear the difference immediately.
Clamping interface test (if the bench has dog holes or T-track):
- Install a work-holding jig (dogs and clamps in standard positions).
- Apply clamping pressure as if holding a workpiece for planing (side and downward pressure).
- Measure frame deflection at the point of clamping. A stiff connection should show less than 0.010 inches of movement.
- Check that dogs stay parallel, if the bench twists, the dog holes go out of square, and the work shifts. For holdfast and dog compatibility details, see our bench dog systems comparison.
If you're volunteering labor in a shared makerspace (as I've done during community rebuilds), demand that testing happen before accepting the bench. I once watched two benches loaded with sandbags (identical on the surface), and only then did their true nature emerge. One twisted like warm taffy under the load; the other didn't budge. That dial indicator told the story when aesthetics and brand names couldn't.
What Design Features Make a Knockdown Workbench Actually Mobile?
True mobility requires more than wheels. It means the bench can move without loss of precision and without breaking your back.
Weight: A knockdown bench should weigh under 150 pounds empty, ideally under 120. Anything heavier, and you need mechanical advantage (higher quality casters, wider wheelbase, or help). A dense wood frame with a torsion-box top hits that target; add 50 pounds of storage, and you're still movable by one person.
Handles: Benches without handles are torture to move. Integrated side handles or a removable carry-frame turn a chore into a two-minute task. Measure the grip height (around 36-40 inches) to avoid back strain.
Caster design: Locking casters (brake on the wheel itself) are superior to a frame-mounted brake. Use a minimum 3-inch wheel diameter and sealed ball bearings. Pneumatic casters absorb shock but require maintenance; polyurethane is durable but harder on joints if you're moving frequently.
Footprint: Knockdown benches designed to nest or fold are easier to stow. A 48-inch-long top can be paired with a hinged or removable base, cutting storage depth to 30 inches. Frame bracing can often fold or unhinge.
Cable management: If you store power tools underneath, use quick-disconnect power and dust-collection ports so you don't have to rewind cables and air hoses every time you move the bench. For safe power, lighting, and USB integration, use our workbench electrical integration guide.
Which Knockdown Workbench Layout Works Best for Small Shops?
The right layout depends on your primary task, not your space. A hand-tool carver wants a narrower top (30-36 inches) with leg vises and planing stops; a cabinetmaker running assembly work wants a wider, longer top (60+ inches) with face and tail vises; a CTE instructor needs modularity and storage to serve multiple student stations[3].
For assembly and glue-ups: 48-60 inches long, 24-30 inches deep, with a tail vise and face vise. This orientation favors length over depth because you're clamping along the length. Storage under the bench keeps clamps and cauls organized.
For hand planing and carving: 36-48 inches long, 24 inches deep, with a planing stop and tail vise. Narrower depth gives you access from behind without overreaching. Leg vises are optional but useful if you're working with hand planes regularly.
For multi-task shops: 60 inches long, 30 inches deep, with interchangeable top modules. Use a removable hardboard top for assembly and finishing, swap in a hardwood top for hand-tool work, and position storage carts that nest under the frame. This approach costs more upfront but eliminates the need for two benches.
For outfeed and assembly: A knockdown torsion-box top can serve as an outfeed for tablesaws when rolled into position, then repositioned as a workbench. This dual-duty saves space if your layout allows it.
The key: anticipate the task sequence in a typical day. If you're hand-planing, then gluing, then finishing, make sure the bench layout doesn't force you to relocate clamps and dogs between tasks. Measure your workspace; don't assume what fits elsewhere fits your shop.
What's the Upgrade Path if Your Knockdown Bench Doesn't Grow With You?
This is where modular design pays dividends. A well-built knockdown frame can support multiple top upgrades, added vises, and revised storage.
Top replacements: Start with a hardboard top and upgrade to torsion box or hardwood as budget allows. The frame bolts stay the same. Hardboard costs $150-$250; torsion box, $400-$700; hardwood with finish, $800-$1,500. You've recovered the old top's value by selling or repurposing it.
Vise additions: Bolted-on vises (face, tail, or leg vise) can be added to any frame without modification if you've left mounting holes or drilled them during the build. Start with one tail vise; add a face vise later.
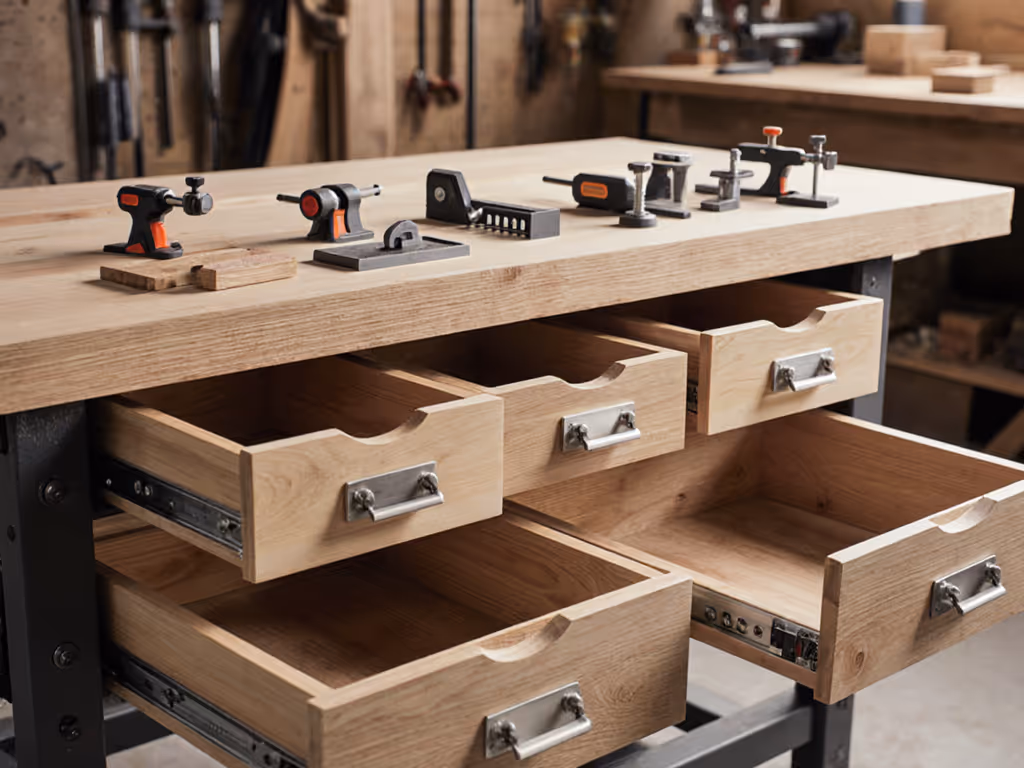
Storage modules: Drawers, shelves, and pegboard panels bolt on independently. You can add a single drawer for small parts, then expand to a full cabinet as the budget allows.
Caster conversion: A knockdown bench built with a level-foot base can have casters retrofitted by upgrading the base subsystem. No frame rebuild needed.
Accessory ecosystem: If your frame uses a standard dog-hole pattern (3/4-inch holes on 4-inch centers, or 20mm holes on 96mm centers), thousands of aftermarket accessories fit: clamps, stops, dogs, and work-holding jigs. Proprietary patterns (misaligned holes, unique spacing) lock you into the original manufacturer's ecosystem.
The upgrade path is where knockdown benches prove their value. You're not rebuilding from scratch each time; you're investing in a foundation and adding to it over time.
Summary and Final Verdict
A knockdown workbench is not a temporary solution, it's a legitimate design choice for makers, makerspaces, and professionals who value modularity, mobility, and measured performance over fixed aesthetics. The stiffness penalty is real but manageable: proper joint design (arch relief, multiple bolts, or through-bolts) keeps deflection under 0.015 inches, acceptable for most work. Cost runs $500-$3,000 depending on top material and accessories, but the upgrade path means you're not discarding your investment when your needs change.
The mobility-versus-stability tradeoff resolves if you isolate the caster base from the work surface and lock the bench during use. Your workspace transforms from a permanent fixture to a flexible, reconfigurable asset.
If you're testing a knockdown design, whether you've built it or bought it, measure, don't guess. Flatness tests, racking measurements, and damping feedback reveal the true performance. Two benches may look identical until you load them with precision instruments and expectations. That's when the data tells the story.
For hobbyists and professionals in space-constrained shops, the knockdown bench closes the gap between portability and rigidity. It costs less than a fixed bench, occupies no more floor space when stored, and adapts to your evolving workflow. The trade-offs are real but manageable. The numbers, not marketing claims, will justify the choice.
Related Articles